1964 F100 body and paint, with a little mechanical stuff too

A place just for our project & build threads.

Moderators: Kid, Casey 65

64f100sixcylinder
Posts: 112
Joined: April 17, 2014, 8:59 pm

1964 F100 body and paint, with a little mechanical stuff too

Post by 64f100sixcylinder »

I'm new here and I thought I would introduce myself with pics of my 1964 F100 with a 223/3 on the tree.
This is the day I picked it up, September 2013

Image
64f100sixcylinder
Posts: 112
Joined: April 17, 2014, 8:59 pm

Post by 64f100sixcylinder »

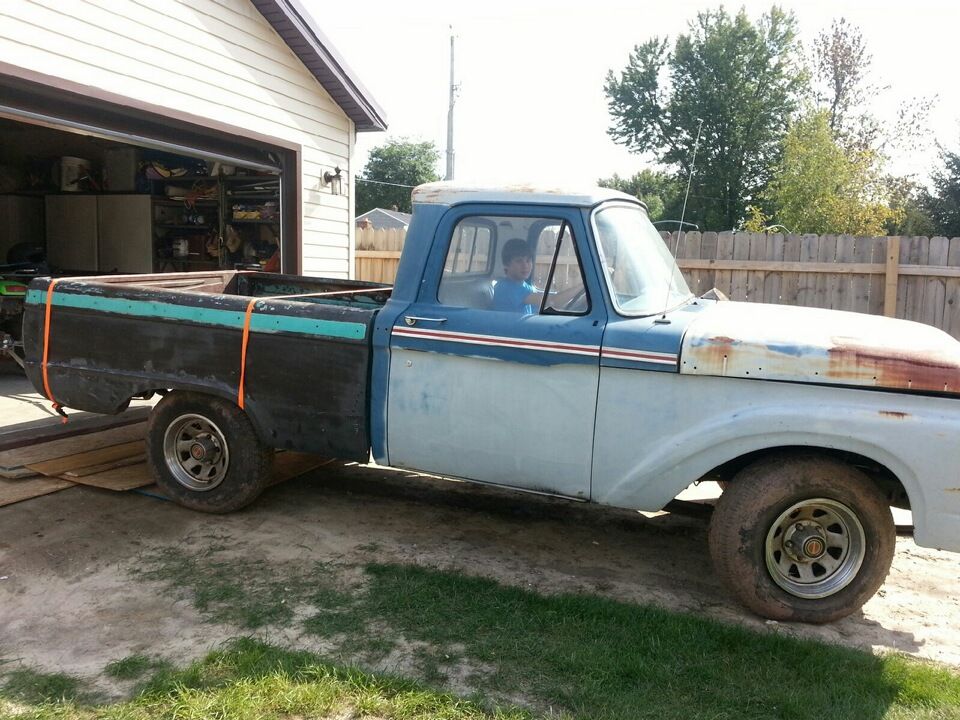
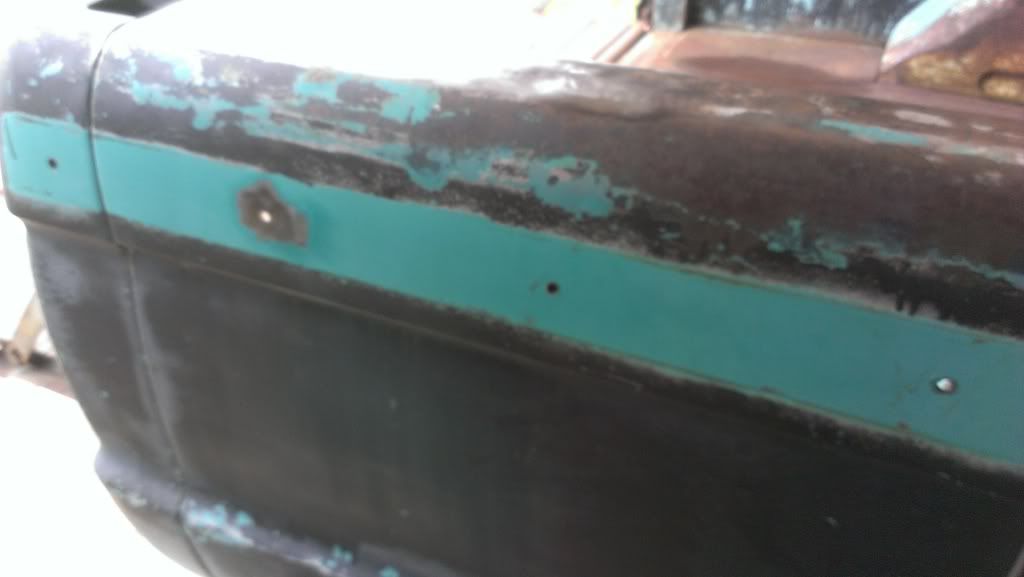
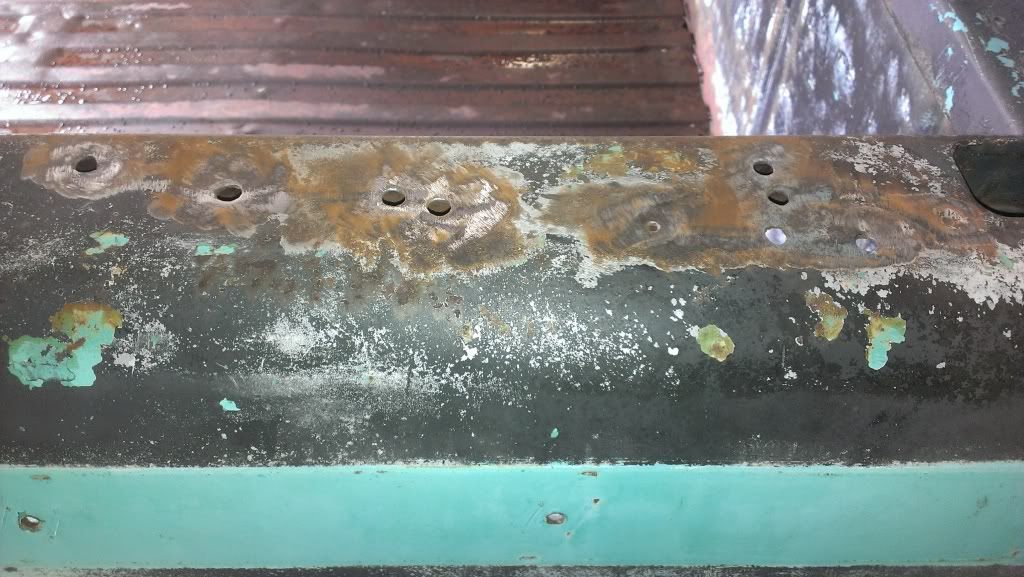
I'm giving to leave the 223 and three speed for now, so long as they are reliable. I'm focusing on the body and getting it straight and ready for paint. So since the truck only came with door and cowl trim I will be deleting it and leaving only the hood and side emblems.
Image
Image
Random holes

Image
Image
64f100sixcylinder
Posts: 112
Joined: April 17, 2014, 8:59 pm

Re: 1964 F100 body and paint, with a little mechanical stuff

Post by 64f100sixcylinder »

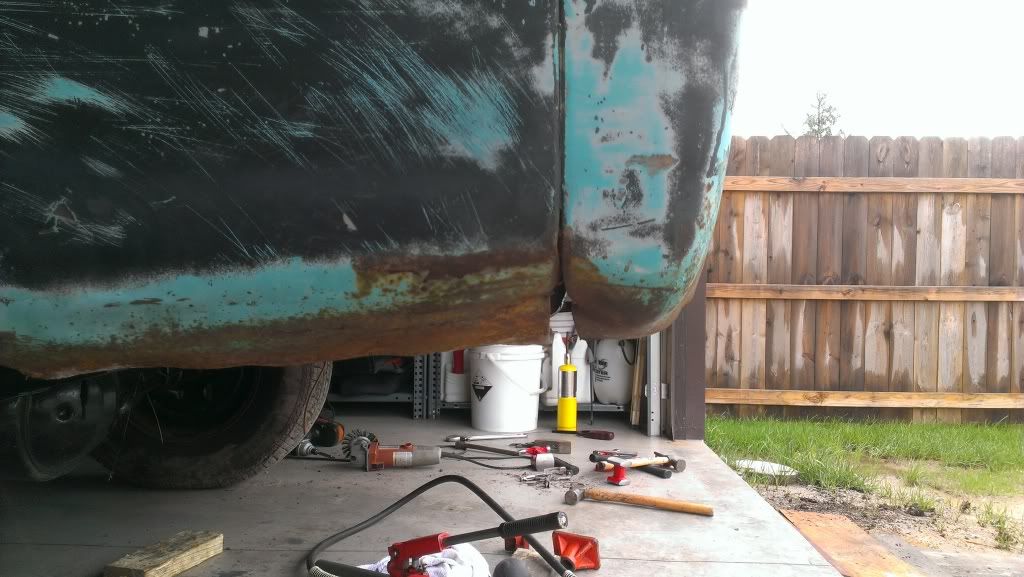
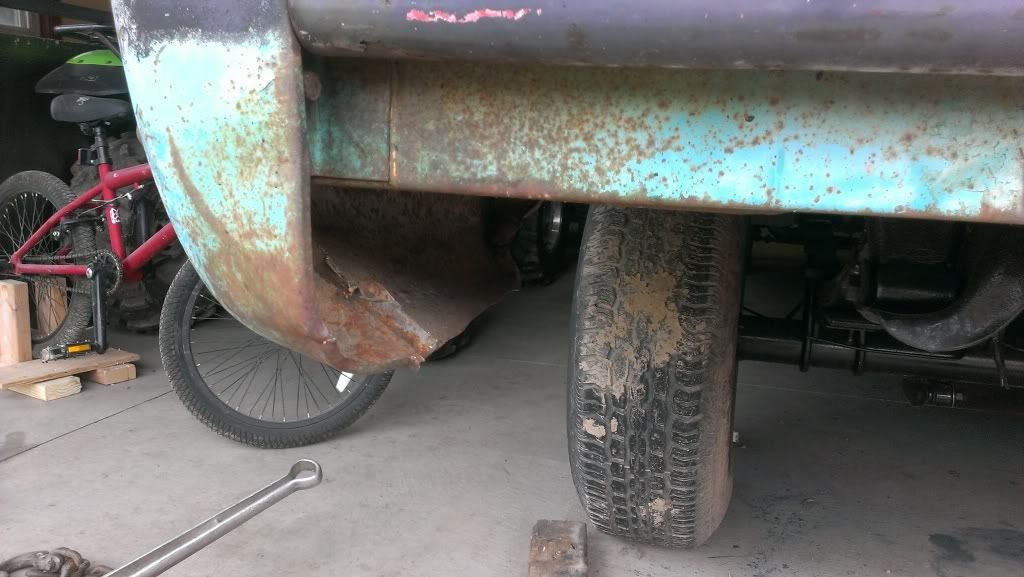
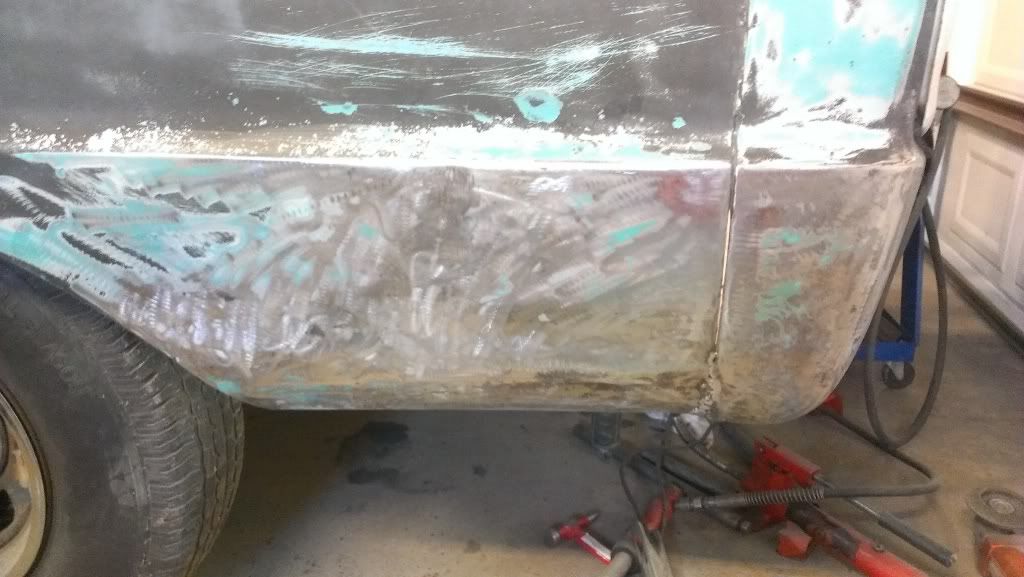
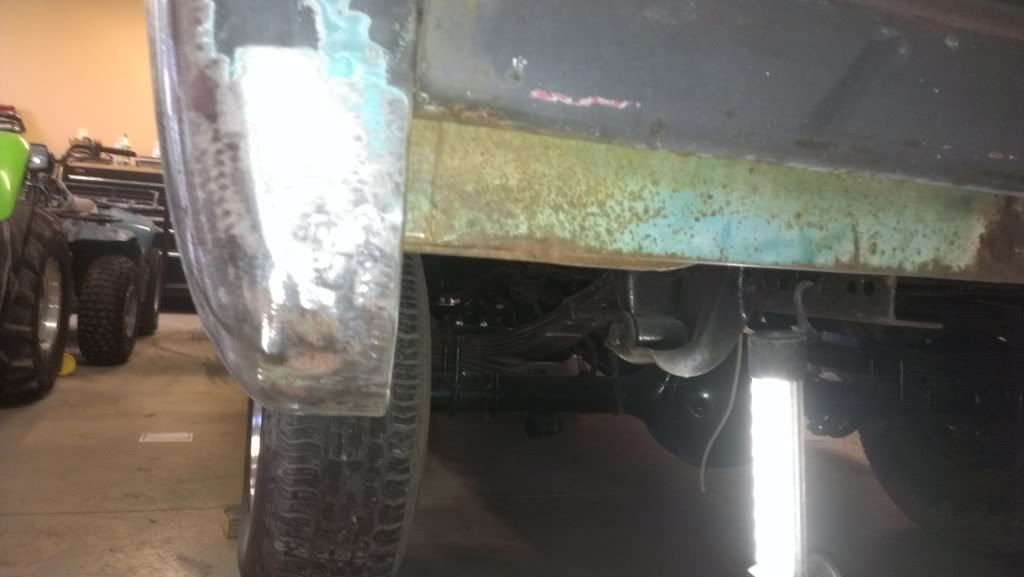
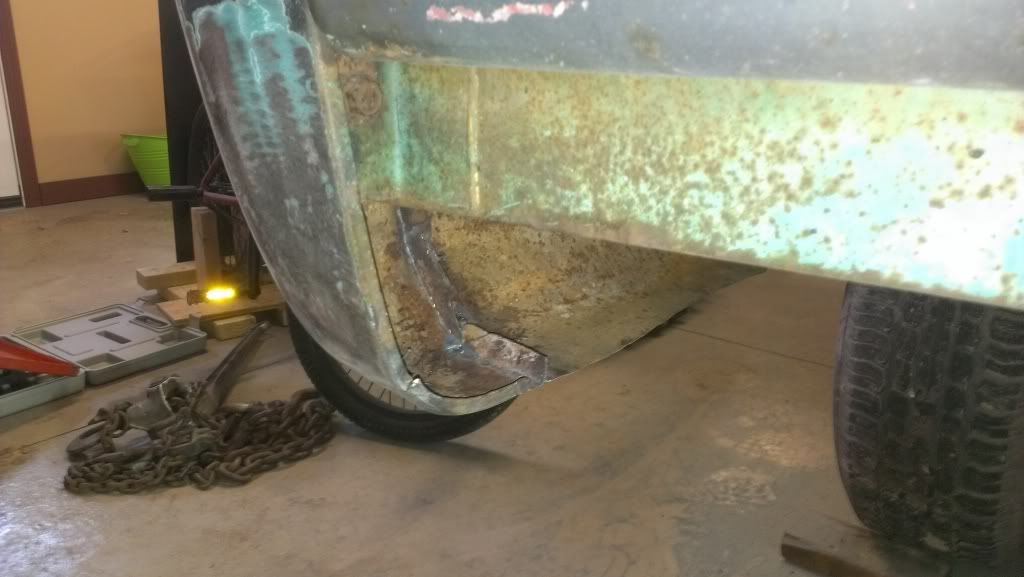
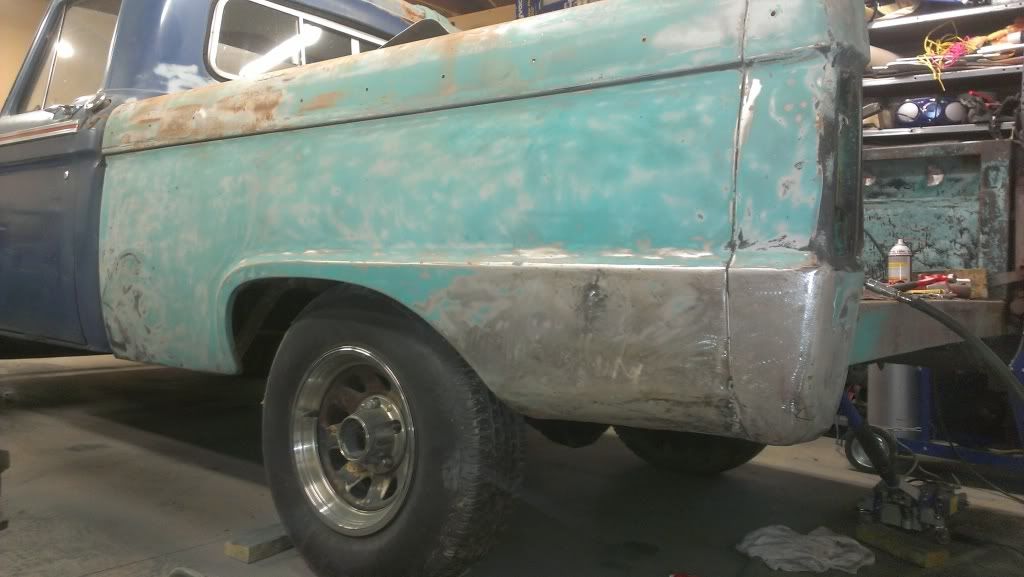
Looks like the truck was lifted or pushed by a tractor bucket, both quarters are dented upward behind both wheels. It took some serious persuasion to regain the approximate shapeImageImageImageImageImageImage
64f100sixcylinder
Posts: 112
Joined: April 17, 2014, 8:59 pm

Roll pan

Post by 64f100sixcylinder »

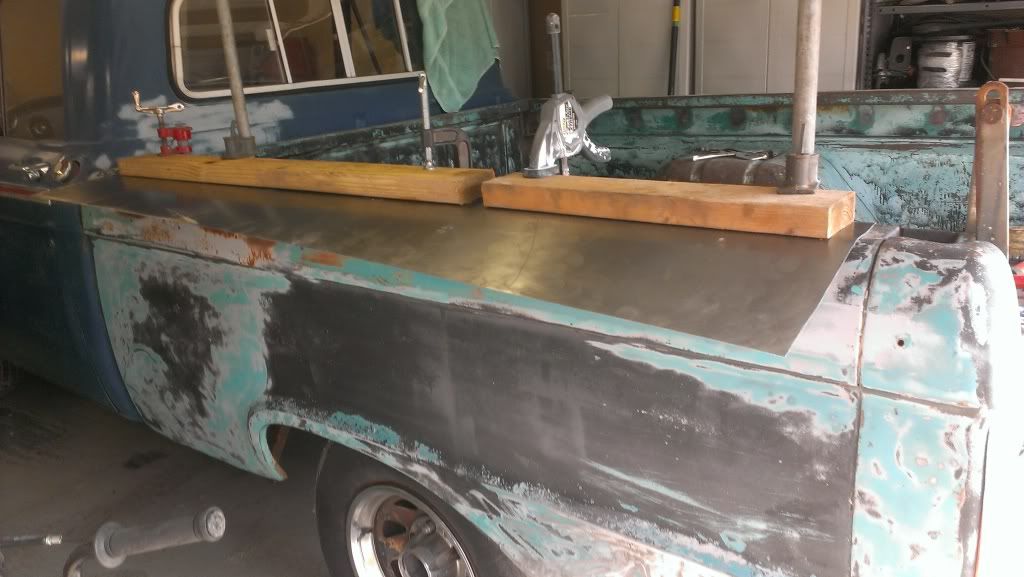
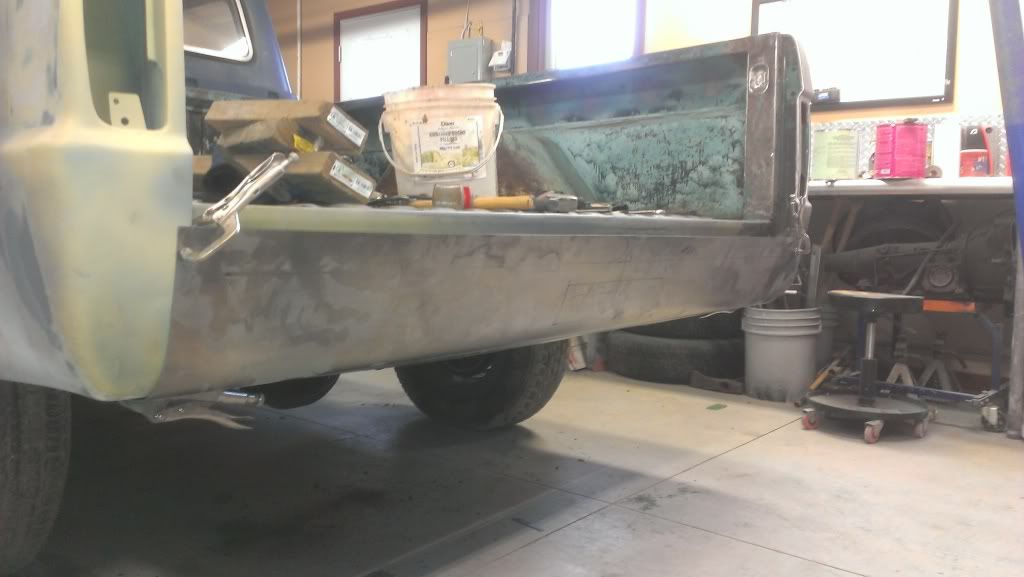
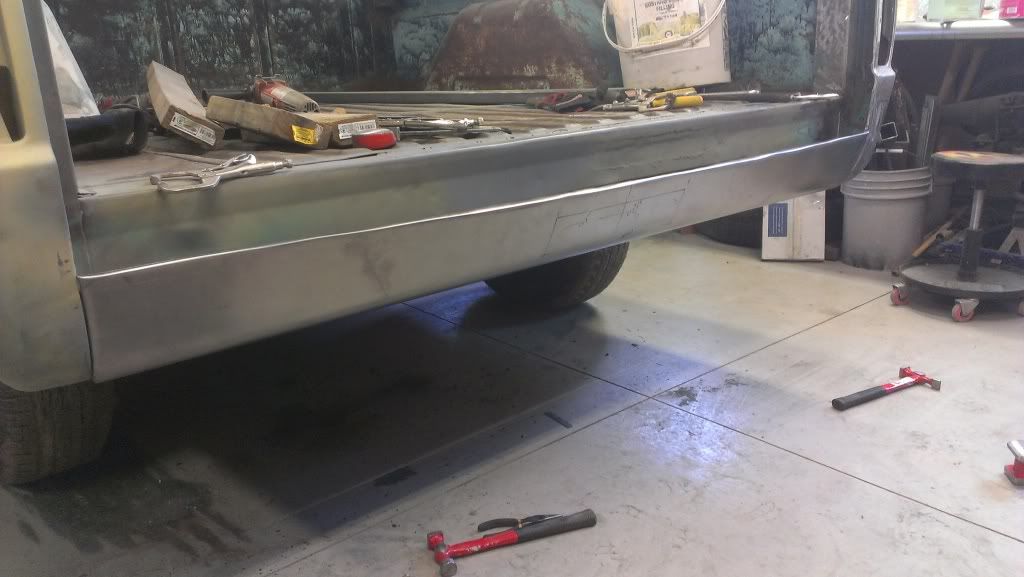
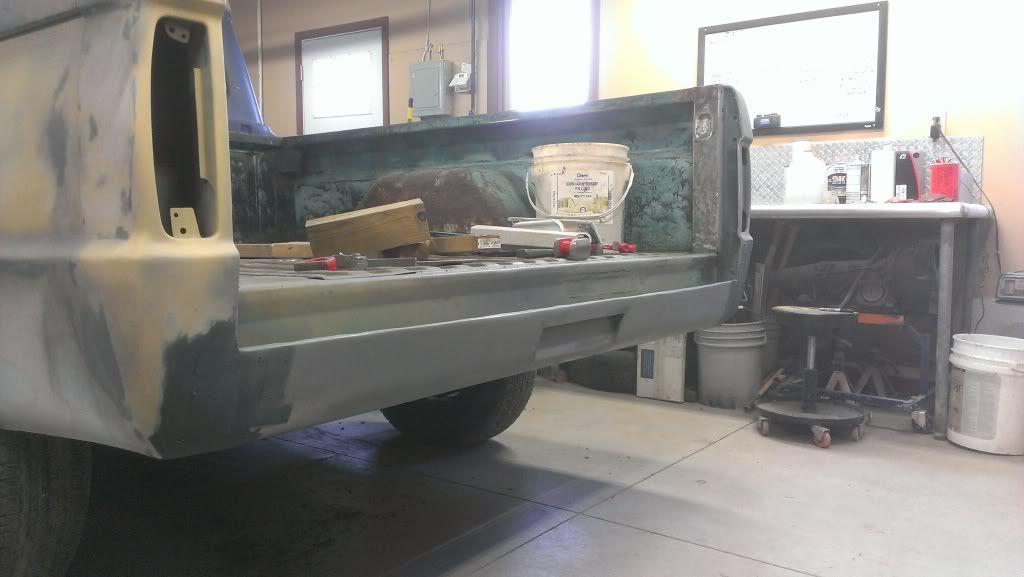
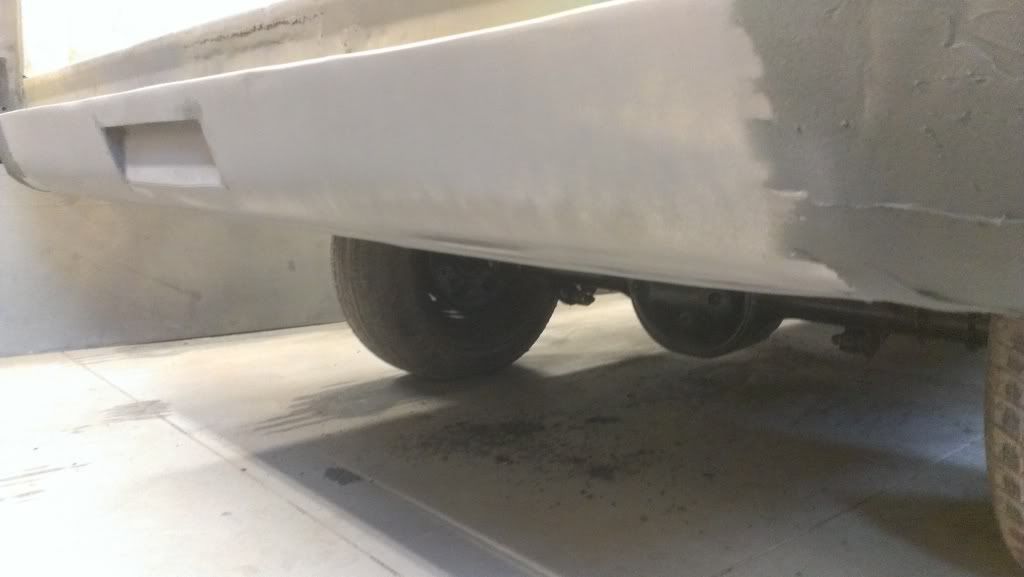
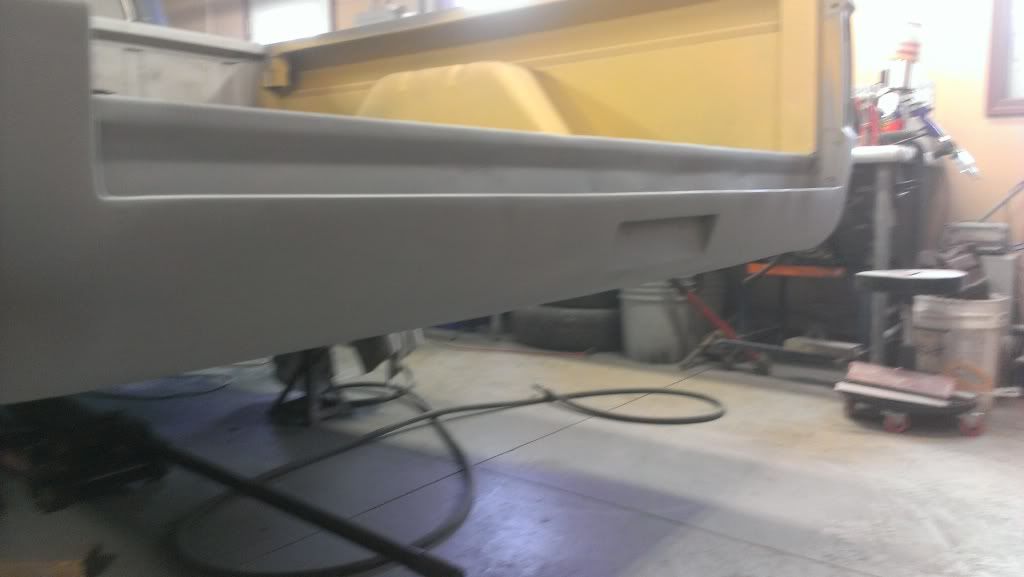
I got the truck without a rear ( or front) bumper. I thought I would attempt to make a rear roll pan. I used the bed side to bend the 18 gauge metal on. My methods are sometimes crude, but usually effective.
Image
Image
Image
It's starting to take shape
Image
License plate area cut
Image
Image
It's hard to see but I rolled a bead in the underside of it
Image
A few minutes later!!
Image
User avatar
JOSHF100
Posts: 86
Joined: December 2, 2012, 8:06 pm
Location: Birmingham Al
United States of America

Re: 1964 F100 body and paint, with a little mechanical stuff

Post by JOSHF100 »

Your off to a great start. Obviously not you first build. :wink:

Welcome to the board.
User avatar
bird55
Posts: 558
Joined: February 16, 2009, 11:56 am
Location: Tulsa, Oklahoma
United States of America

Re: 1964 F100 body and paint, with a little mechanical stuff

Post by bird55 »

Like what you are doin!
Welcome.
Great job on the "panel bender"! Just goes to show you how versatile these Slicks are! :P
64f100sixcylinder
Posts: 112
Joined: April 17, 2014, 8:59 pm

Re: 1964 F100 body and paint, with a little mechanical stuff

Post by 64f100sixcylinder »

Thanks for the warm welcome. More progress to come
64f100sixcylinder
Posts: 112
Joined: April 17, 2014, 8:59 pm

Re: 1964 F100 body and paint, with a little mechanical stuff

Post by 64f100sixcylinder »

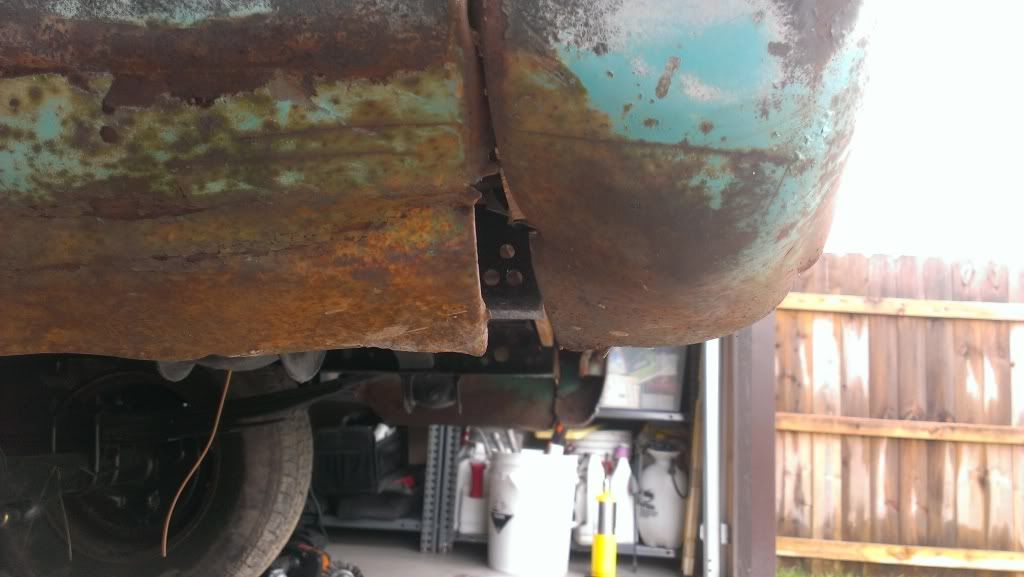
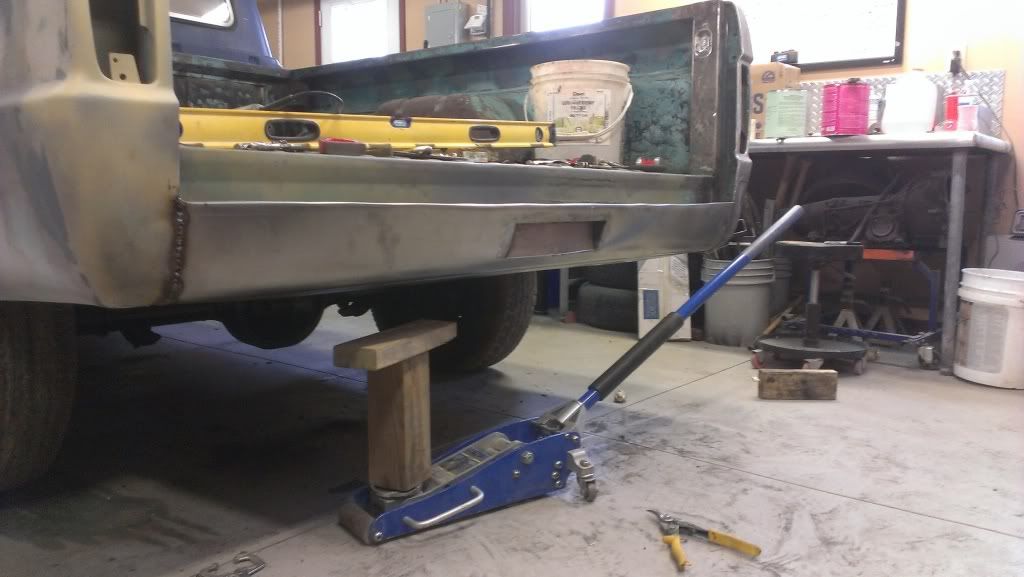
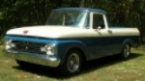
If you're wondering why the bed is different color than the cab, I believe the original bed was destroyed in a collision and this 65/66 bed was put on to replace it. There are dents in the rear cab that look like a bed contacted it. The Porta Power and some brute force were used
Image
Image
It's almost pushed back where it belongs
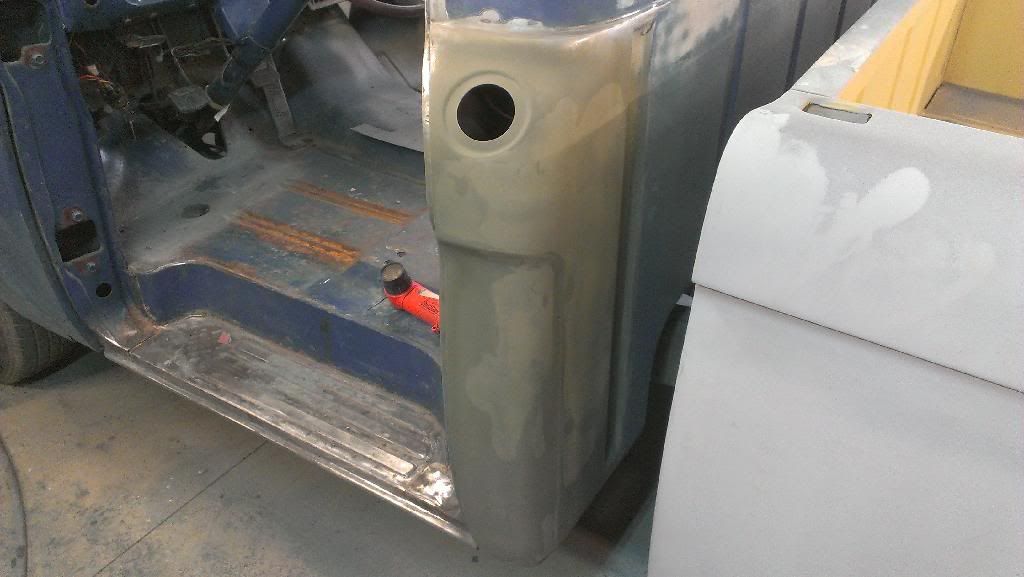
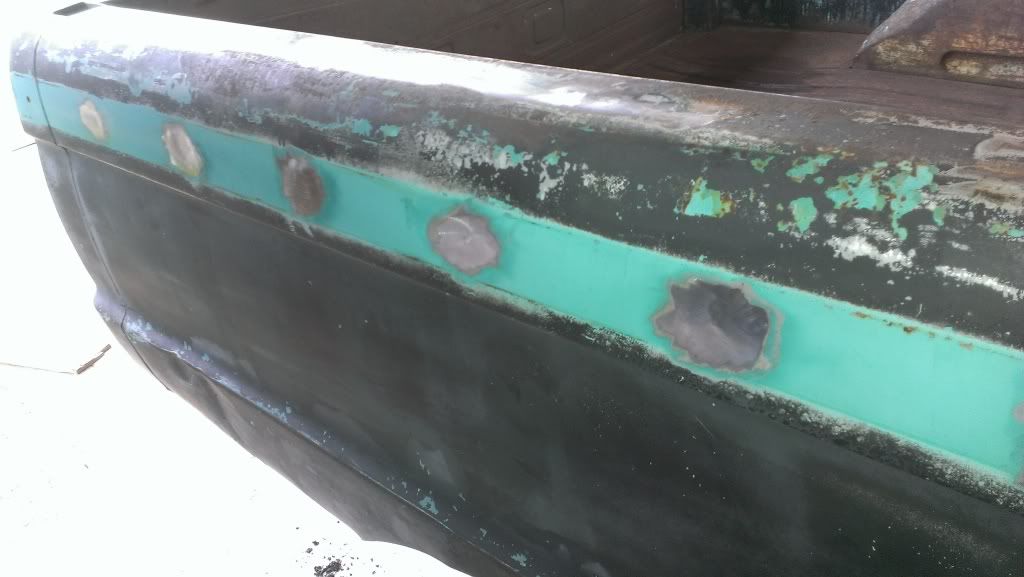
Image
Image
Image
Image


Trim holes filled
Image
Image
After a coat of filler and then self etch primer

Image
64f100sixcylinder
Posts: 112
Joined: April 17, 2014, 8:59 pm

Re: 1964 F100 body and paint, with a little mechanical stuff

Post by 64f100sixcylinder »

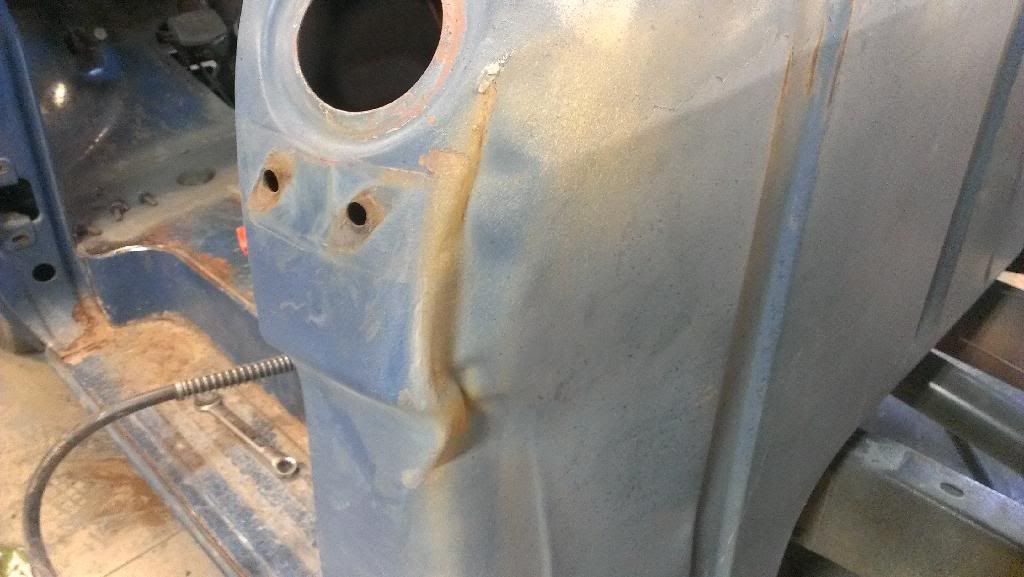
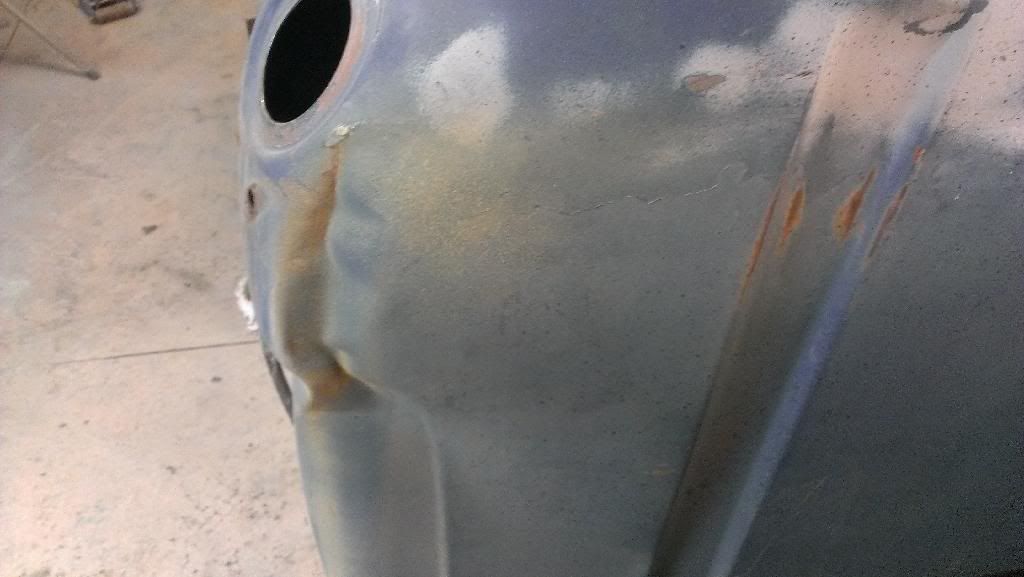
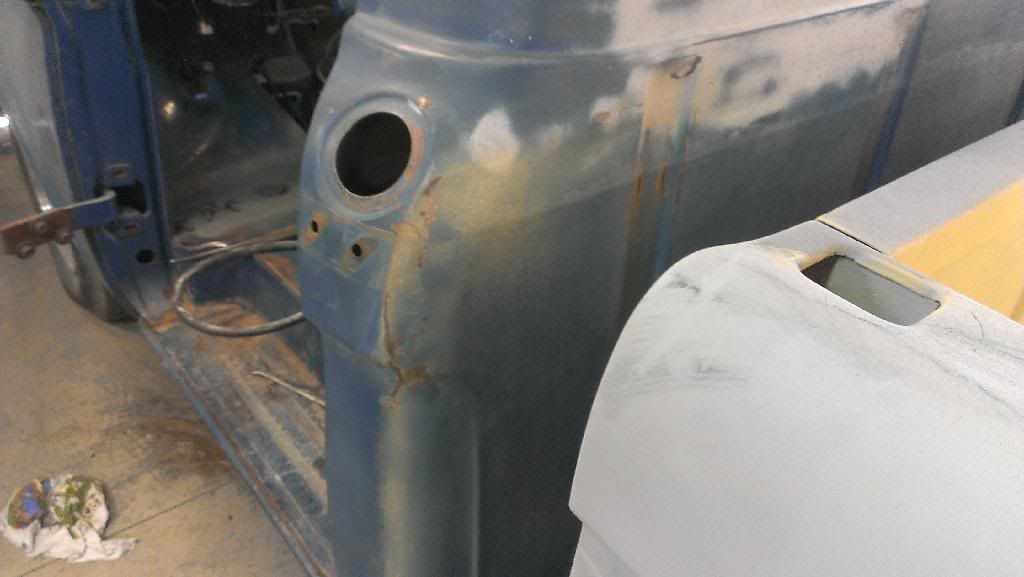
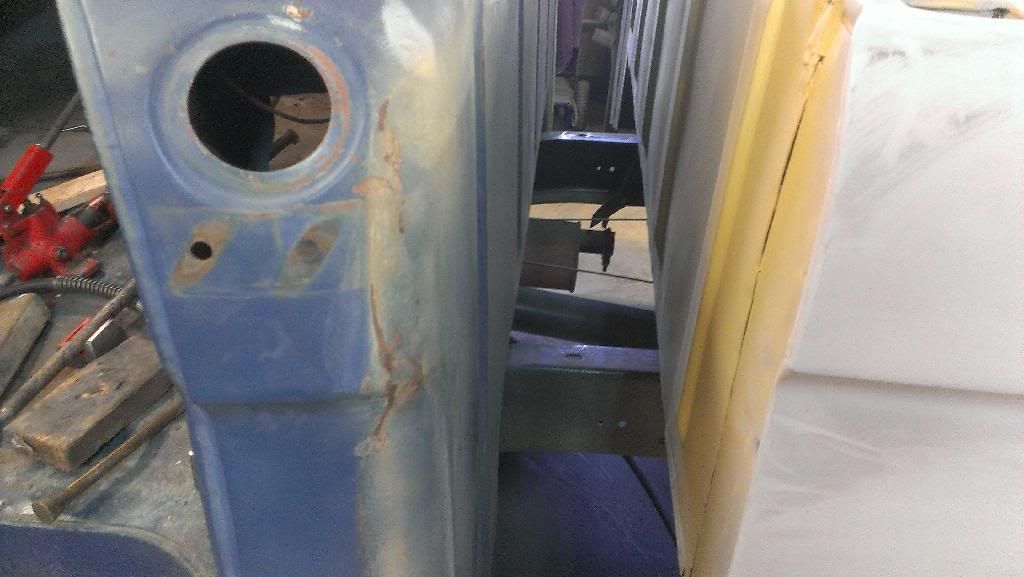
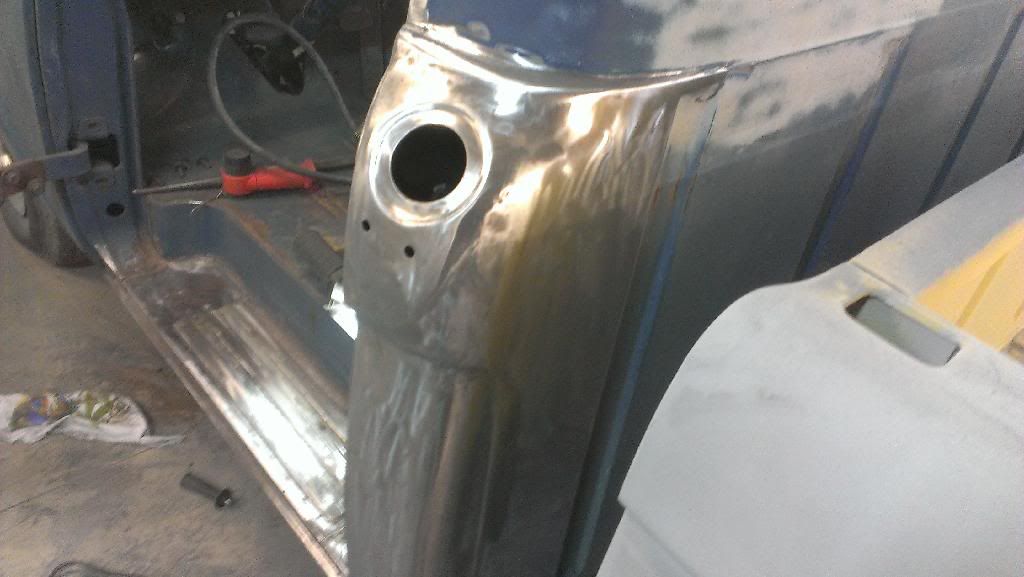
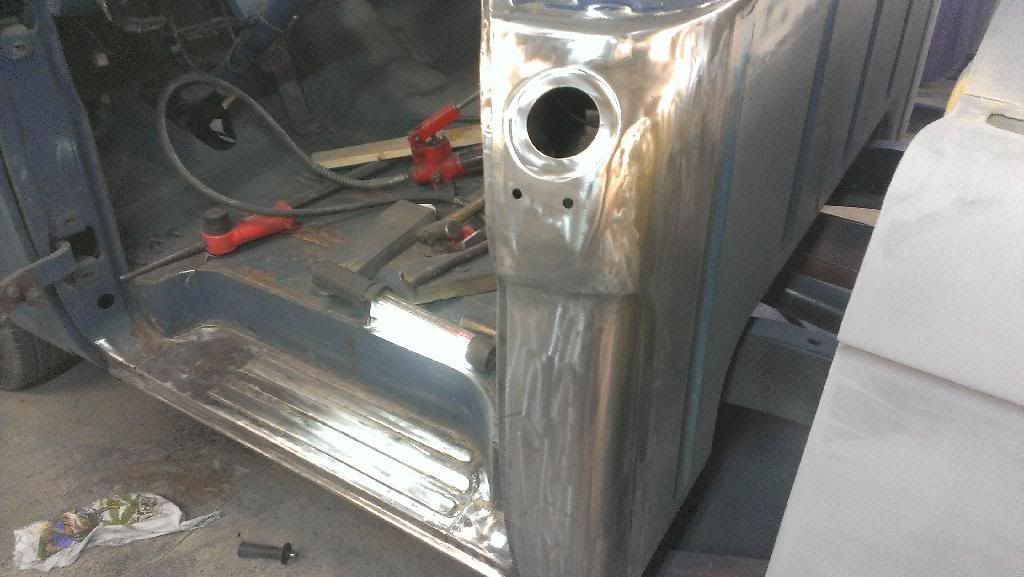
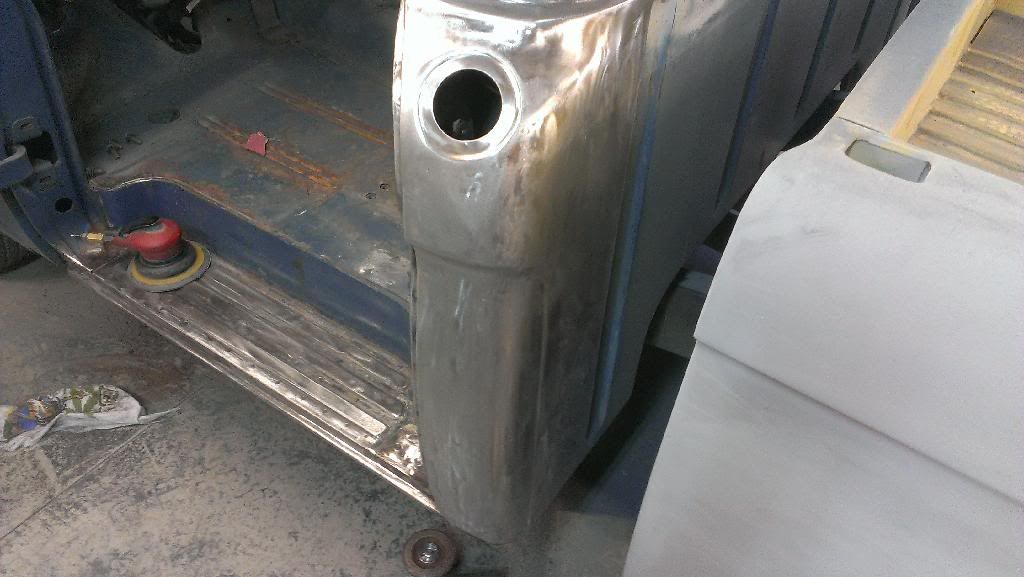
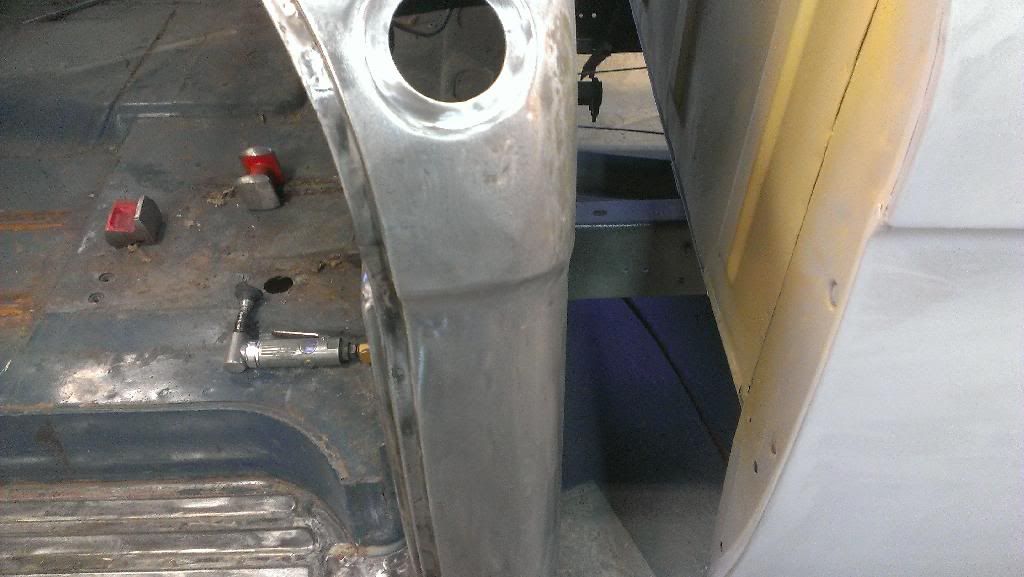
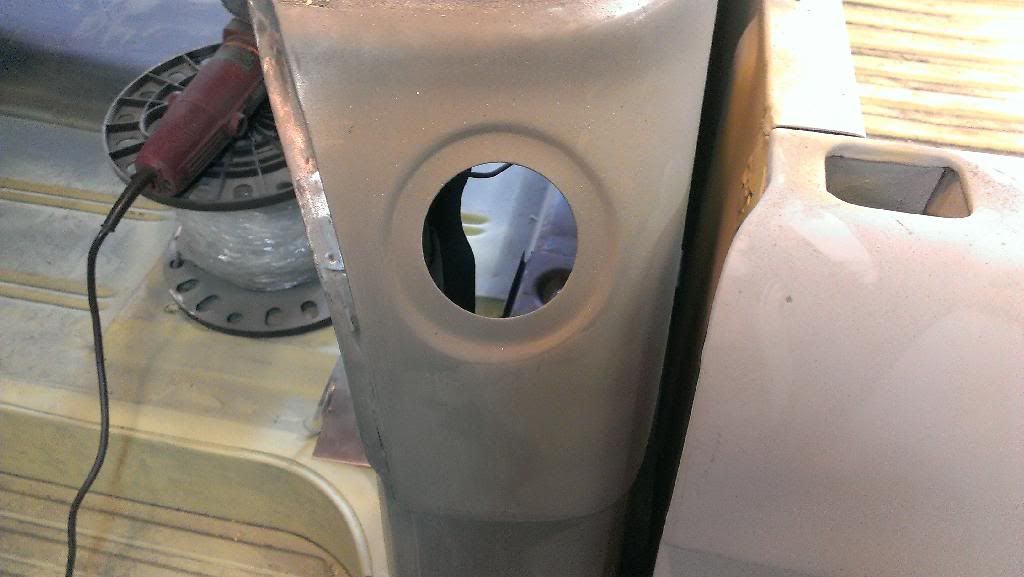
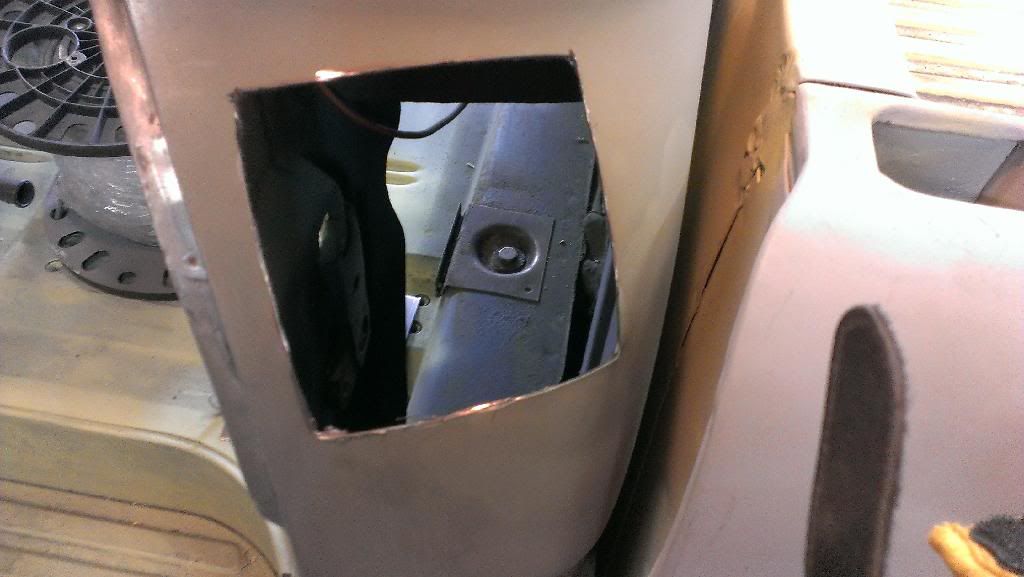
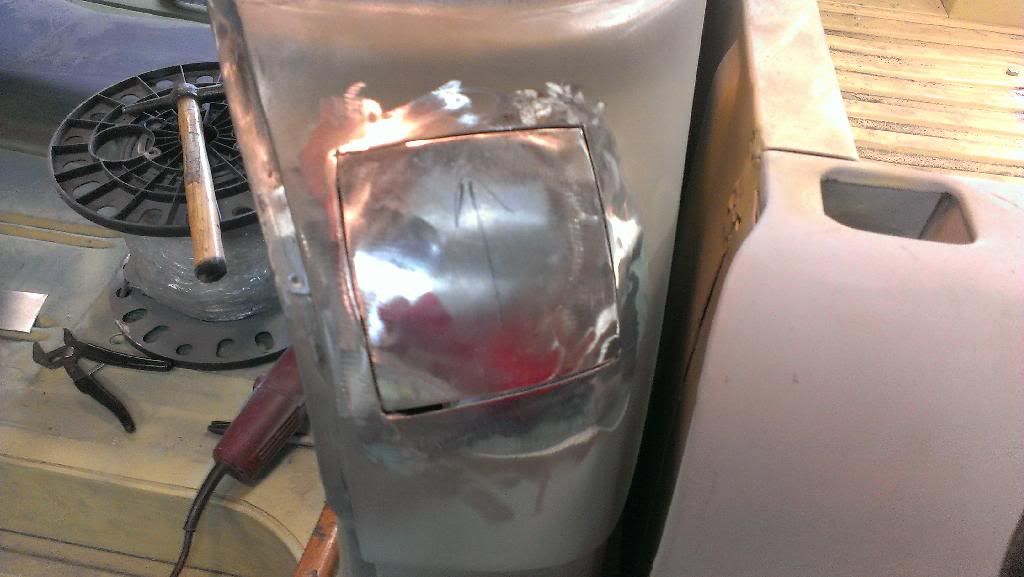
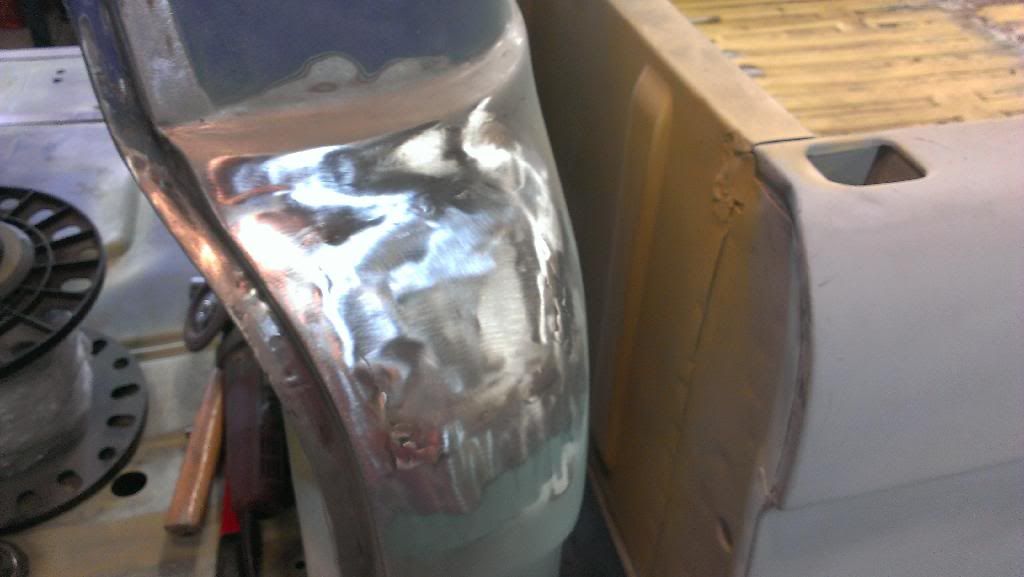
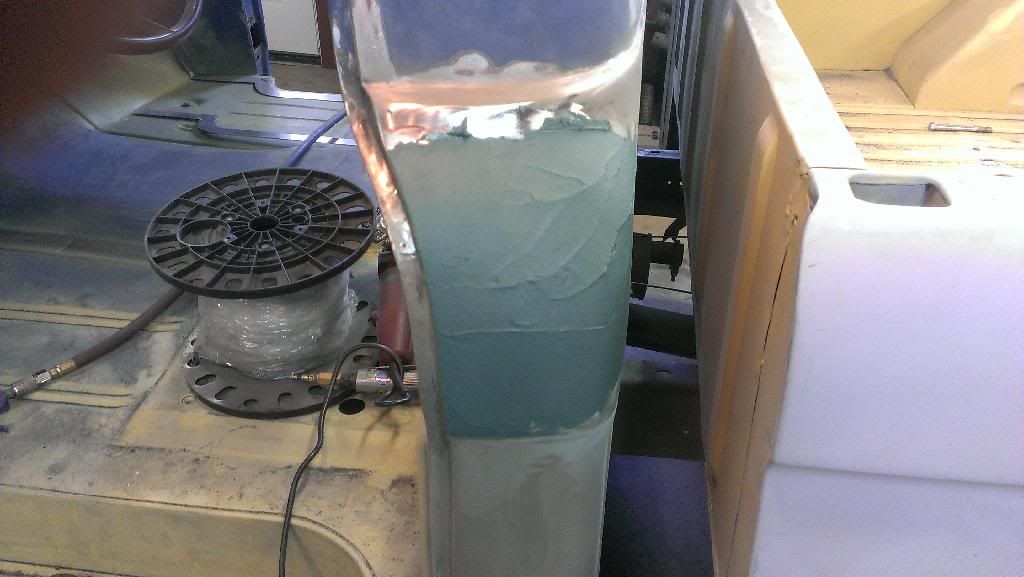
I'm moving the gas tank (more on that later) so I'm filling the hole in the cab. Again I'm using 18 gauge sheet metal, since I bought a 10x3 foot sheet from my local metal supplier
Image
Image
Image
This has more curves than it appears to
Image
Welded and welds ground down
Image
A little filler, don't worry most of this gets sanded off
Image
LM14
Posts: 1755
Joined: August 22, 2009, 10:44 pm
Location: Bloomfield, Iowa
United States of America

Re: 1964 F100 body and paint, with a little mechanical stuff

Post by LM14 »

Looking very nice. Look like you are doing things right.

SPark
1932 Ford 5 window coupe. 302/C4
1962 8V-390/C6 Unibody Short Bed Soon to be Big Window - The Lincoln that never was
2013 F150 Super Crew Eco Boost 4x4
2015 Ford Edge for the little lady, because she said so!
2007 Mustang GT, 4.6-3V/5 Speed. Only 8680 miles on the clock.

More toys, I need more toys!!!
MadMaxetc
Posts: 2600
Joined: July 10, 2006, 12:00 pm
Location: Wichita, KS
Contact:
United States of America

Re: 1964 F100 body and paint, with a little mechanical stuff

Post by MadMaxetc »

Yes. Looking vsry good. Good on ya cor saving another one! Wel ome aboard!
Dan
Project: '63 F-100 LWB / 460 / C6 / 2x4
My Build Thread
grump
Posts: 959
Joined: September 14, 2006, 6:47 pm
Location: ohio

Re: 1964 F100 body and paint, with a little mechanical stuff

Post by grump »

Looking good! How did you make the curve for your gas filler hole opening patch panel? I like the way you made the roll pan.
64f100sixcylinder
Posts: 112
Joined: April 17, 2014, 8:59 pm

Re: 1964 F100 body and paint, with a little mechanical stuff

Post by 64f100sixcylinder »

I made the curve for the gas filler hole with a hammer & dolly, vice, and once it was close I started welding and worked the metal as I went.
64f100sixcylinder
Posts: 112
Joined: April 17, 2014, 8:59 pm

Re: 1964 F100 body and paint, with a little mechanical stuff

Post by 64f100sixcylinder »

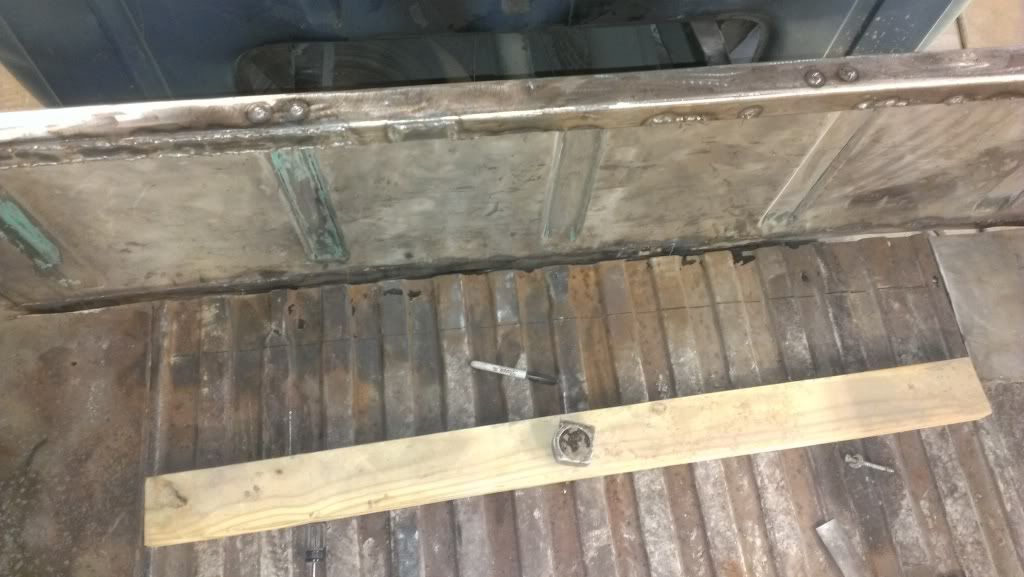
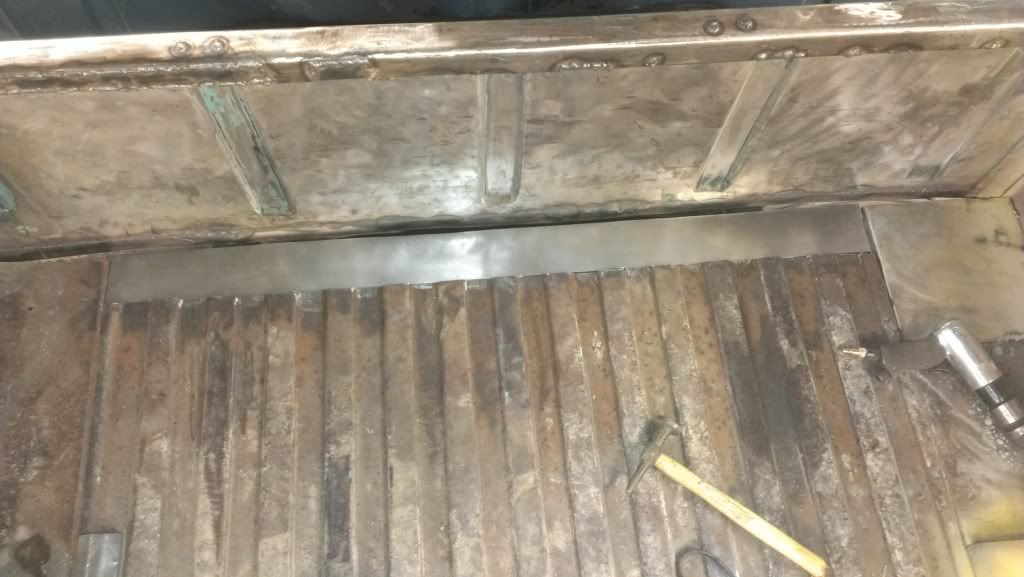
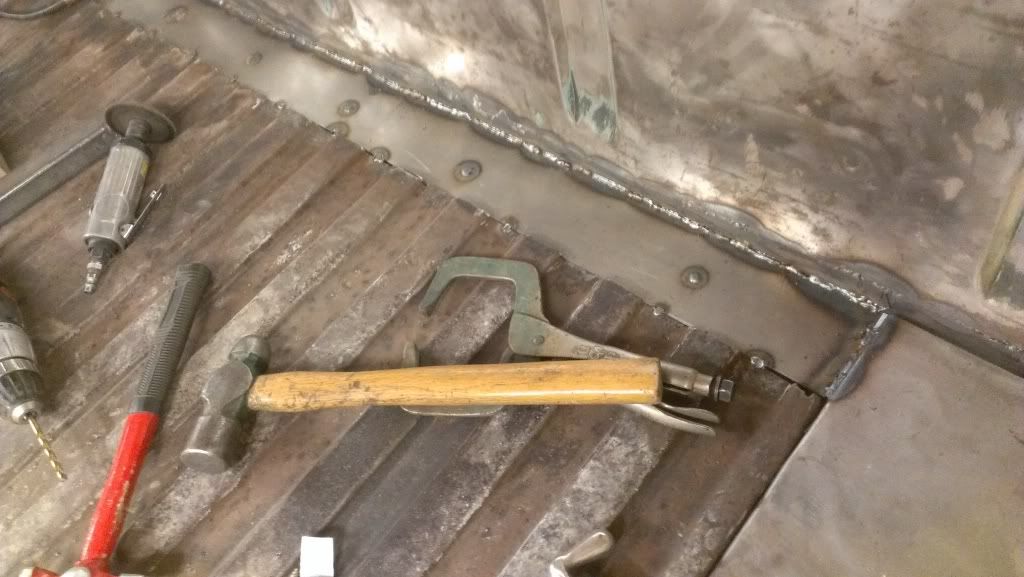
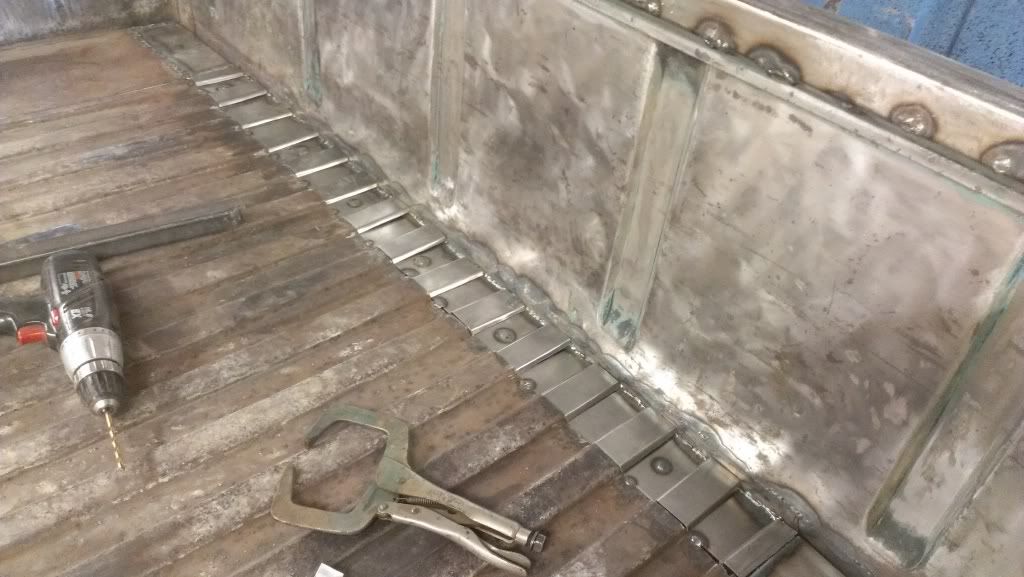
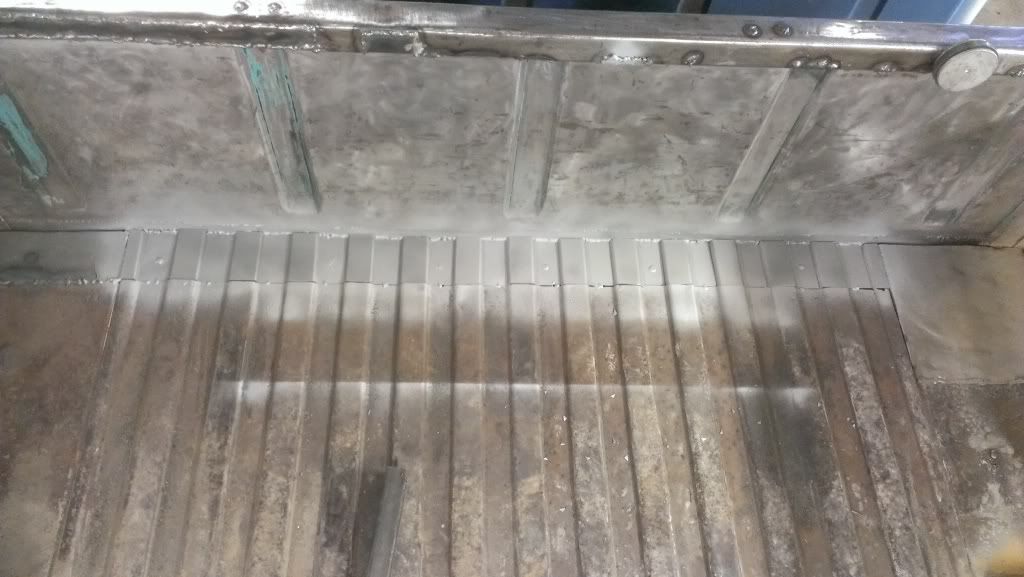
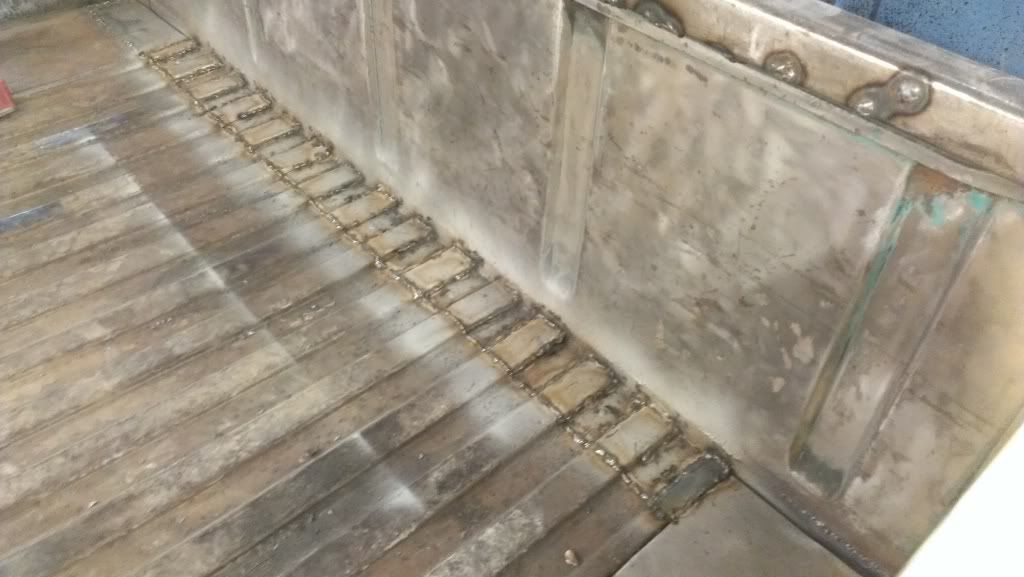
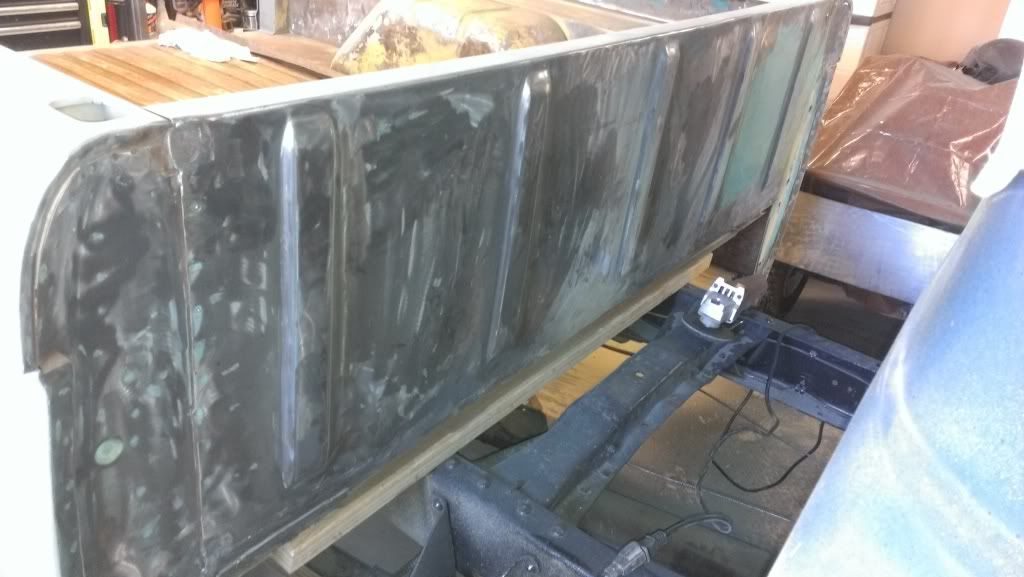
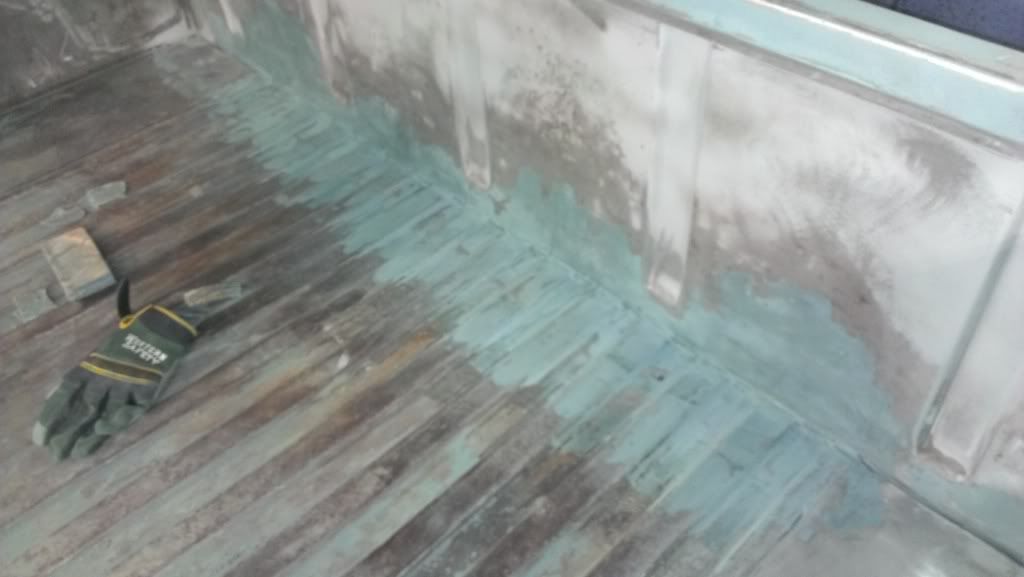
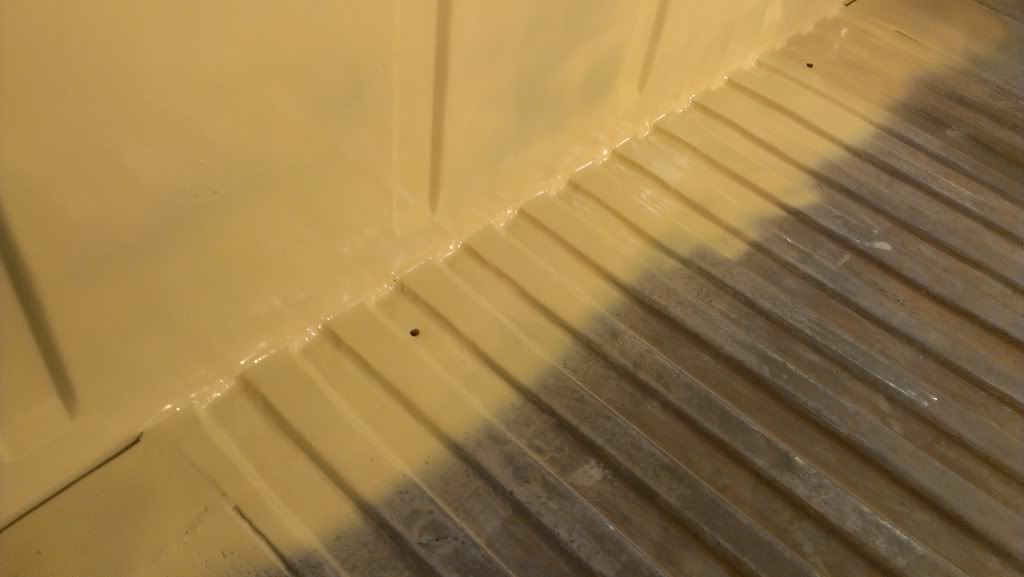
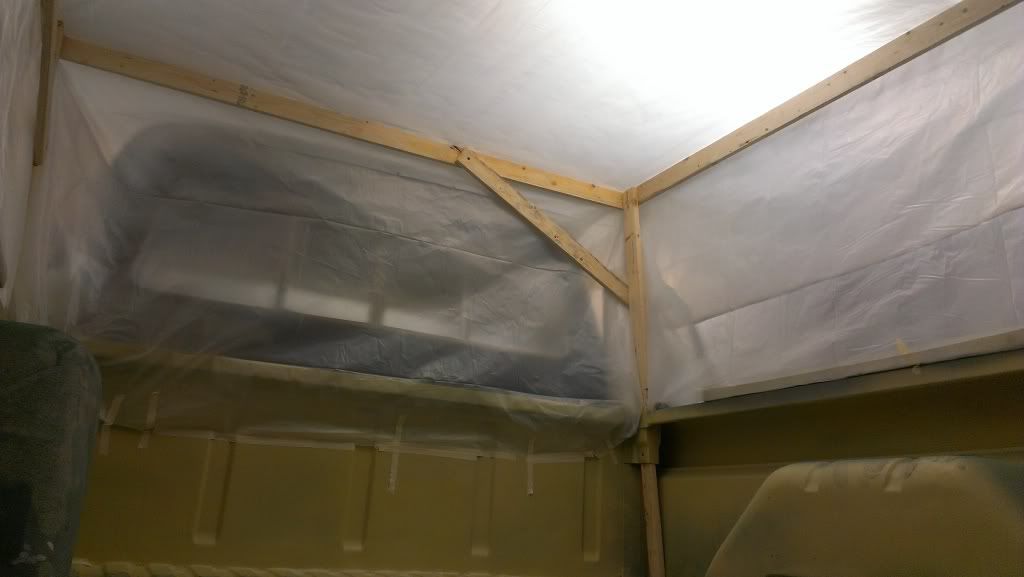
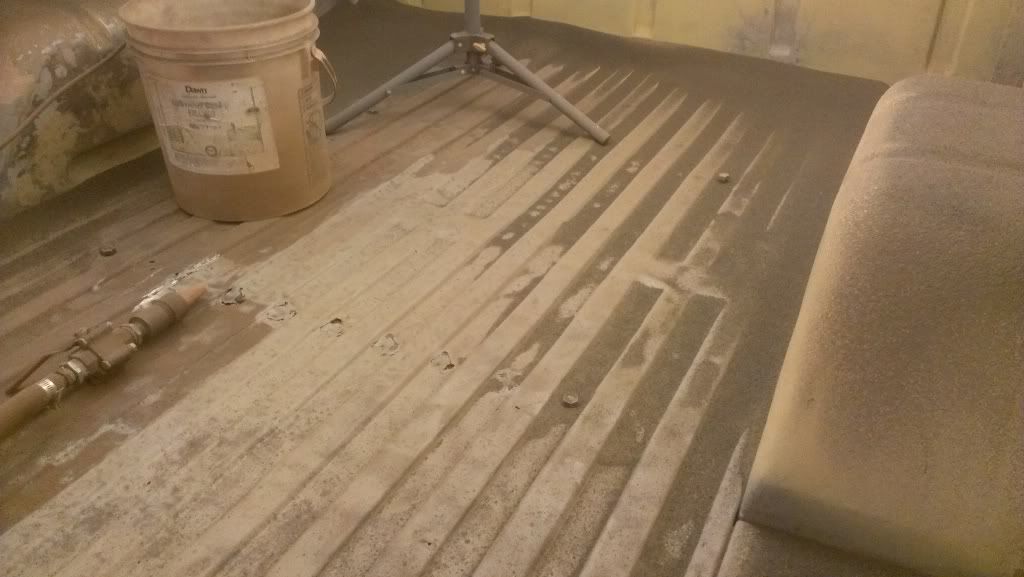
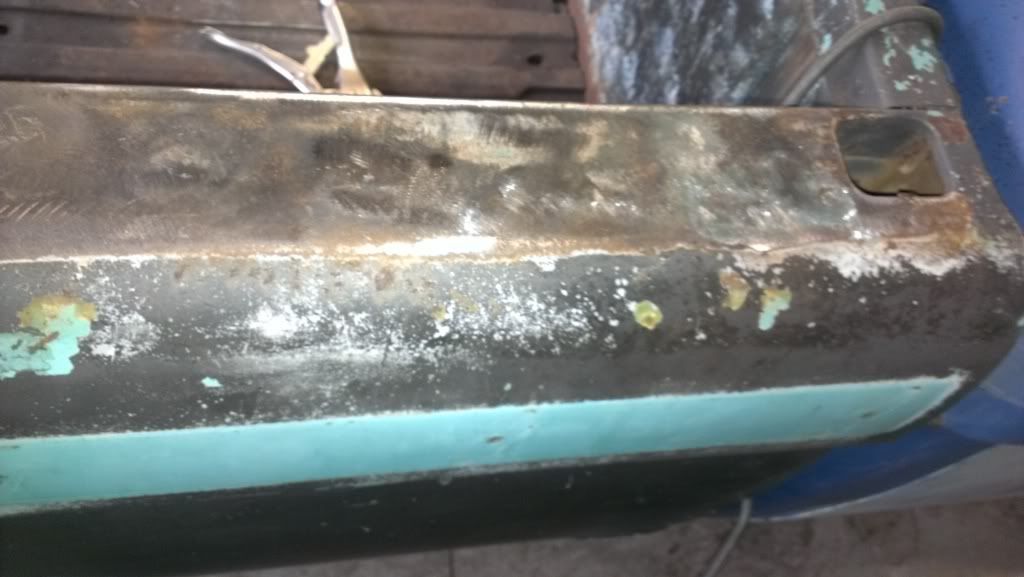
So I used a big pressurized sand blaster to removed the rust inside the bed. The metal was pitted and would've taken forever to sand with all the angles and I would've never gotten rid of all of it. So I put some 1x3s in the stake pockets and built a frame so it could then wrap it in plastic sheeting and keep the media sort of contained. It was a miserable 2 days inside the tent, loud even with ear protection, so dusty that I could barely see. But once finished well worth it. The front few inches of the bed floor was very thin and not really save able. The front bed wall was also rusted at the very bottom and needed replacement. I seriously considered just tearing the entire floor out and using diamond plate, but I really wanted to keep the stock floor ribs. So I fixed the rust, it was not my favorite part of this build.
ImageImage
Image
Image
I made all the rib patches by hand with a hammer and the vice. They were then shot with weld thru primer
Image
Image

Image
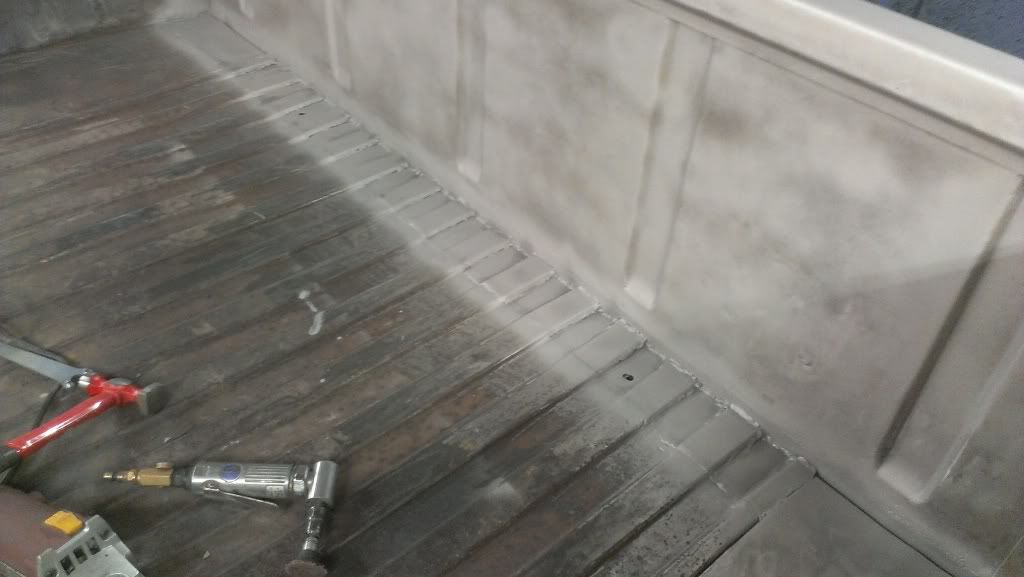
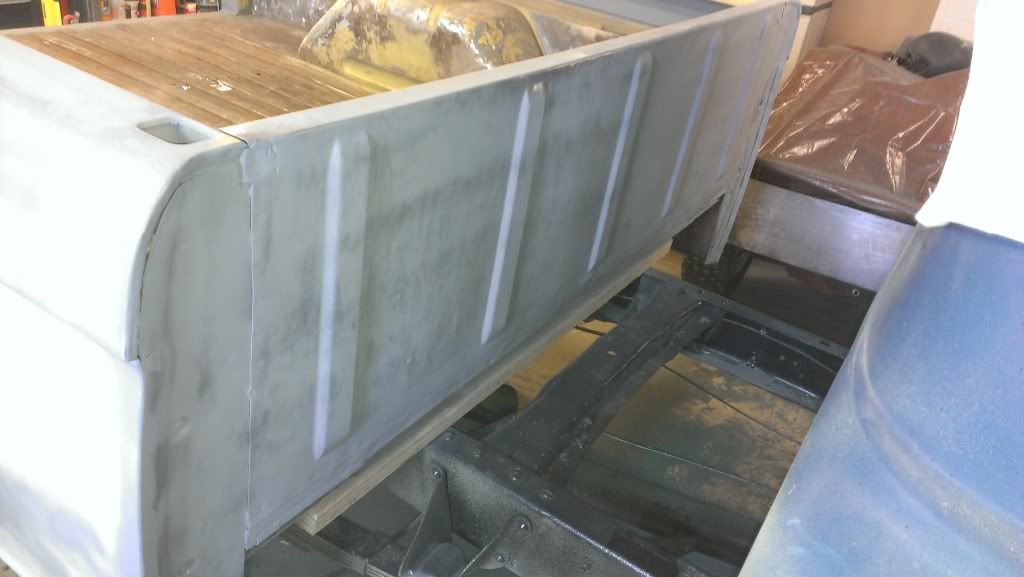
The bed wall patch is in and almost ready for primer
Image
Image
Fiberglass filler, very tough to sand
Image
Epoxy primed

Image
64f100sixcylinder
Posts: 112
Joined: April 17, 2014, 8:59 pm

Re: 1964 F100 body and paint, with a little mechanical stuff

Post by 64f100sixcylinder »

Some pics of the blasting tent
Image
Image
Image
64f100sixcylinder
Posts: 112
Joined: April 17, 2014, 8:59 pm

Re: 1964 F100 body and paint, with a little mechanical stuff

Post by 64f100sixcylinder »

After media blasting the bed with Black Beauty from Tractor Supply, I then spray it with epoxy primer.
Image
Image
Good enough for a truck bed
Image
Image
Image
Areas that need repair, there are a lot of them
Image
64f100sixcylinder
Posts: 112
Joined: April 17, 2014, 8:59 pm

Re: 1964 F100 body and paint, with a little mechanical stuff

Post by 64f100sixcylinder »

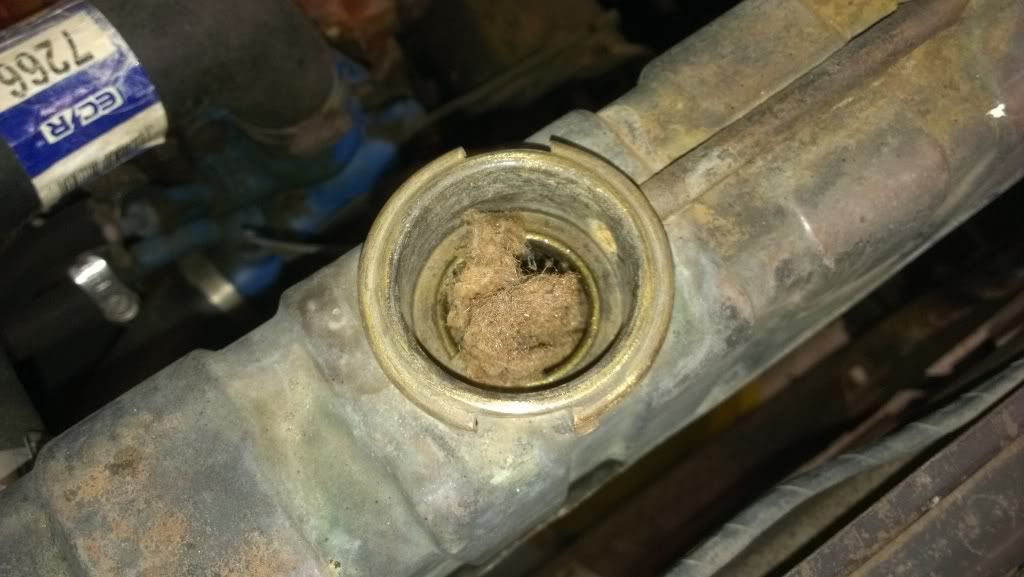
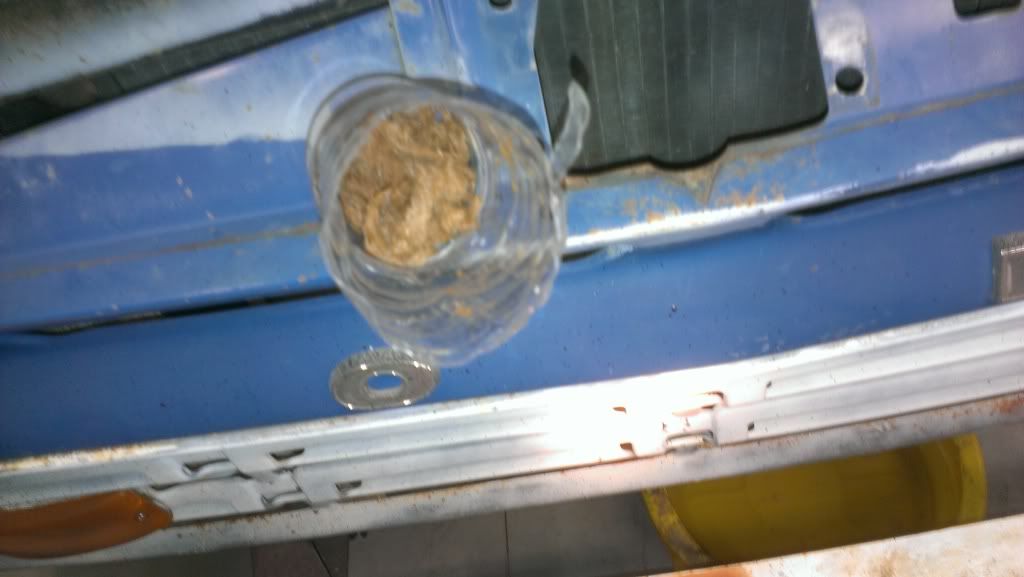
This disgusting mouse nest was found in my headliner. There was also another in the radiator, which was a lot of fun to remove. This explains why my seat has almost no padding left
Image

Image

Image
User avatar
therealjoeshmoe
Posts: 1059
Joined: July 24, 2006, 2:18 am
Contact:

Re: 1964 F100 body and paint, with a little mechanical stuff

Post by therealjoeshmoe »

hey how did your compressor work with that sand blaster?

nice work by the way....
Why fart and waste it when you can burp and taste it!

Image Image Image Image
64f100sixcylinder
Posts: 112
Joined: April 17, 2014, 8:59 pm

Re: 1964 F100 body and paint, with a little mechanical stuff

Post by 64f100sixcylinder »

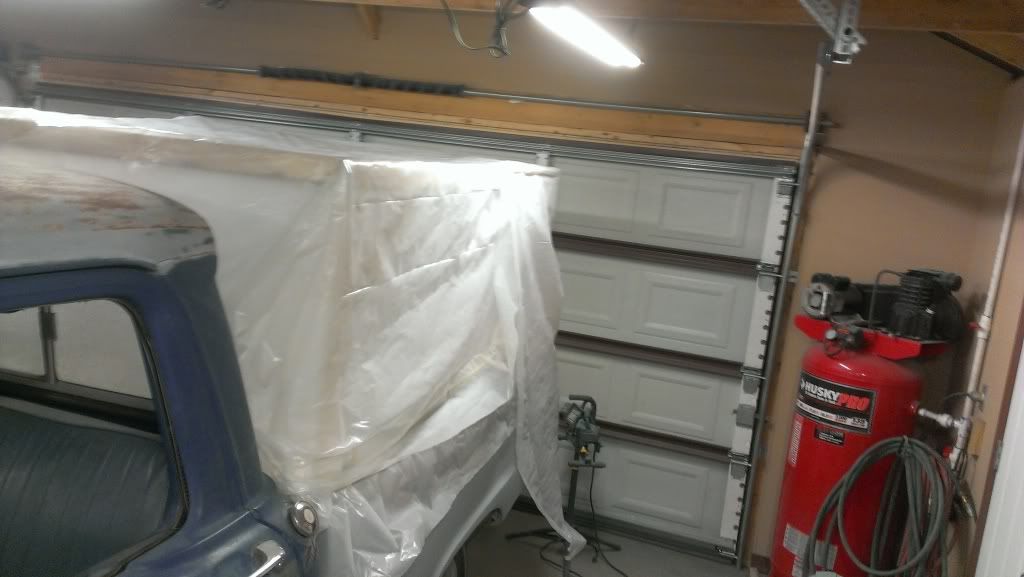
The compressor worked very hard, it's a 60 gallon 220 volt Husky from Home Depot. It got the job done, but was running the entire time. The blaster is a monstrous pressurized unit that easily held three bags of Black Beauty, and could probably hold 7 or 8, not a Harbor Freight one.

Thanks
64f100sixcylinder
Posts: 112
Joined: April 17, 2014, 8:59 pm

Re: 1964 F100 body and paint, with a little mechanical stuff

Post by 64f100sixcylinder »

Mouse condo in the radiator
Image
Image
Post Reply