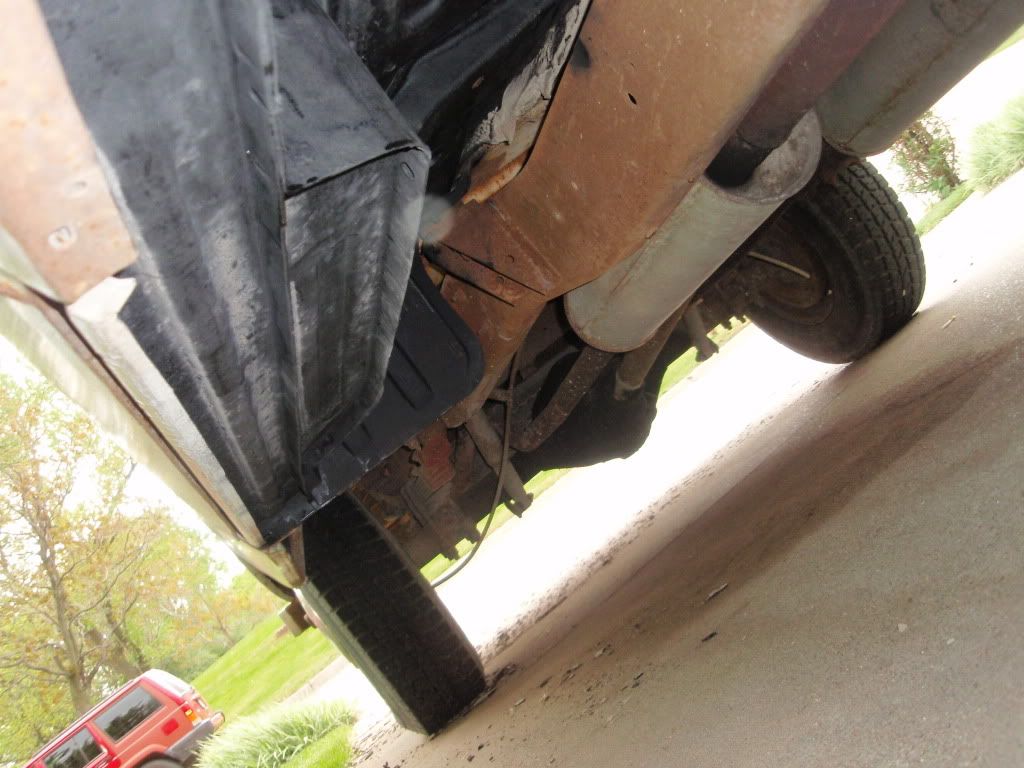
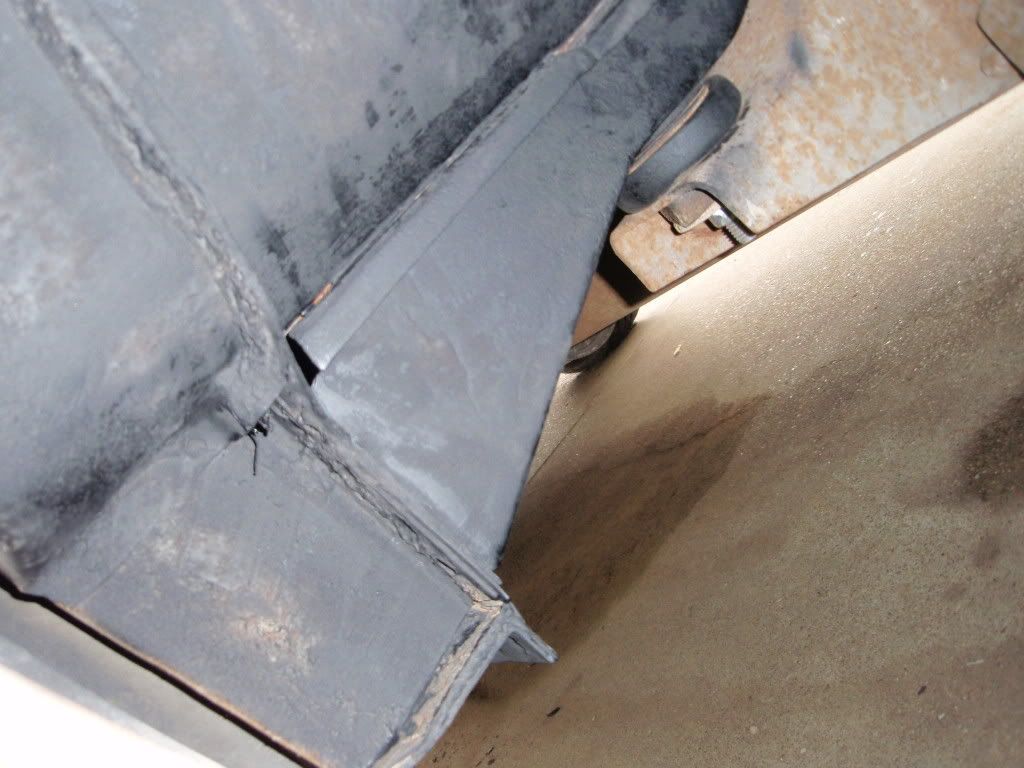
Not really anything to show pics wise right now. Been cleaning out drains, wire brushing, scraping old undercoating. I'll pop a pic when I get 1 side of the under floor POR'd. I have the POR on the drivers side rocker & step underneath. On the drivers side I discovered a 1 inch long crack at the fender mount - probably from when it got wrecked. It's real clean there so it won't be much to weld up after the fender is off. Got some more cleaning done today quit about 1/2 hour ago - storms have blown in. Lost the rubber tip off my blow gun inside the passenger side cab mount. The metal that the pieces are stamped out of look to be 14-16ga, they don't appear to be thinned any measurable amount. Found a thin spot in the cab corner - inner & outter on the passenger side. I may have to think about a small patch but won't need a patch panel 2" square or so will cut enough out for them.
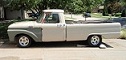
1964 F 100 - I am going to do "something" with it.......
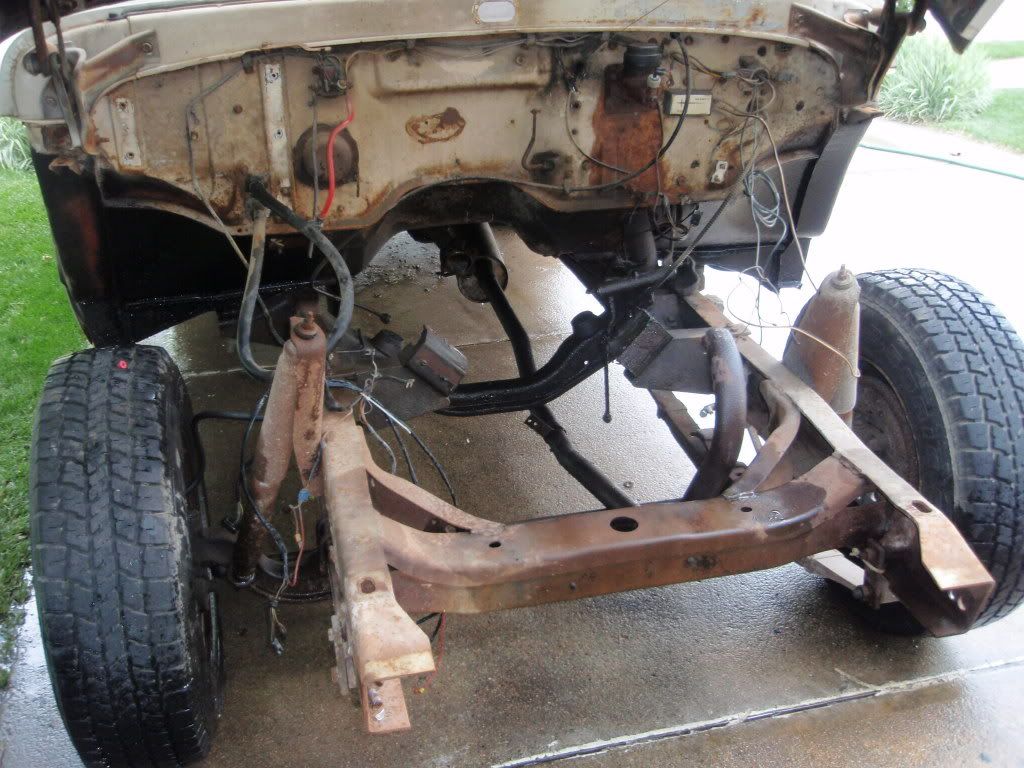
As soon as I get under the cab painted, floor, frame. I can then start swapping the axles over and pull the front clip & engine & tranny. Then while I freshen up the 292 and convert it to a T-5 I can get the inside of the front clip painted and the front of the frame. Figured I may as well work underneath before I slam it and can't get my fat old arse underneath it anymore, lol. As it sits I don't even need to put it up on anything to work under it.
1964 F 100 - I am going to do "something" with it.......
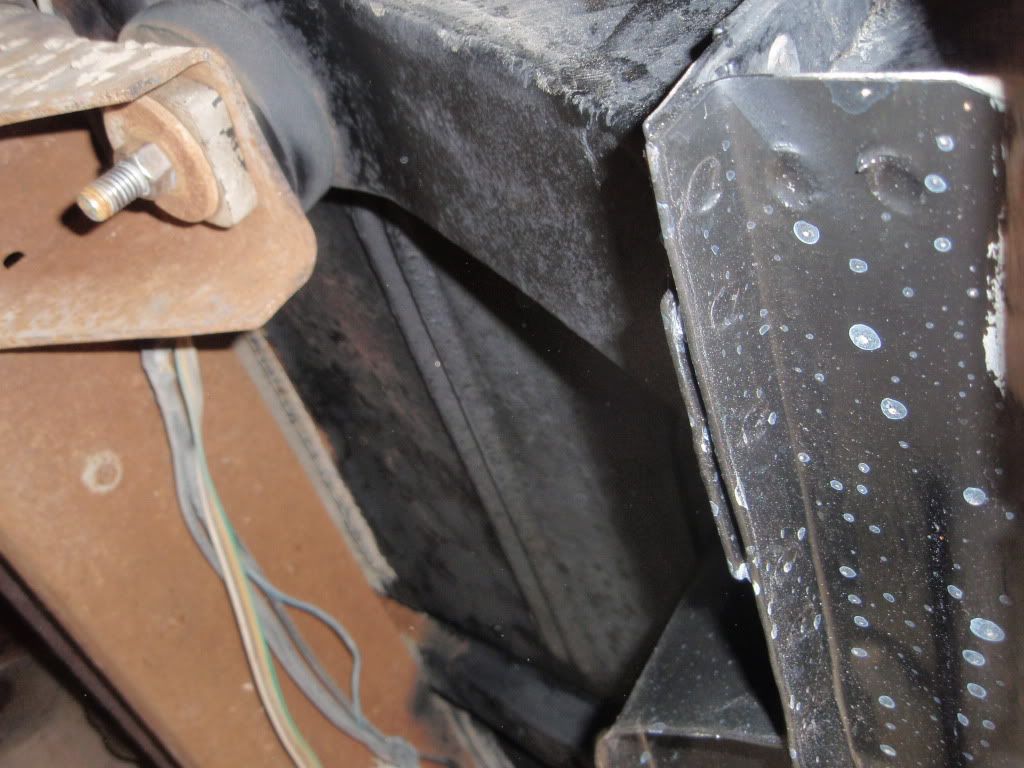
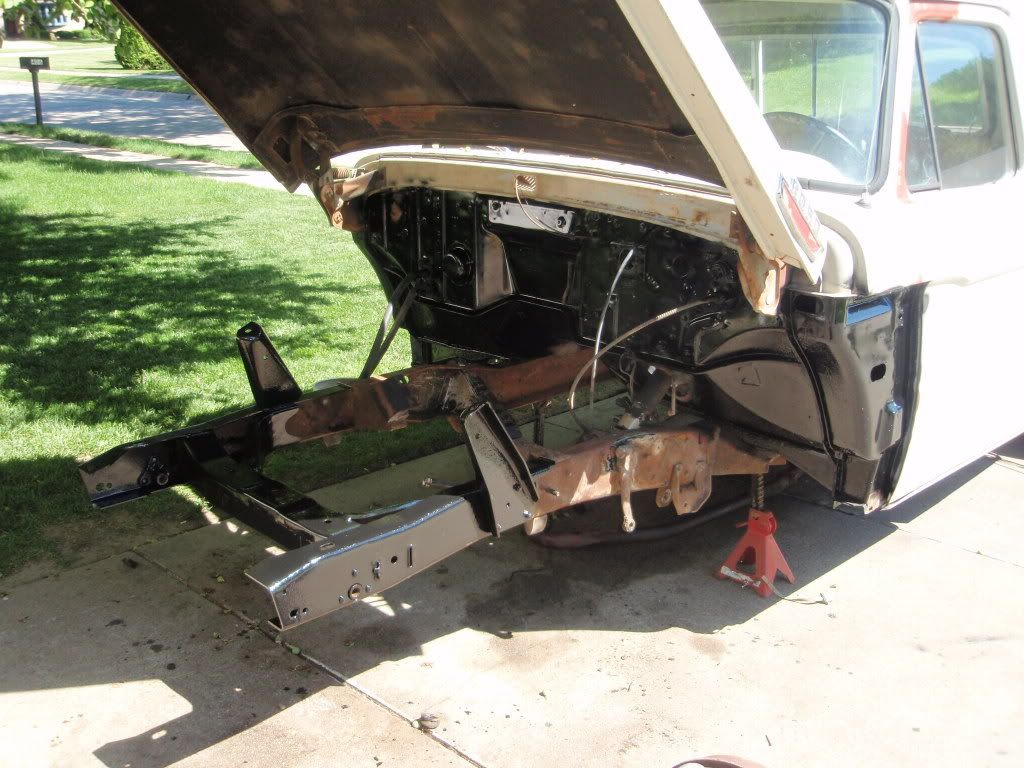
I got most of the under cab painted this weekend out board of the frame - used Eastwood's Rust Encapsulator aerosol. I will put a good coat of gloss black rustoleum over this because it's pretty tough paint - the Eastwood stuff is my primer under here. As you can see the bottom of the drivers side step and the inner cab corner are done. Next I will coat the frame under the cab area. The front of the frame will wait til the engine is out and the rear when the bed is off after it's cut & welded back up.
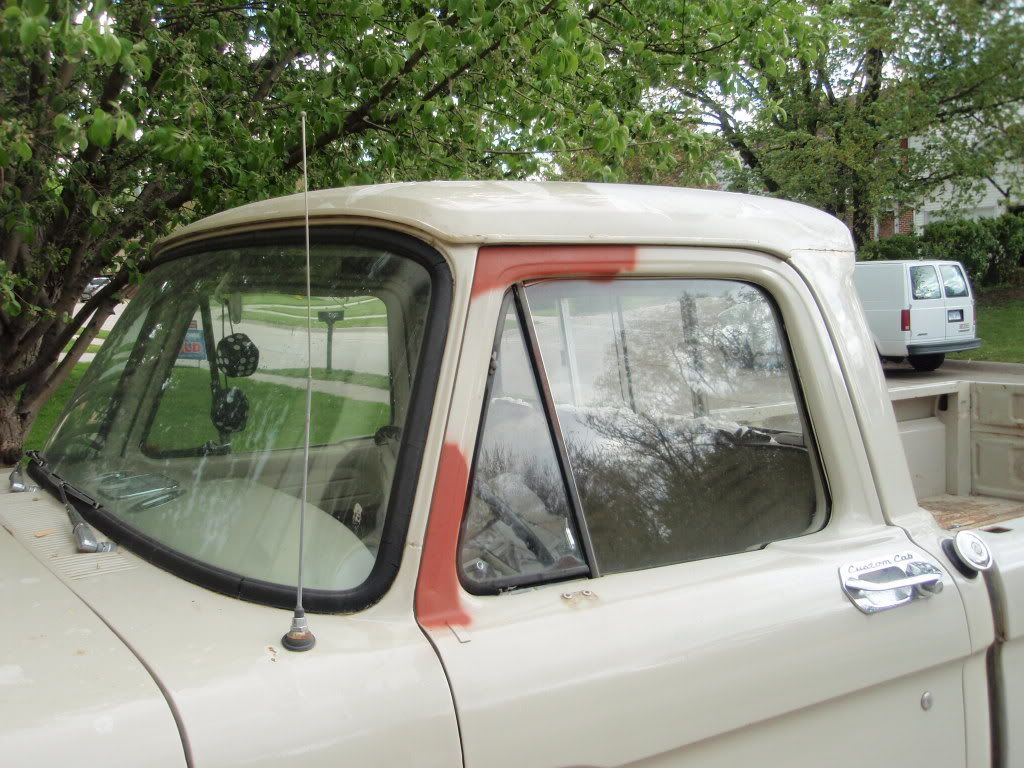
The West Coast mirrors are for sale in the classifieds. I will be using peeps, or round car mirrors mounted to the door for a more Hot Rod look. I got the WC mirrors off and the holes welded up in the upper part of the doors. I'll get the ones in the door itself when I fill the the factory mirror holes.
1964 F 100 - I am going to do "something" with it.......
looking good Greg. The underside looks good and solid and looks like you are making sure it stays that way... keep us updated as you can and keep up the good work...
I stopped earlier (after the door welding) to go for a ride. Came back home an hour & a half later - storms blowing in. Rained hard for about 5 minutes and then dried up 20 minutes later. I went back at the truck. Painted some more of the inside floor with POR. I laid some fiberglass cloth over the wet POR on the badly pitted spot on the tranny tunnel and brushed in some more POR working from the holes out to stretch it - this appears to have worked really well. Probably not much different than the POR mat. Did the same on the holes on the inside passenger cab corner. For the bad pits I that I was going to use JB Weld to fill, I tried something else; In the aisle where the JB was they also had "Devcon Metal Patch & Filler Compond". 1 part, in a tube - bout $4. So last weekend I used some in the worst floor pits in the cab. I went to sand it down to touch up the POR over it - Dang this stuff gets HARD!!!!! It looks like metal after it's sanded so it must have some aluminum or something in it. This stuff laughed at the 80 grit paper and my DA. Had to adjust the DA up to full speed! It pretty much makes the perfect filler for areas like this pitted floor.
1964 F 100 - I am going to do "something" with it.......
We use the Devcon where i work to fill/repair casting flaws in the compressors we build.The stuff works real well and holds up to some pretty serious heat and vibration.
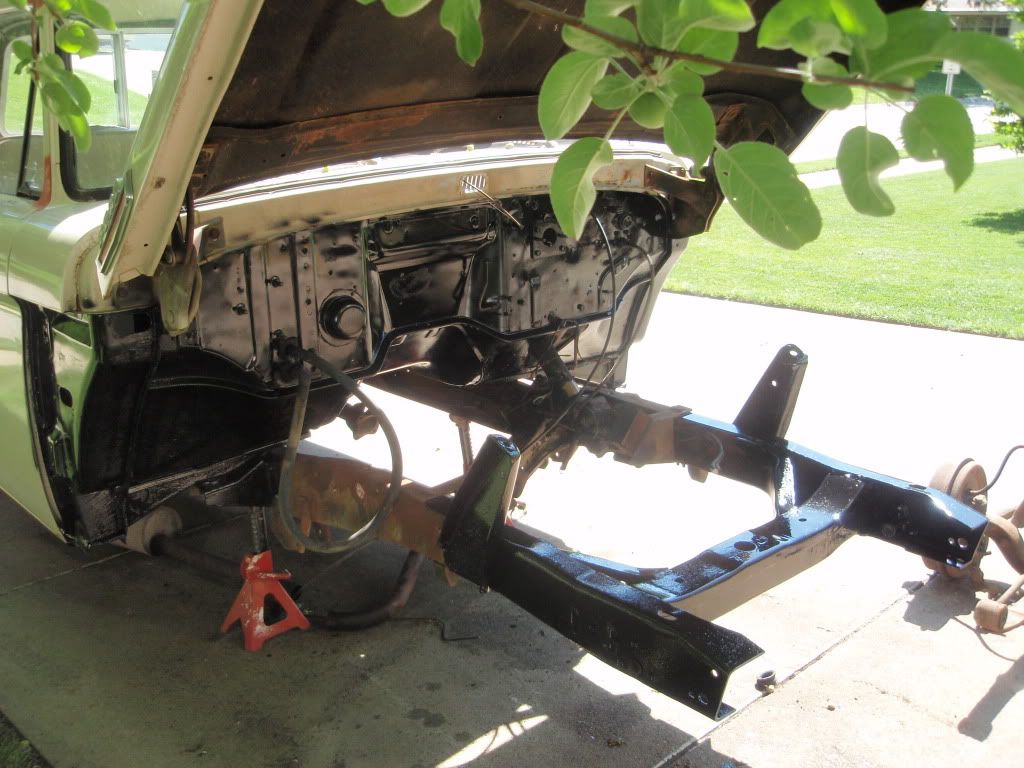
Painted some POR into the seams under the truck over the Eastwood stuff because it wicks into joints so well. I have one more section of toe board to use the aerosol on then paint it with Rustoleum. The rest of the under floor got it's final coat today. Started cleaning out the cowl area and and painting it - Rustoleum Rusty Metal Primer and Black RO over that. It is very clean with very little surface rust in there so this coating should be fine. After all this is done sealer will go on and one more coat of RO over that. I am wondering if I should seal up the holes in the cab mounts etc to keep crud out. Still trying to figure out a way to get paint in them. I'll shoot a couple pics tomorrow. After this step the 292 comes out for the T-5 mod.
1964 F 100 - I am going to do "something" with it.......
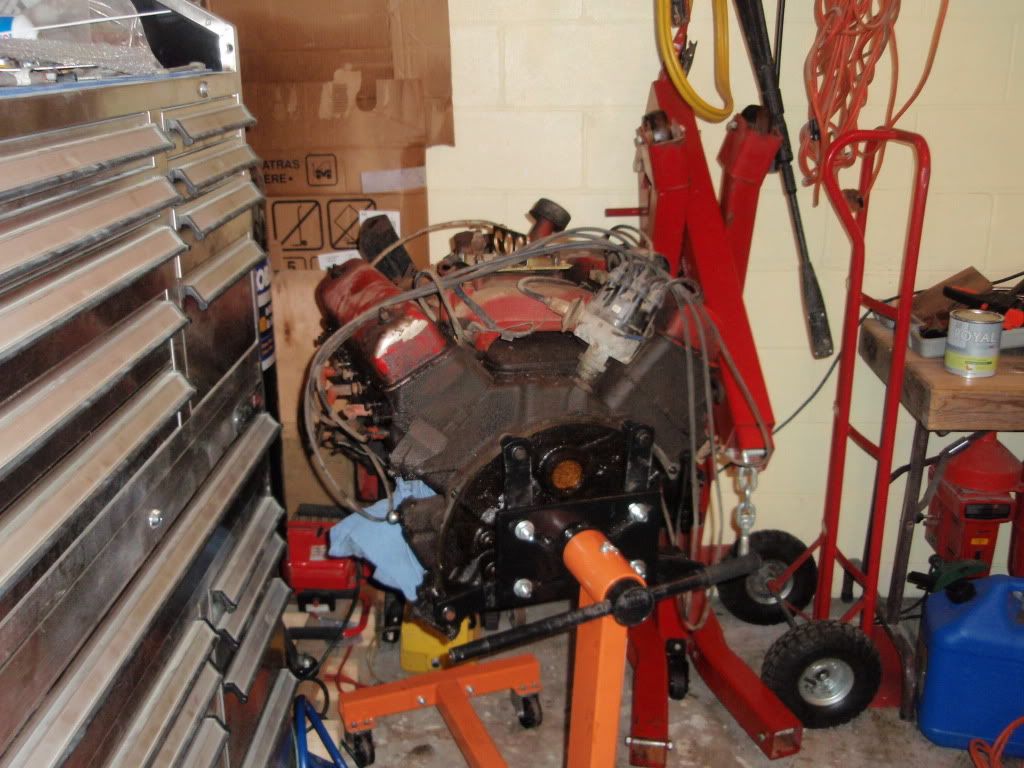
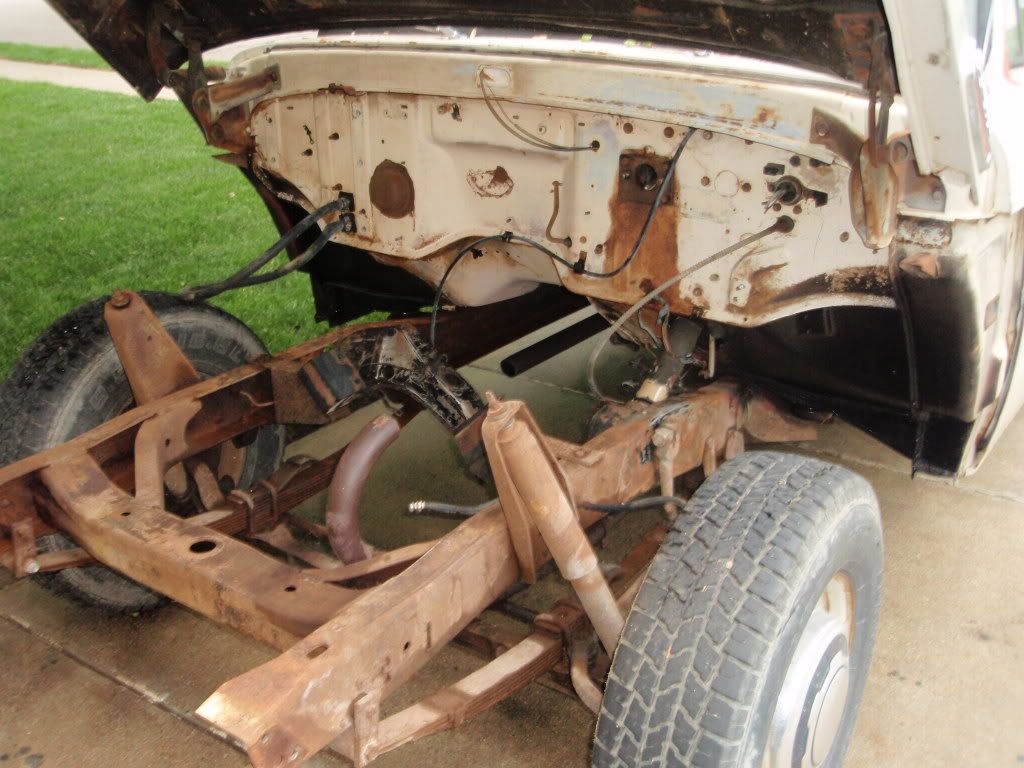
Pretty good sized step forward (backward?) this weekend. Got the engine & tranny pulled from the 64. I need the bell out to get the T-5 mods done to it. I want to do new rings & bearings in the Y too - hey it's out and on a stand. Last weekend I sort of didn't & did work on the trucks - I HAD to clean the garage before I could go any further. Anyway, here are some pics
1964 F 100 - I am going to do "something" with it.......
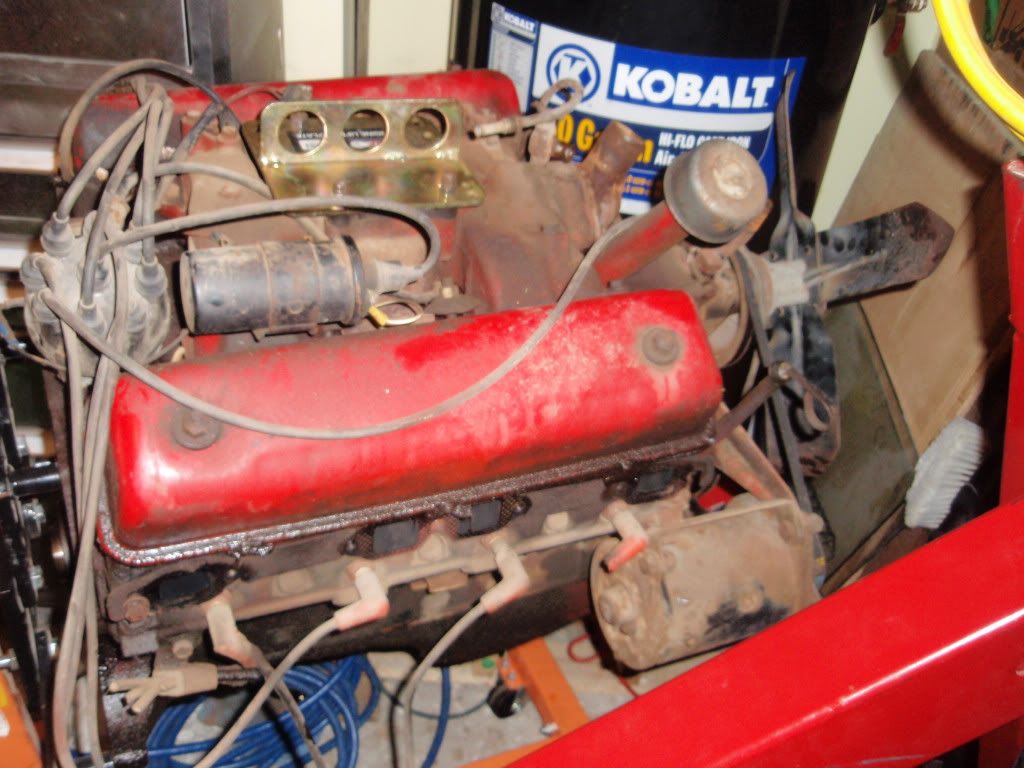
Today got a little done but is also a very important step. Bout an hour of work, some Purple Power, and a pressure washer and we have - Clean! Now I can get some more paint on it tomorrow.
1964 F 100 - I am going to do "something" with it.......
Lookin' good Greg!!!! are you going to do something with the frame since it is staring you in the face?? Is it going back White will be my next question.... you know, Inquiring minds gots to know!!! making good head way, will this be the slick at slickstock??
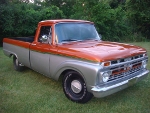
This will be the truck I have at SS Anthony. I will get the rest of the firewall & tunnel painted while it's apart. I am also going to tear down the front clip to paint the core support, inner fenders and the insides of the body pieces before I put it back together. If my friend TJ can make it over tomorrow we will take the front clip apart and remove the hood. Probably will also take out the seat so I can paint the rest of the floor inside too. Somebody sprayed the inside of the hood with what looks like rattle can bedliner. It has a little surface rust trying to sneak through though - it's laid on pretty thin. I figure if I spray it with rusty metal primer to seal it and lay on another good coat of the bedliner it should be fine though.
1964 F 100 - I am going to do "something" with it.......
Got a little paint on today. Also got the front clip apart so I can get the black painted on the pieces. No, it didn't come apart with out a fight, lol. The front clip pieces are pretty nice - I'll have to get some pics of the support etc before I clean them up.
1964 F 100 - I am going to do "something" with it.......
Using POR 15 Anthony. I needed something similar ASAP last year for the stake pockets on the Uni so I could start welding the fillers in them - POR is sold locally so I didn't have to wait. POR isn't UV stable - I'd use one of the ones that is by choice. Using up the POR cause it's here and I paid $55 for the qt.
1964 F 100 - I am going to do "something" with it.......