Old Trick - Alignment Dowels

Got a helpful tip or trick related to your slick? Please share...

Moderators: Kid, Casey 65

Post Reply
LM14
Posts: 1755
Joined: August 22, 2009, 10:44 pm
Location: Bloomfield, Iowa
United States of America

Old Trick - Alignment Dowels

Post by LM14 »

This has been around forever. Most of us old timers have known about this trick for years but maybe not some of our younger members. This is using screw in studs as alignment dowels for putting items in place that are either hard to see, heavy, hard to hold while starting a bolt or all of the above. Here's how it's done.

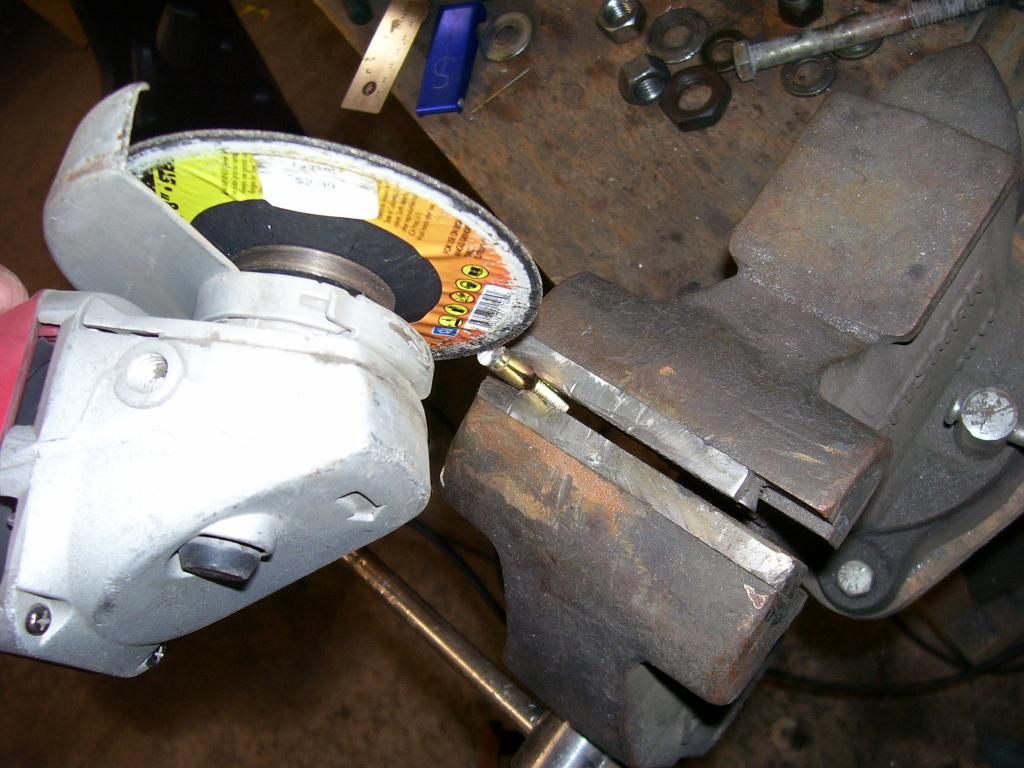
Basically you take a bolt that is the diameter you need and clamp it in a vise. I usually clamp it vertically but it was easier to photograph it horizontally. (Sorry for the fuzzy pictures, use your imagination)
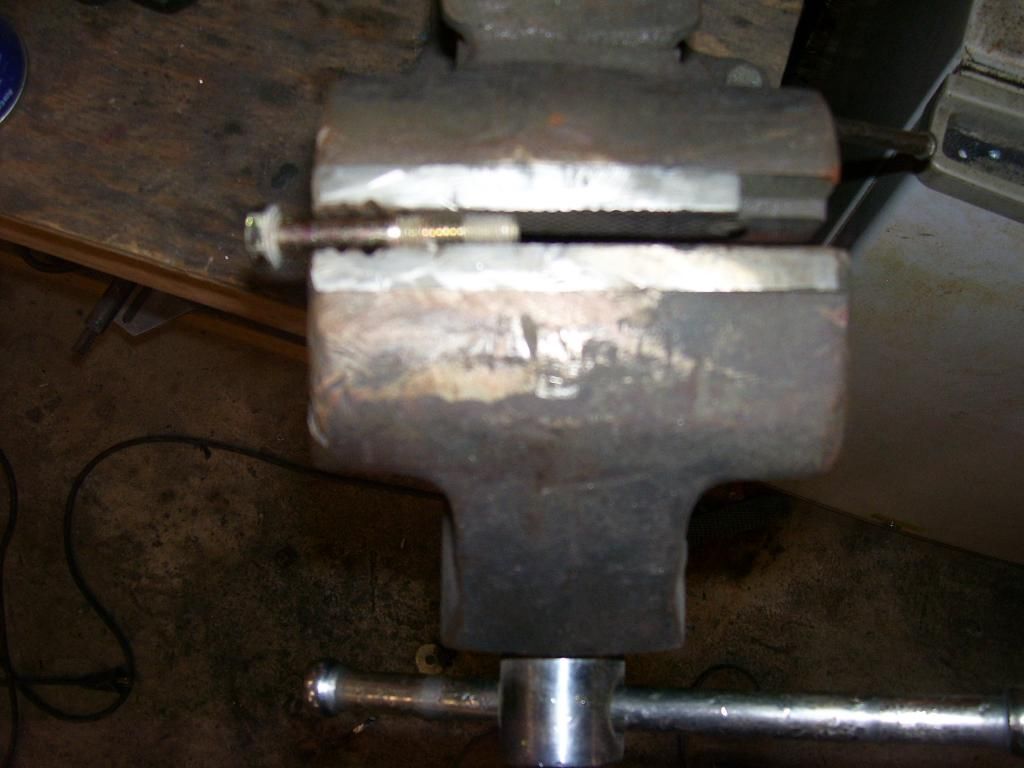
Image

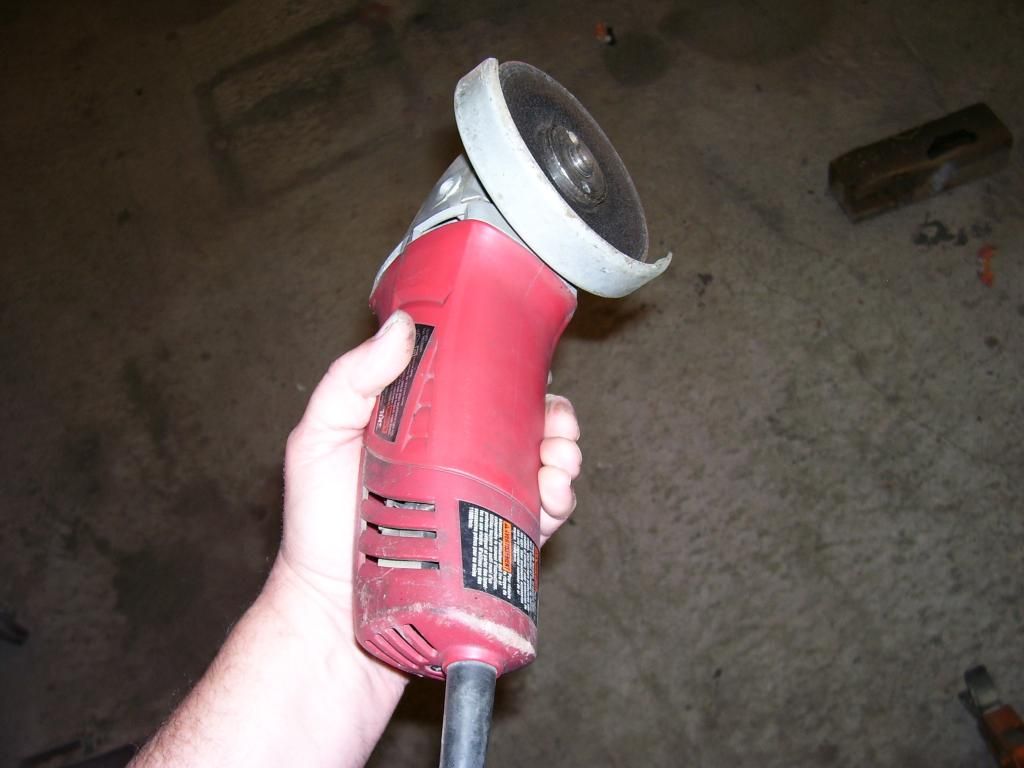
Take your cutting weapon of choice, this is mine.
Image

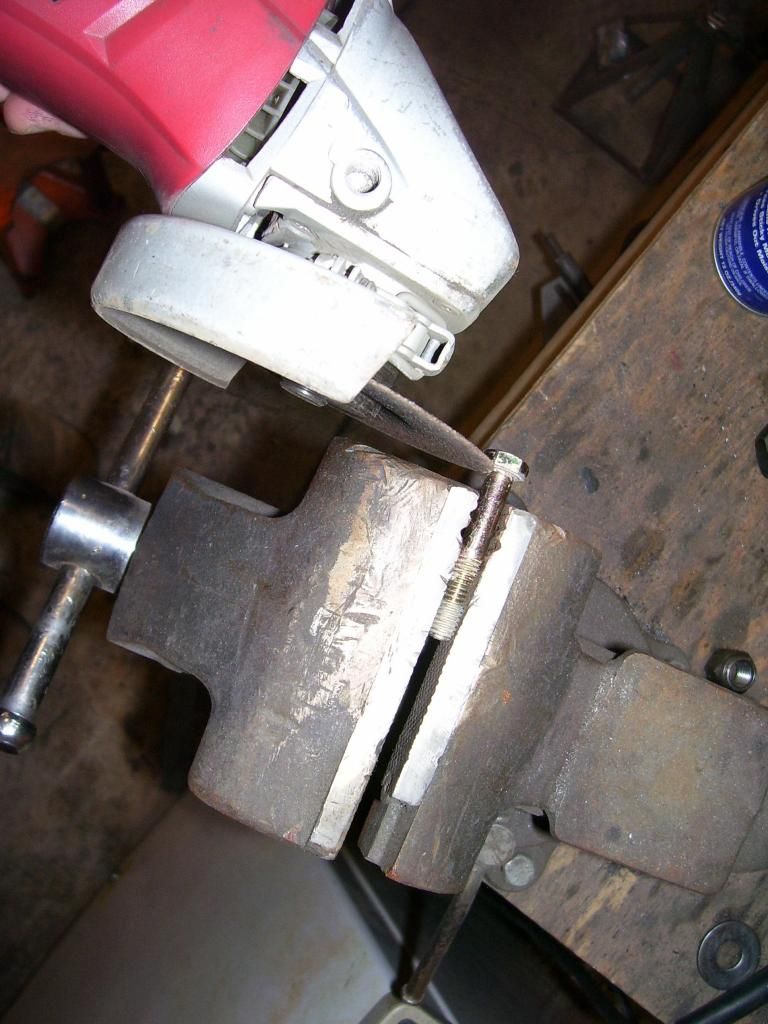
Cut the head off of the bolt. When you have it cut off, clean up the new end of the bolt and give it a slight chamfer around it's perimeter so a part can slide over it easily.
Image

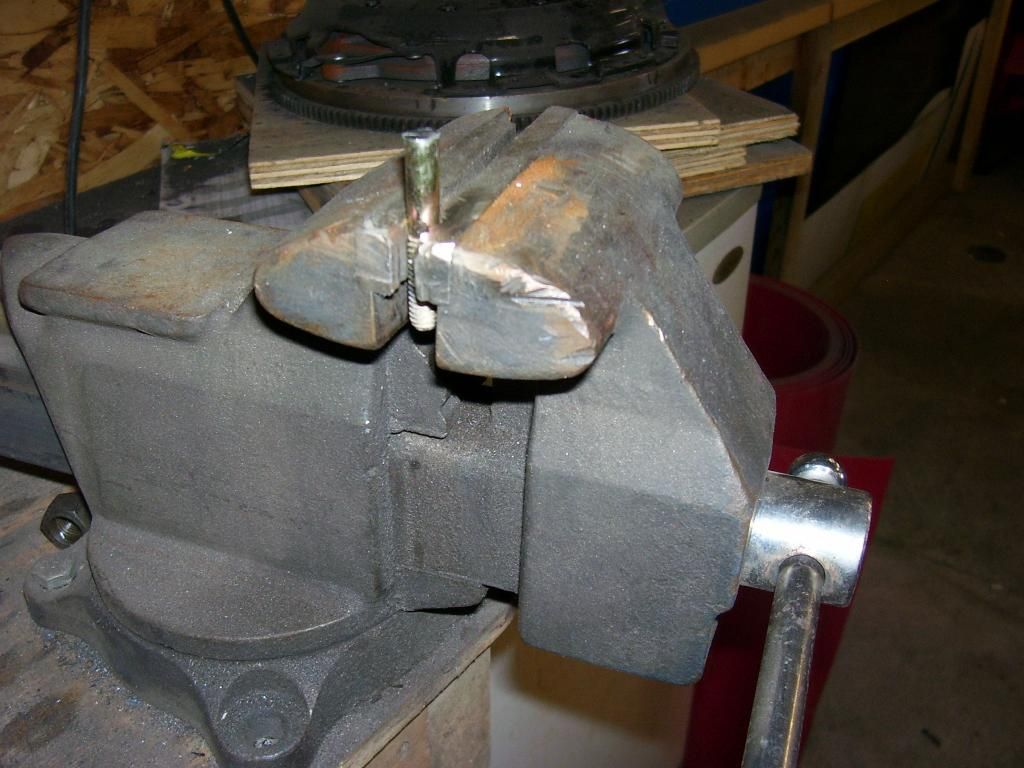
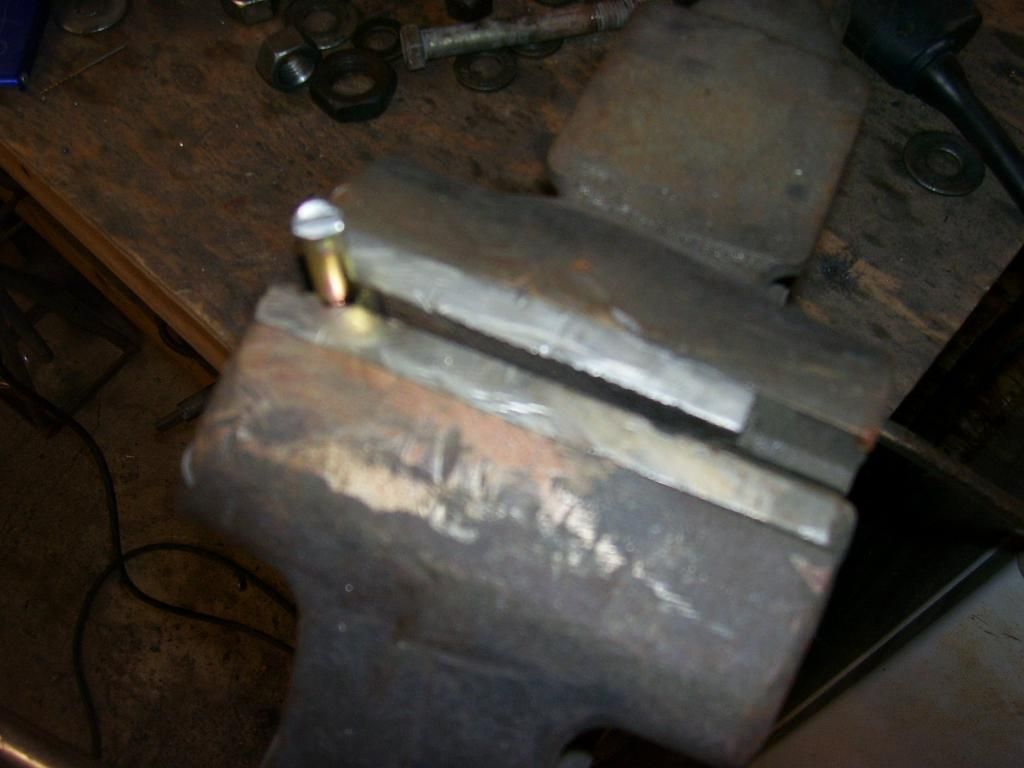
Now clamp the bolt vertically in the vise.
Image

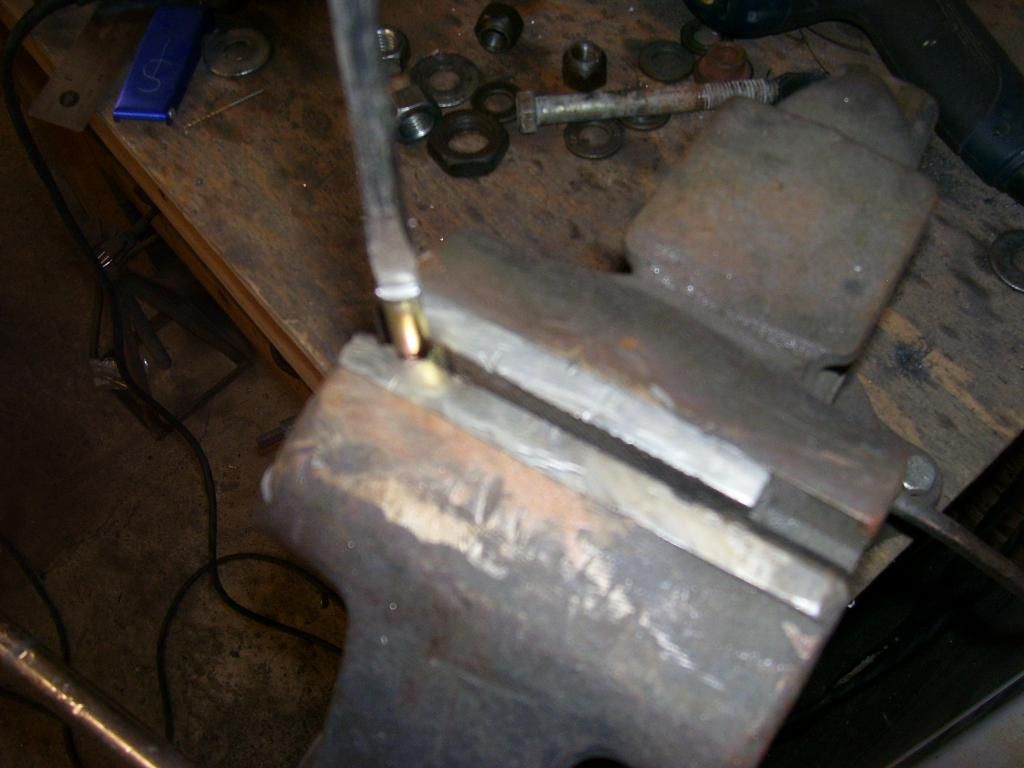
Use your cutting tool again to make a slot across the newly cut end of the bolt. (Note: This will also slot your thumb if you are not careful)
Image
Image

You now have a bolt with a slotted end that fits a screwdriver.
Image

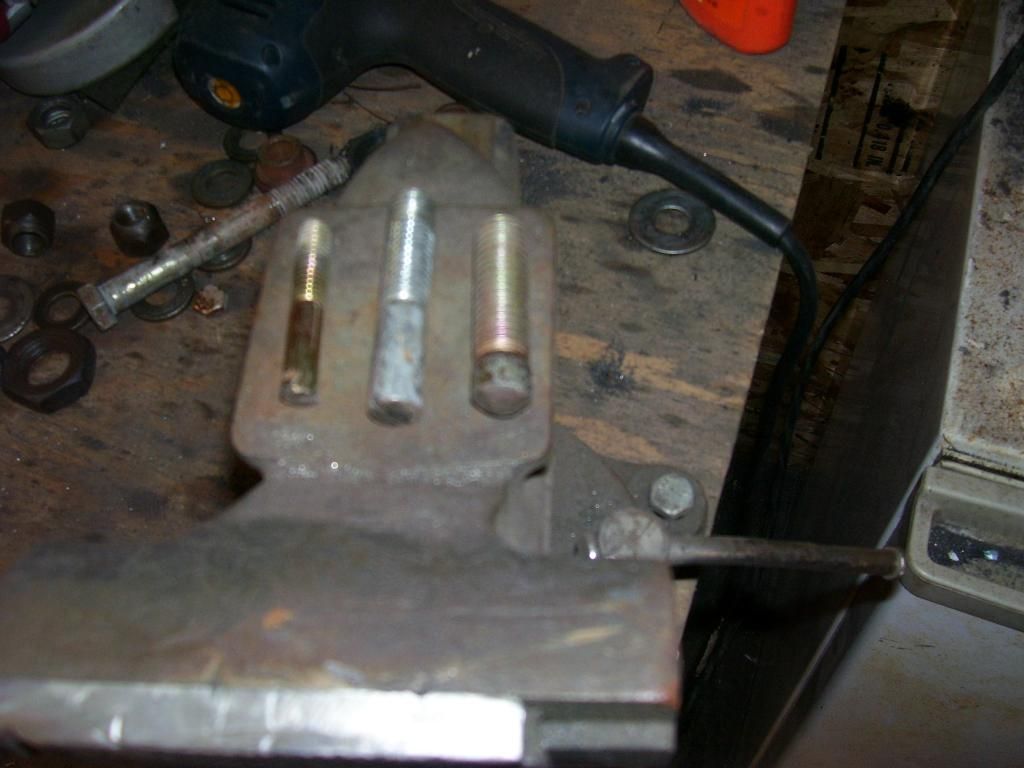
I have a whole series of these. Some with screwdriver slots, some with pointed ends. I use them for a lot of things.

Screw 2 (you never need to put more than 2 dowels in place to line up a part) of them into the back of your block next time you are trying to line up a trany or bellhousing. Just screw them about 75% of the way. They don't need to be tight, just stable. Slide the bell over the dowels and they will align your holes so you can start the other bolts without having to try holding the bell while starting a bolt and keeping everything in line. Works for trannys, exhaust manifolds, some intakes, water pumps, steering boxes or anything else you need it for. Once you have a couple normal bolts started, use your screwdriver to remove these alignment dowels and replace them with your regular bolts. Make them at least long enough to stick out a half inch or so past the piece you are aligning, it makes it easier to unscrew when the other bolts are in place.

I use the ones with pointed ends as transfer punches. Have to drill a blind hole in sheetmetal? Screw one of these in place, put the sheetmetal in place and tap above it with a rubber hammer. You now have a perfect center punch mark to drill by.
Image

I have these in several sizes and several lengths in each size. Usually a 1", 2" and 3" bolt will work for nearly any application. The longer ones are handy for things like a bellhosing or tranny where it is hard to see where you are working. I have 5/16 thru 5/8 that I use fairly often in several lengths. You need 2 or each one you make.

It is best to use bolts rather than threaded studs. You can taper the ends of the bolt as I mentioned earlier to make the part slide over the end of the dowel. If you use threaded studs, it will be a little harder to slide the part in place due to the threads catching the part as it slides across their surfaces. The bolt will have a smooth shank making part installation easier and dowel removal easier. If you screw it in tight, it will be hard to remove once the normal bolts are in place, use your fingers to screw it in and don't bottom the threads out.

Enjoy, it's not earth shattering but we sometimes forget what we were taught when we were starting out with a hobby like this.

SPark
1932 Ford 5 window coupe. 302/C4
1962 8V-390/C6 Unibody Short Bed Soon to be Big Window - The Lincoln that never was
2013 F150 Super Crew Eco Boost 4x4
2015 Ford Edge for the little lady, because she said so!
2007 Mustang GT, 4.6-3V/5 Speed. Only 8680 miles on the clock.

More toys, I need more toys!!!
User avatar
Toyz
Posts: 4333
Joined: March 22, 2011, 6:23 pm
Location: Baja Houston Taxes
United States of America

Re: Old Trick - Alignment Dowels

Post by Toyz »

Another worthwhile old trick most are probably aware is to drill small alignment holes thru door and hood hinges latches, etc. before removal. Drill thru into the backing surface thus allowing the same size drill bit to be used as an assembly dowel.This allows the removed part to easily be returned to original position. Two holes may be required for exact re-alignment.
Paul
The Ford Orphanage
Life's too short for boring vehicles!
My quest to develop a universal solvent is held up by the lack of a storage container.
Paul
User avatar
808F250
Posts: 28
Joined: December 19, 2012, 12:11 am
Location: KAILUA KONA, 96740
United States of America

Re: Old Trick - Alignment Dowels

Post by 808F250 »

Both great bit's of advise... One of the first things I did before dissasembling my F-250 was align all the panels and drill positioning holes. Makes it so much easier when you go to put it all back together.
If it's got tits or tires, You're gona have problems
BiffWilley
Posts: 49
Joined: January 4, 2013, 12:53 pm
Location: Decatur, Illinois
United States of America

Re: Old Trick - Alignment Dowels

Post by BiffWilley »

Great lil trick man! Thanks for sharing. Makes complete sense and if anything will give me something to do on a rainy day

Thanks again for sharing this tech! Just another prime reason why I love this site. A wealth of knowledge and a nice group of people more then willing to share!

Cheers,
Biff
shaff64
Posts: 222
Joined: May 16, 2011, 7:01 am

Re: Old Trick - Alignment Dowels

Post by shaff64 »

This may be a trick to some that's just common knowledge too however, I had told a guy about this and he was very pleased with the end results as I was.

Door alignment after painting the vehicle. This can be a difficult task an nerve racking after your cab is painted and your ready to hang your doors.

Here is what I had done prior to painting and the re-assembly of the doors.

1. I first painted the hinges complete along with the door bolts attached to the hinges.
2. I then cut in "painted" around where the hinges will mount to on the inside of the doors.
3. Hung the doors and aligned to the cab, fenders, rockers, all 4 corners,
When I was happy with all the openings and alignment, I marked the bolts with a spray bomb inside the door hinge openings.
4. I removed the door and masked off the inside of the door where the hinges mount so not to cover up the marked bolts spots.
5. After the painting was completed the doors were placed, bolts were lined back up with the earlier painted marks, worked as planned.

6. The hinges stay on the cab already pre-painted,,,,, just mask them off accordingly.
Post Reply