64 Tweety Bird

A place just for our project & build threads.

Moderators: Kid, Casey 65

User avatar
Uncle Skip
Posts: 4695
Joined: July 15, 2006, 8:30 pm
Location: Pearland, Texas
United States of America

Re: 64 Tweety Bird

Post by Uncle Skip »

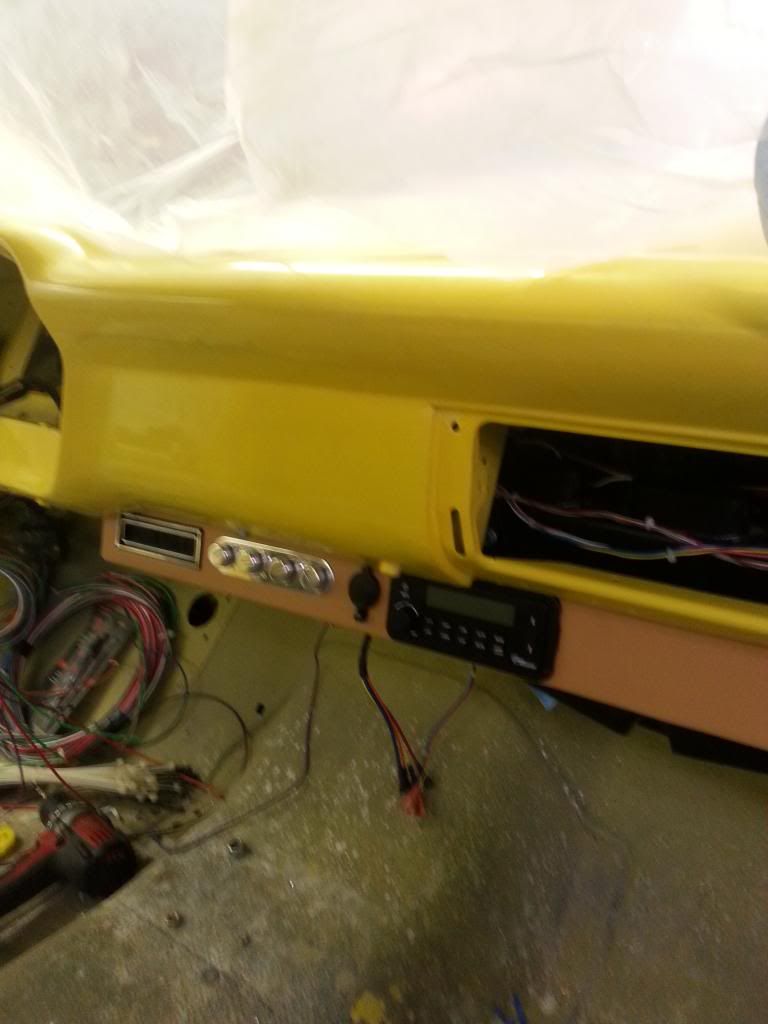
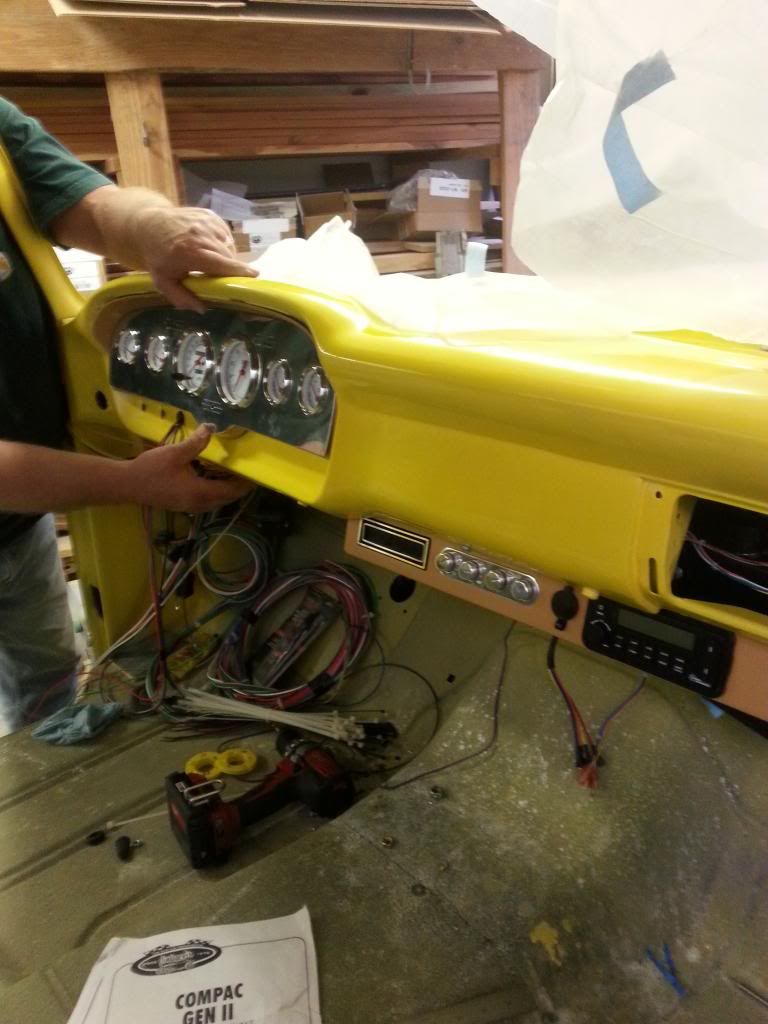
You already know it was one step forward and two steps back on the under dash control panel so today we actually finished up the entire thing and got it mounted permanently. Couldn't resist putting in the instrument cluster just to see how it was going to match up.
For having a couple of old fat guys working on it, I think it looks pretty good.
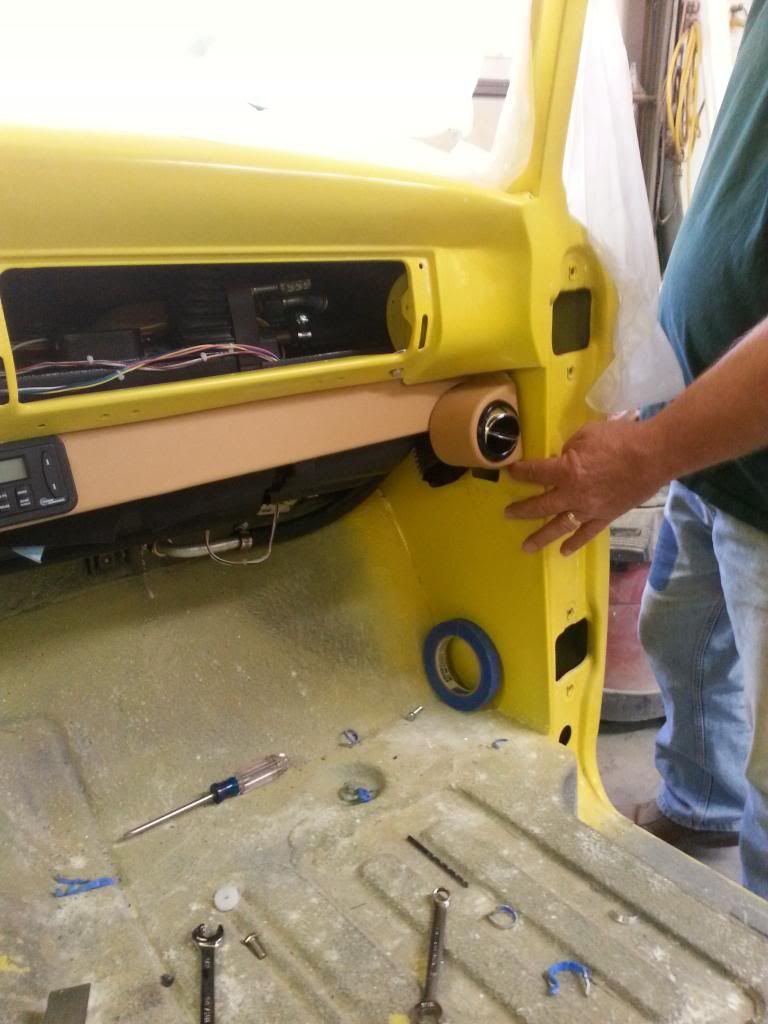
Now that all this interior control stuff is finally finished, we can actually get started on the wiring. The passenger vent ducting was a close fit, but it hooked up perfectly.

You can see where we swapped the A/C controls with the radio face plate.
Image

The passenger vent will be located here.
Image

And finally, the instrument panel in place to compare the overall look of the interior.
Image
Last edited by Uncle Skip on July 1, 2013, 4:18 pm, edited 1 time in total.
I'm not arguing with you. I'm just explaining why I'm right.
Pardon me. Does your deaug bite?
ironminer
Posts: 127
Joined: April 4, 2012, 8:34 am
Location: cedar city, utah

Re: 64 Tweety Bird

Post by ironminer »

Really looks neat, good work!
User avatar
kstones63
Posts: 1504
Joined: April 7, 2007, 10:55 pm
Location: Phoenix, AZ
United States of America

Re: 64 Tweety Bird

Post by kstones63 »

This project just keeps getting better and better all the time.
I see a new interior coming along pretty soon.

Kevin
kstones63
_______________________________________
63 F100
29 Ford Sedan Delivery
99 F250 PSD, 4x4, CC
95 F350 Flatbed Dually Diesel
User avatar
Uncle Skip
Posts: 4695
Joined: July 15, 2006, 8:30 pm
Location: Pearland, Texas
United States of America

Re: 64 Tweety Bird

Post by Uncle Skip »

Anyway, here's a shot of Daryl's progress on the hood. He wants to finish it so he can clear up work space in the shop.
Image
Last edited by Uncle Skip on July 1, 2013, 4:19 pm, edited 1 time in total.
I'm not arguing with you. I'm just explaining why I'm right.
Pardon me. Does your deaug bite?
User avatar
Uncle Skip
Posts: 4695
Joined: July 15, 2006, 8:30 pm
Location: Pearland, Texas
United States of America

Re: 64 Tweety Bird

Post by Uncle Skip »

Apparently I lost all the images of the build when I organized the pictures into a separate photo album. Should I start a new thread and re-post the pictures? Seems like that would be the easiest way to put the pictures back so people can see this progress. What do you think?
Yes.... I'm a dumb ass
I'm not arguing with you. I'm just explaining why I'm right.
Pardon me. Does your deaug bite?
rickairmedic
Posts: 1394
Joined: July 19, 2006, 9:27 pm
Location: Louisville,Ky

Re: 64 Tweety Bird

Post by rickairmedic »

Unc you could always just go through this thread and repost the pics :D you have the power to edit your posts :D. While your at it repost your tank install in the hints and tricks section several new members have been asking and we cant point them to the thread cause it aint there :D.


Rick
if it aint broke fix it till it is :D
User avatar
Uncle Skip
Posts: 4695
Joined: July 15, 2006, 8:30 pm
Location: Pearland, Texas
United States of America

Re: 64 Tweety Bird

Post by Uncle Skip »

OK, I re-posted the pictures. Thanks Rick.
Sorry for the brain fart everybody.
I'm not arguing with you. I'm just explaining why I'm right.
Pardon me. Does your deaug bite?
rickairmedic
Posts: 1394
Joined: July 19, 2006, 9:27 pm
Location: Louisville,Ky

Re: 64 Tweety Bird

Post by rickairmedic »

LOL does it feel like youve been here half the afternoon posting and yet nothing seems any differant ;) :D. The truck is looking great by the way . I am getting rained out again at the moment dangit I only have 3 days to get my chassis ready .


Rick
if it aint broke fix it till it is :D
Daryl
Posts: 27
Joined: February 19, 2011, 3:40 pm
Location: Houston, TX
Contact:

Re: 64 Tweety Bird

Post by Daryl »

Sanding and glazing and more sanding on the hood on the 4th. Now that is what america is about. Working on a classic truck.
Thanks in advance
DADwood
Daryl
Posts: 27
Joined: February 19, 2011, 3:40 pm
Location: Houston, TX
Contact:

Re: 64 Tweety Bird

Post by Daryl »

This weekend the top of the hood won the battle. I have had nothing trouble with the top of the hood and even had to sand down to metal in a couple of spots. The battle continues again.
Thanks in advance
DADwood
User avatar
Uncle Skip
Posts: 4695
Joined: July 15, 2006, 8:30 pm
Location: Pearland, Texas
United States of America

Re: 64 Tweety Bird

Post by Uncle Skip »

Well Daryl, sometimes you eat the bear, sometimes the bear eats you. Just keep on doing what you're doing and you'll get it right. I have no doubts about you getting it right.
8)
I'm not arguing with you. I'm just explaining why I'm right.
Pardon me. Does your deaug bite?
User avatar
Uncle Skip
Posts: 4695
Joined: July 15, 2006, 8:30 pm
Location: Pearland, Texas
United States of America

Re: 64 Tweety Bird

Post by Uncle Skip »

Tweety update.
More grunt work and nothing to take a picture of right now. Daryl is still struggling with the hood and his regular work.
When he (if he) gets the hood like he want's it, I think we'll start the wiring and try to get that out of the way.
I did score him a brand new, short set of air over shocks at the Conroe swap meet for $50.00 for the rear of the truck. And we're going to try to use the front shock towers for the rear shock mounts.
Can't wait to see how that turns out.
Updates as they occur. :burp:
I'm not arguing with you. I'm just explaining why I'm right.
Pardon me. Does your deaug bite?
User avatar
Uncle Skip
Posts: 4695
Joined: July 15, 2006, 8:30 pm
Location: Pearland, Texas
United States of America

Re: 64 Tweety Bird

Post by Uncle Skip »

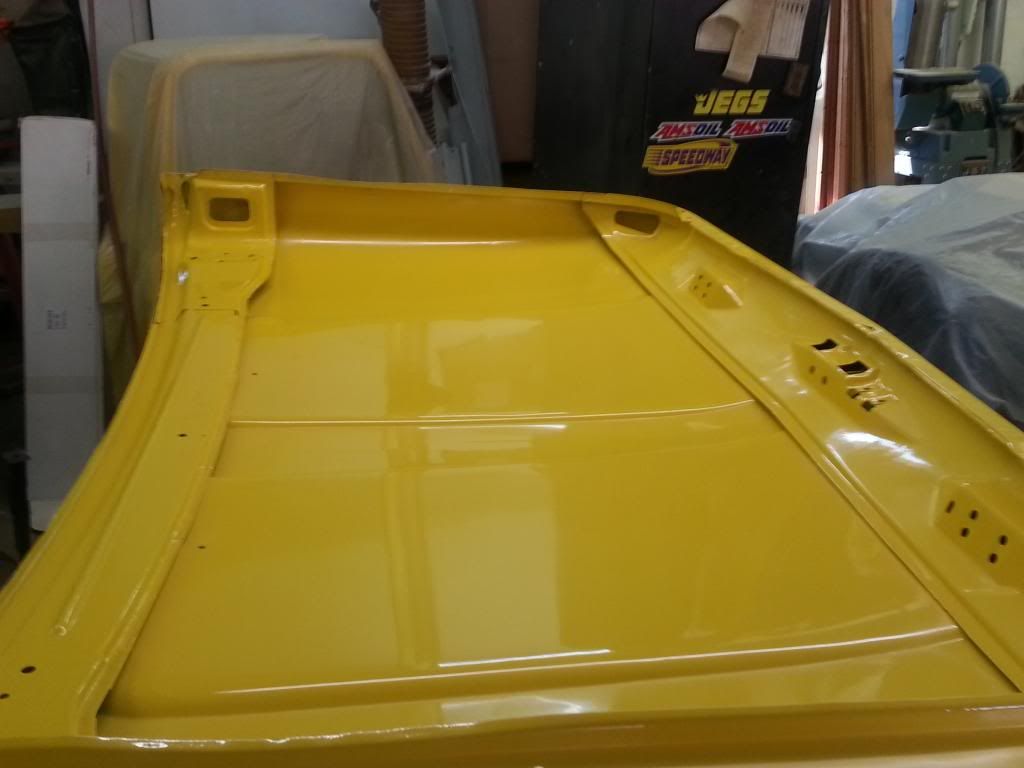
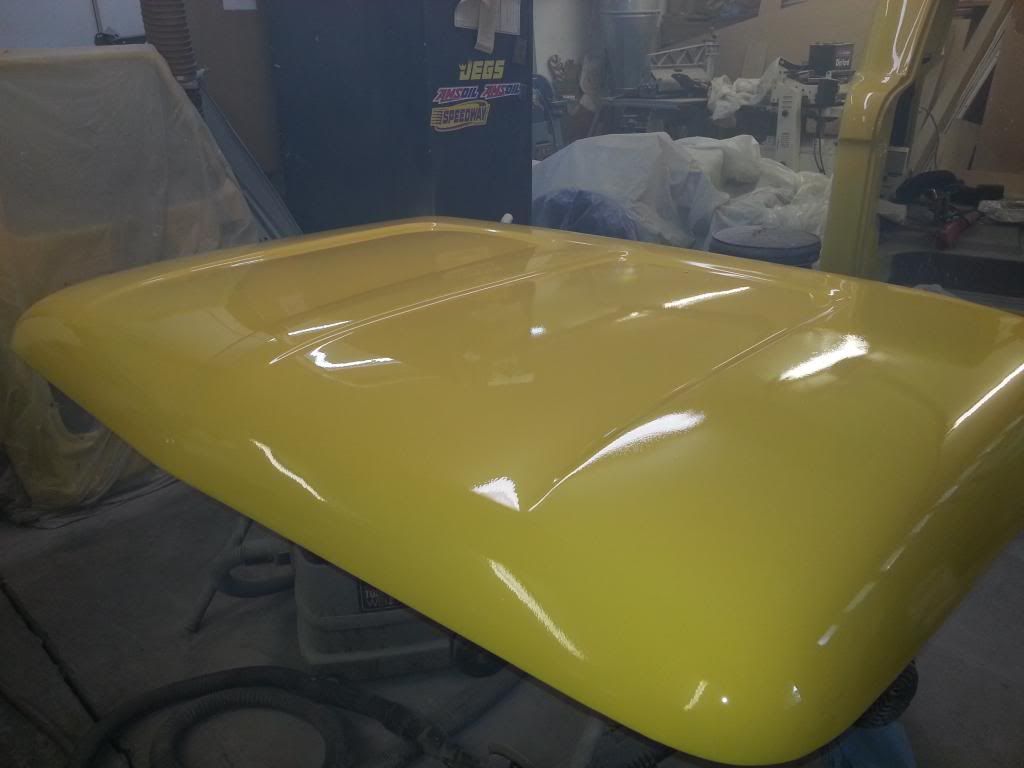
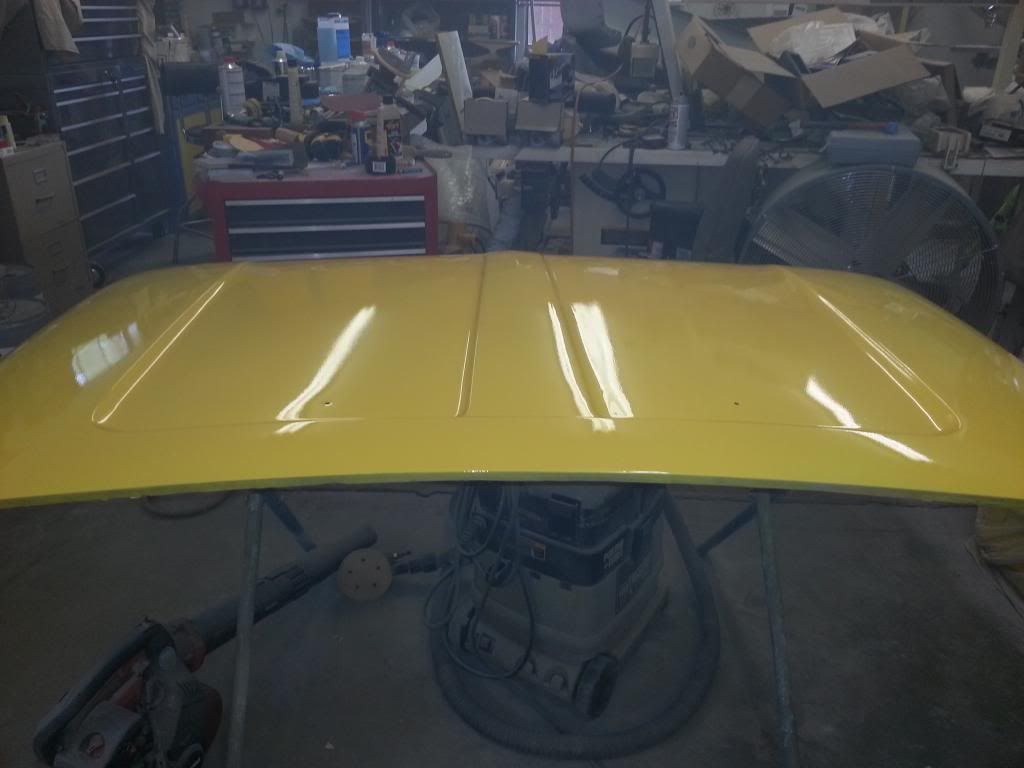
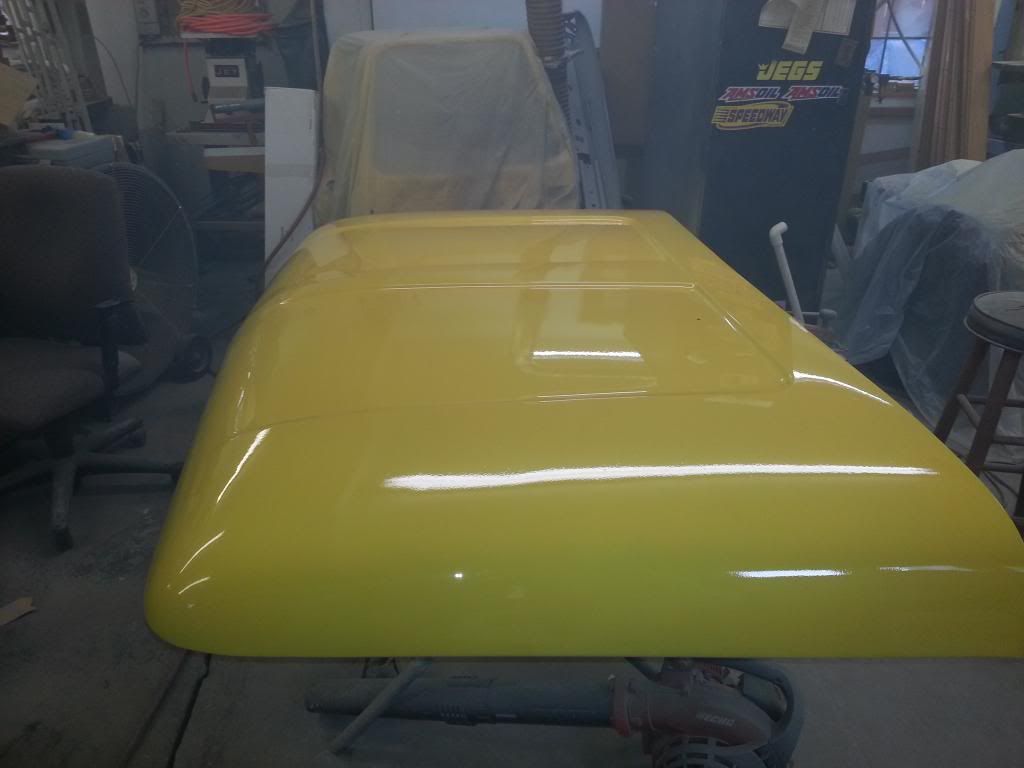
Finally, more actual progress. Daryl just sent me these pictures of the finished hood. I advised him not to buff it until after we're ready to do the final assembly.
Dead solid smooth and I'm liking that yellow paint more every day.

Image

Image

Image

Maybe we can get the pinstriper to do his hood and tail gate at the same time I get mine done.
;)
I'm not arguing with you. I'm just explaining why I'm right.
Pardon me. Does your deaug bite?
User avatar
Uncle Skip
Posts: 4695
Joined: July 15, 2006, 8:30 pm
Location: Pearland, Texas
United States of America

Re: 64 Tweety Bird

Post by Uncle Skip »

Back to the work accomplished but no photos mode.
Started the wiring with the EZ-wire kit today.
1. Nice quality and the wires are clearly marked.
2. Directions suck. Er ah, that is, they don't show you anything about where things go.
3. the wires "are" bundled in sections.
a. under hood
b. rear of vehicle
c. under dash
e. etc......................
4. Even if the wires are labeled, some of them don't make much sense. I have one labeled fan -fan. I can only assume this one takes power to the radiator fan solenoid. If anyone knows for sure, let me know.
And I'm still trying to figure out the connections to the Gen II Vintage Air unit and the controls. I think I got it, but the key words are "I think".
I want to go on record that EZ-wire is NOT the only wiring kit with sucky instructions. They're all like this.
*Attention all you manufacturers and providers, I'm available to do a technical writeup at a modest price. God knows, you all need it.

FYI
I labeled each wire by section with a piece of tape printed with what the wire says. I'm freaking old and I need a magnifying glass to read the labels. Take a little time and tag the wires now. Its going to save a lot of time later.
Next, we decided how we wanted to run the wires to hide them as much as possible.
Using existing holes in the firewall and rubber grommets we ran the dedicated wires to each side of the truck inside the firewall to limit their exposure in the engine compartment.
We are using the original headlight wires to control the new relay headlights and those will be mounted on the drivers side on the core support on a special aluminum panel I made. All the wires going to the rear of the truck now exit the drain hole inside the cab floor under the seat (thru a sealed with a grommet) and to the rear inside the frame channel.
The motor control wires (coil, tach wire, temp and oil pressure senders and compressor wire et al are also on the drivers side.
The starter wire, alternator feed wire, (those F*ing fan/ fan wires I'm still not sure of) etc are all on the passenger side. All these wires are secured to the big #10 A/C line for support with plastic wire ties.
We ran the wires for the power antenna feed and the dome and map lights up the A and B pillars on the drivers side and routed the main power wire to the fuse block inside the firewall.

Sound complicated?
Not really, just a little more involved because even though it's going to be a serious driver, Tweety is "kind of a show car" and we want to keep everything clean, simple and hidden as possible. I'll take some photos next week and maybe it will start to make a little more sense.

All the wires are hanging loose pending our final decisions as to wire locations and attachment points but all the wires are not in the general section of the truck where they'll terminate.
I'll try to document what goes where and why so maybe this can help someone else down the road.
Er ah....... I taut I taw a puddy tat. 8)
Ciao, y'all.
I'm not arguing with you. I'm just explaining why I'm right.
Pardon me. Does your deaug bite?
User avatar
Uncle Skip
Posts: 4695
Joined: July 15, 2006, 8:30 pm
Location: Pearland, Texas
United States of America

Re: 64 Tweety Bird

Post by Uncle Skip »

More progress.
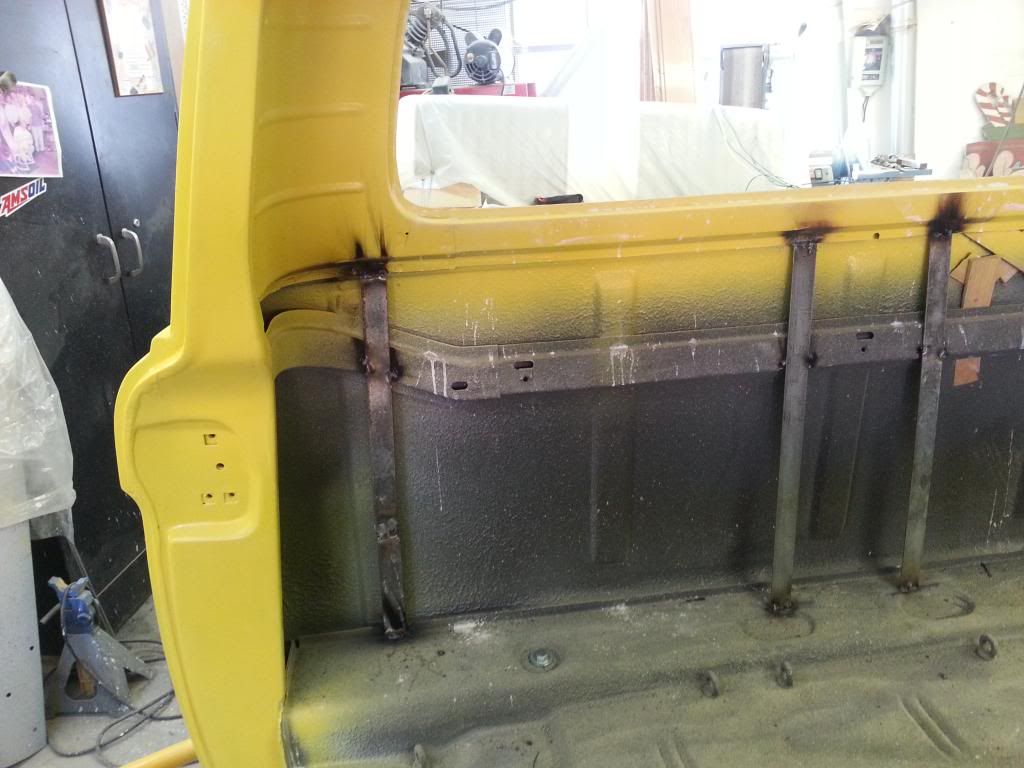
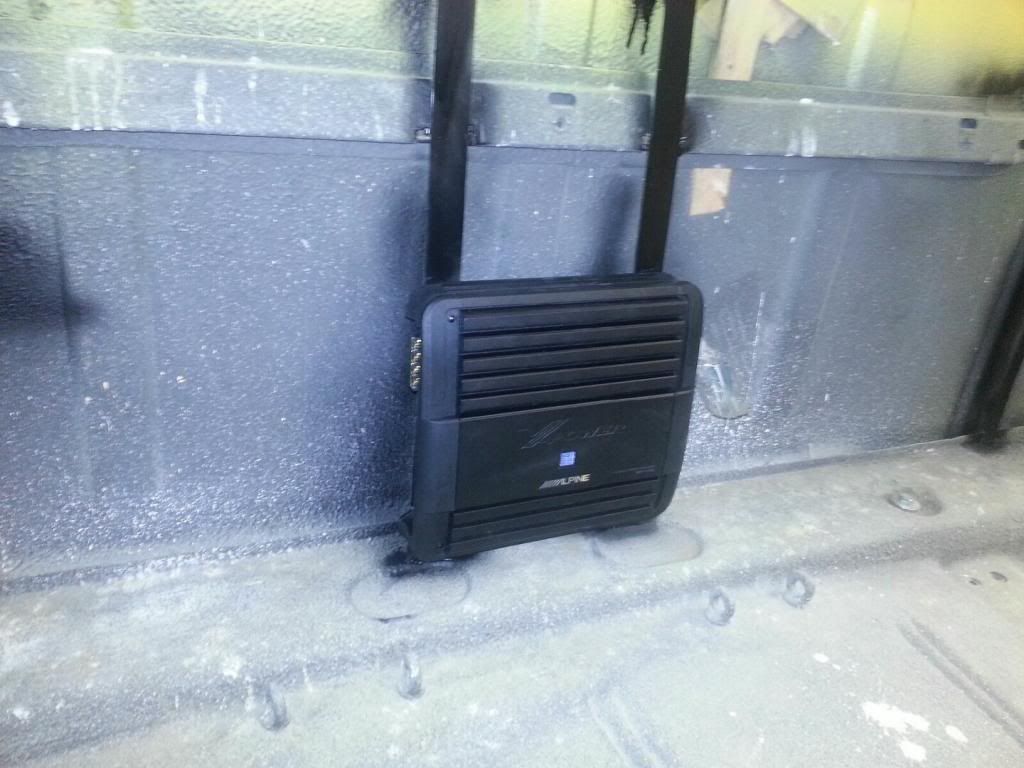
I think you've all seen the rear cab cover I made for behind the seats. Well, you have to weld in some flat stock for the upholstery board to attach to and that's what Daryl just did. In addition, we planned on having a support for the amp and sub woofer to mount to behind the seats too, so he put in a couple of flat stock supports to hold the amp.
I think we're going to mount the woofer where the amp is now and move the amp up on top of the woofer.

The vertical supports for the upholstery board
Image

The amp mounted to the supports. When the panel is installed we'll put the amp on top of it like I did mine.........
Image

Anyway, he's still digging. :burp:
I'm not arguing with you. I'm just explaining why I'm right.
Pardon me. Does your deaug bite?
User avatar
Uncle Skip
Posts: 4695
Joined: July 15, 2006, 8:30 pm
Location: Pearland, Texas
United States of America

Re: 64 Tweety Bird

Post by Uncle Skip »

Got started in earnest with the wiring today, A/C power hooked up, wiper motor switch installed, and the ignition switch in. The original light switch change over to the EZ wire harness is causing me to have gas. Can't decipher the Ford to GM scheme. Any suggestions would be appreciated.
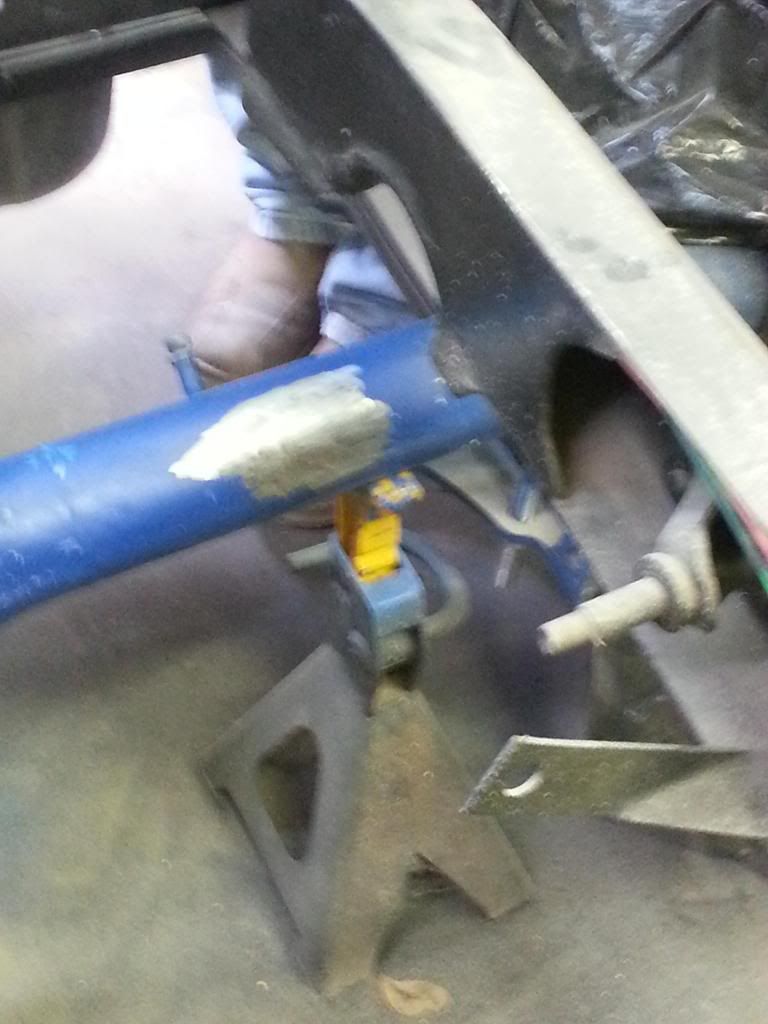
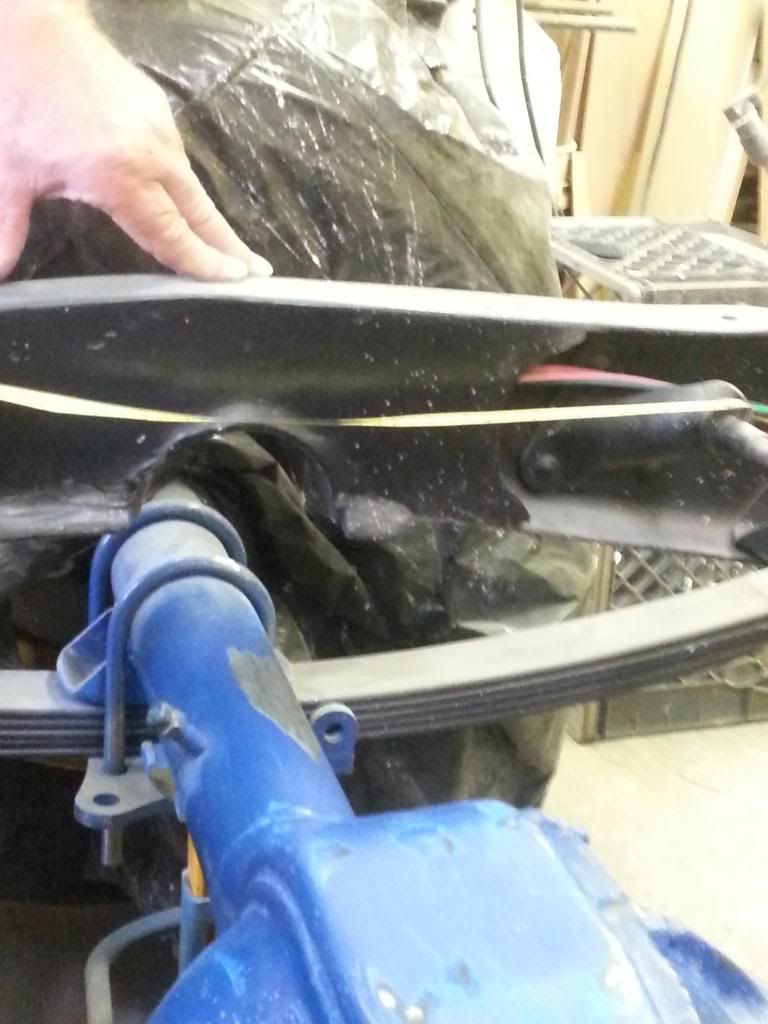
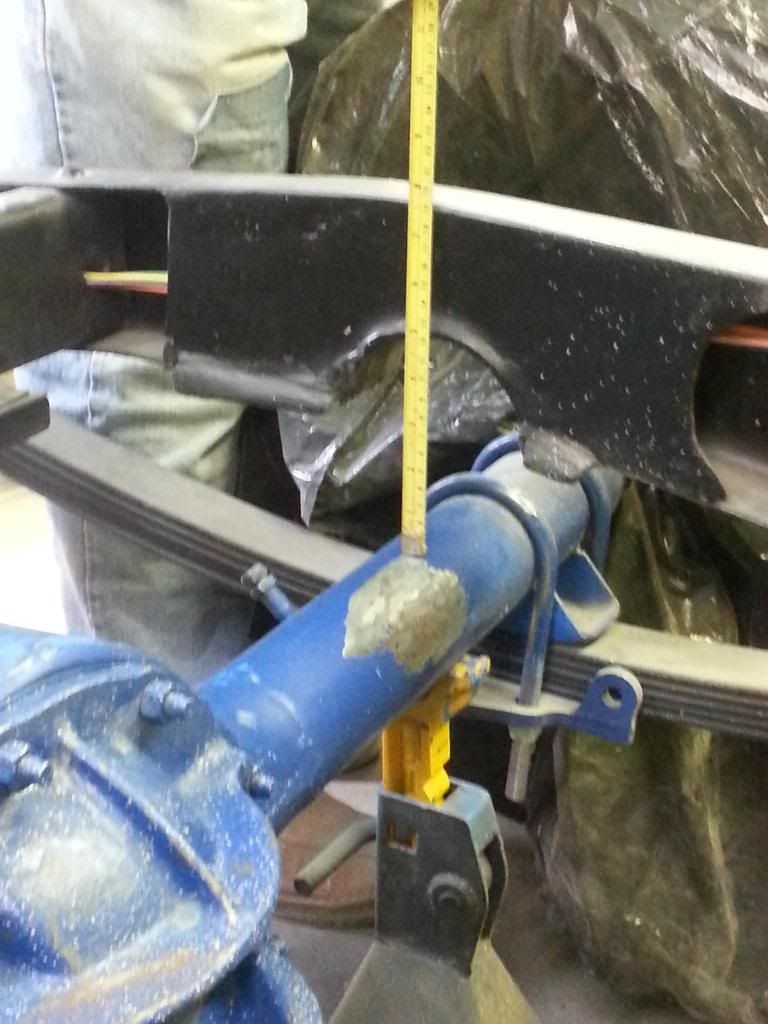
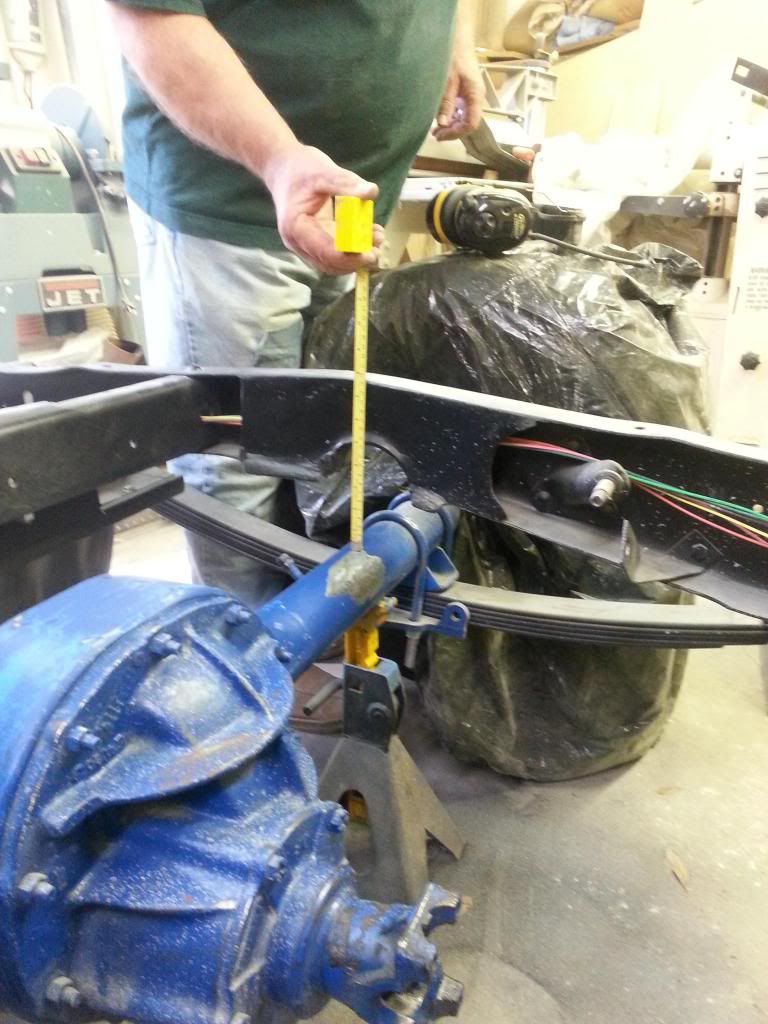
The big issue is the shocks on the lowered rear end. I need a shock that has about a 15" OAL and a 7" compression/ extension.
Here are photos of what we have to work with. I can gain about 1" with the original upper shock mounts by rotating them up but I can't go much above the frame because of interference with the bottom of the bed wood. I'm open to most anything here.
Help me out.
Image
Image
Image
Image
I'm not arguing with you. I'm just explaining why I'm right.
Pardon me. Does your deaug bite?
User avatar
kstones63
Posts: 1504
Joined: April 7, 2007, 10:55 pm
Location: Phoenix, AZ
United States of America

Re: 64 Tweety Bird

Post by kstones63 »

Have you been on the shock manufacturer websites? They should have all of the specs for their shocks and you should be able to find what you need. It might take a while to search for it but the answer should be there.

Kevin
kstones63
_______________________________________
63 F100
29 Ford Sedan Delivery
99 F250 PSD, 4x4, CC
95 F350 Flatbed Dually Diesel
User avatar
loosrp
Posts: 220
Joined: June 22, 2009, 7:30 am
Location: Dayton Ohio

Re: 64 Tweety Bird

Post by loosrp »

Call these guys
http://www.doetsch-shocks.com/contact.asp

Also, if you need a pin out diagram of the headlight switch I
Think I may still have a diagram
Hunter's 64
Posts: 932
Joined: January 10, 2011, 4:58 pm
Location: High Springs Florida
United States of America

Re: 64 Tweety Bird

Post by Hunter's 64 »

[quote="loosrp"]Call these guys
http://www.doetsch-shocks.com/contact.as

x2

Danny
User avatar
Uncle Skip
Posts: 4695
Joined: July 15, 2006, 8:30 pm
Location: Pearland, Texas
United States of America

Re: 64 Tweety Bird

Post by Uncle Skip »

Loosrp.
If you have the pin diagram, I'd appreciate it. I want to compare it with what I traced out to see if I'm even close to being on track.
Thanks.
And I'll be calling Doescth.
I'm not arguing with you. I'm just explaining why I'm right.
Pardon me. Does your deaug bite?
Post Reply