To properly install door seals, it is a job best done on the bench and with two sets of hands. It can be done on the truck, but it sure is a lot easier and cleaner laying down where you can get to things.
Second, use only 3-M weather strip adhesive (black or yellow. I don't think they make clear, but they damn sure need to). Permatex is not as good.
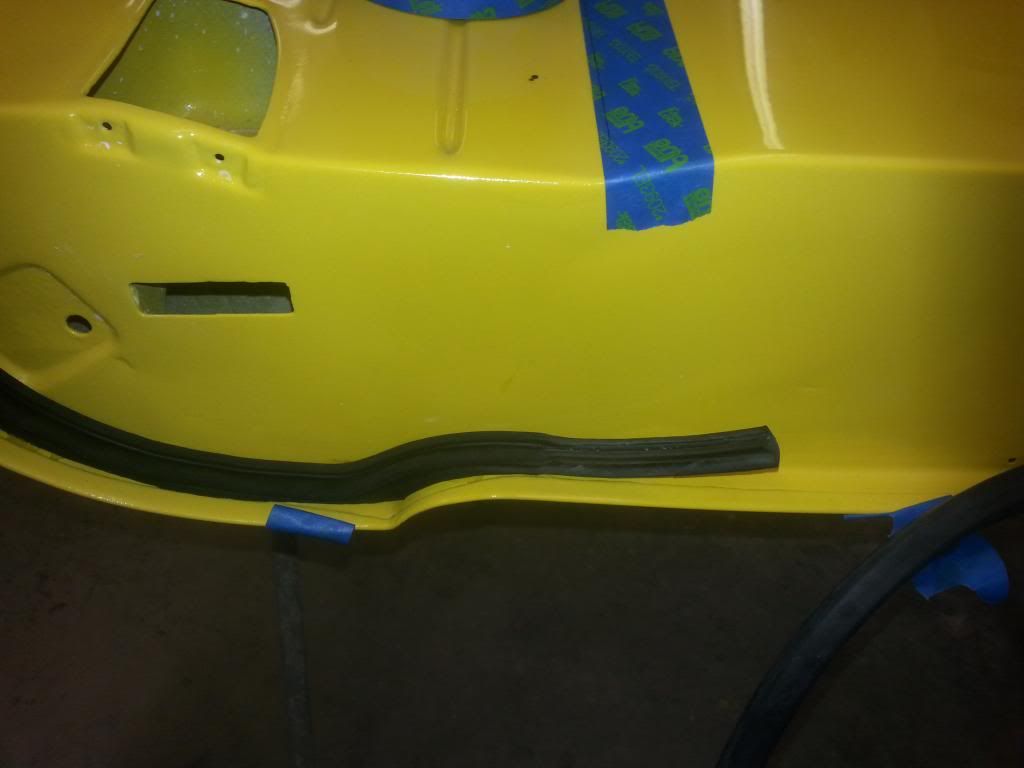
Third, use blue painters tape on the outside of the radius on the door where the adhesive will be applied. If you don't understand what I mean, you will be able to see which radius I'm talking about in the pictures.
Wipe the area you're working on down with oil and wax remover.
Forth, take your time and think things thru before you start.
Daryl and I did these doors this afternoon but ended up using two tubes of yellow gorilla snot, not one. There is only one adhesive to use and that's the 3-M brand. And unless your truck is yellow, use the black color. Trust me.
And there is only one rubber seal to use and that's the one from Dennis Carpenter, trust me.
So, here we go.
1. Wash your rubber in dish washing detergent with a green scouring pad and remove "all" the white powder release agent on the rubbber. Make sure they are well rinsed, then lay the seals out flat and let them dry for a couple of days. If, after they dry they still have white powder on them, wash them again.
2. Once you have identified the radius on the door where the gasket glues on, carefully tape that area off with blue painters tape on the top and bottom of the radius. I didn't do this because Tweety is yellow, I used yellow gorilla snot, and I've done this job before. If its your first time, tape it off. When you smear the glue on the door and the gasket, make sure to get good coverage and an even amount on both pieces. Do not immediately stick things together while the glue is still wet. Let the glue dry to finger soft.
3. Pre-fit the seals on the doors with blue tape, making sure the molded sections of the seal are fitting where they were designed to go. Except for the bottom where the push in studs are, do not stretch the seal.
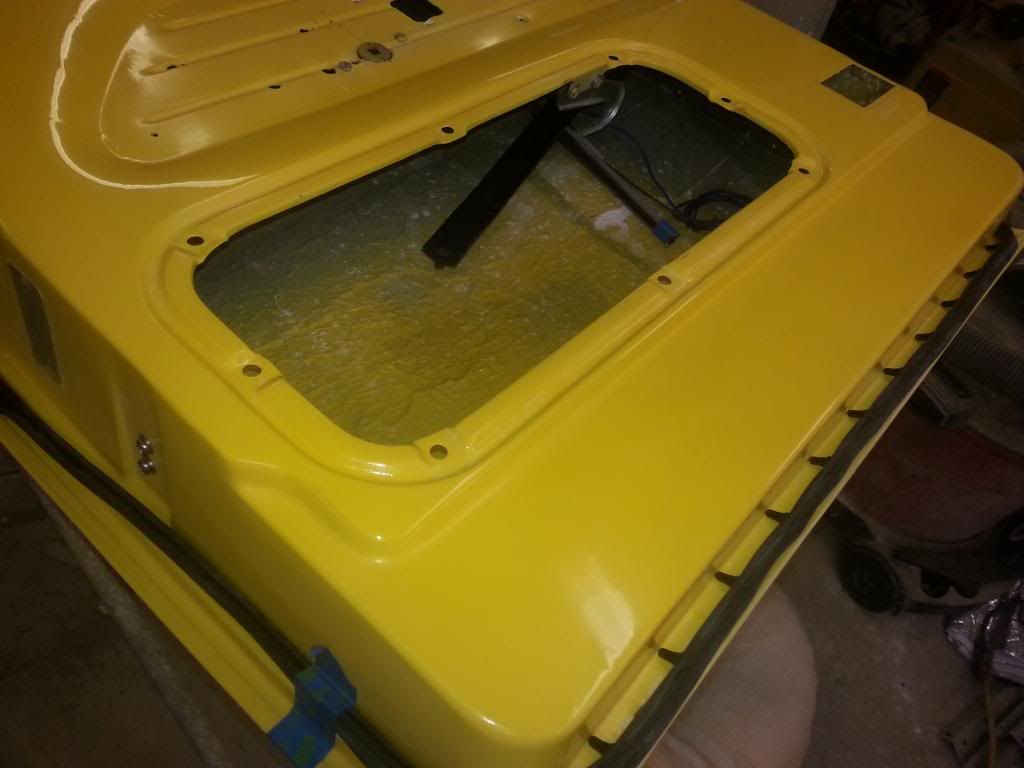
4. Start with the bottom like I said. Working about 24" at a time, put your weatherstripping adhesive on the door bottom from side to side first in a thin even coat, then on the two sides of the "radius that fits in the radius" including the mounting studs and start pushing in the studs in order. Start at one end or the other and work to the other side. I used a small piece of wood and a rubber hammer to drive the mounting studs in the bottom of the door.
Do not get in a hurry. The glue won't dry before you're done. Trust me.
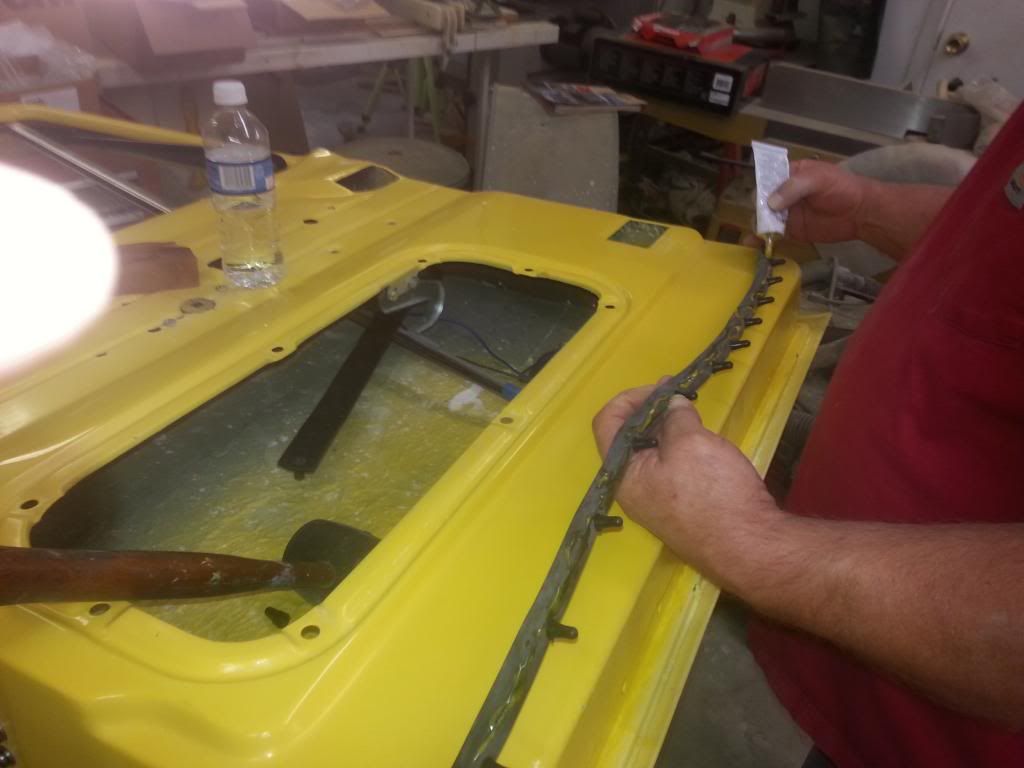
5. With the gasket end going to the hinge side taped in place, start working up the latch side taking special care to make sure the molded area of the gasket fits in the area of the door where it belongs. Note that there is a kind of double lip on the gasket and that always points up. Like I said, don't stretch the gasket and make sure you get a good coating of adhesive on the door edge and the gasket in this portion area.
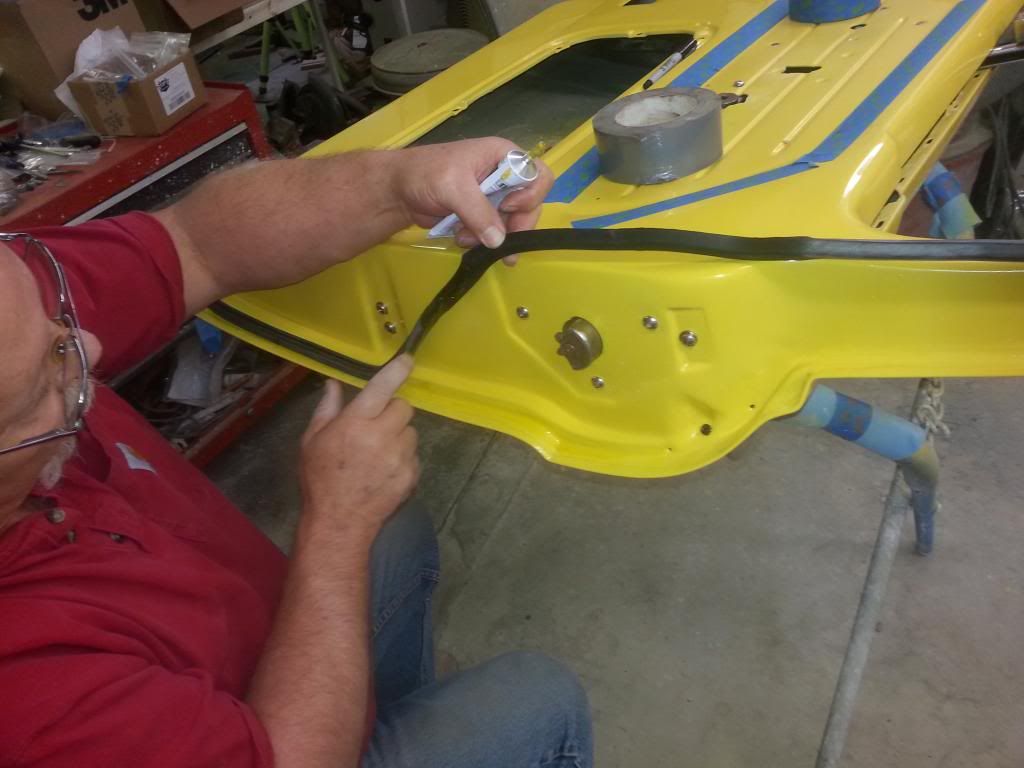
This is a better shot of the molded part of the gasket and yes, that open spot is supposed to be there. Follow up and continue up the back of the door to the top, gluing the rubber down about 24" at a time.
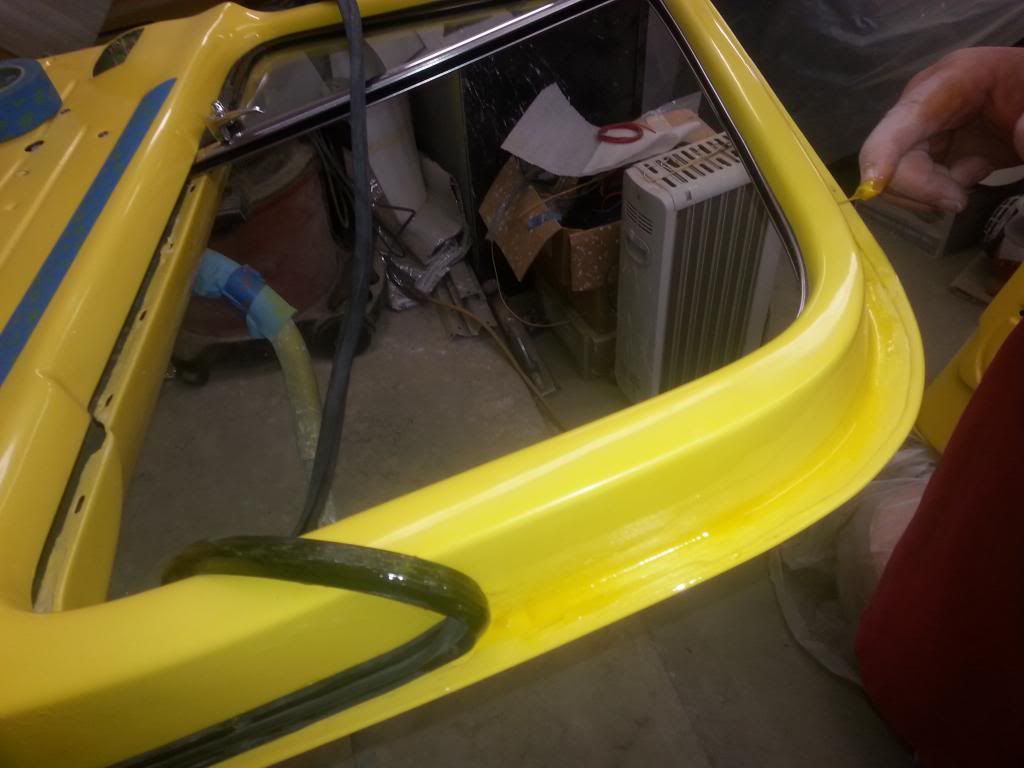
6. Going down the front of the door (where the hinges are) is another molded part of the gasket and you need to take special care that this fits in the area where its supposed to go. I suggest gluing the gasket at the top and down about 6" before attacking this area.
Notice the tail of this piece of the gasket will be glued and lastly the tail of the gasket running from the bottom of the door "up" will be trimmed to but up against the other gasket and then glued last.
7. After the last piece is glued down, work around the entire gasket with your fingers making sure the rubber is securely bonded to the door, pull off he blue tape and you're done. IF you have some overflow the adhesive cleans up with laquer thinner, but take your time with that so you don't melt the paint.
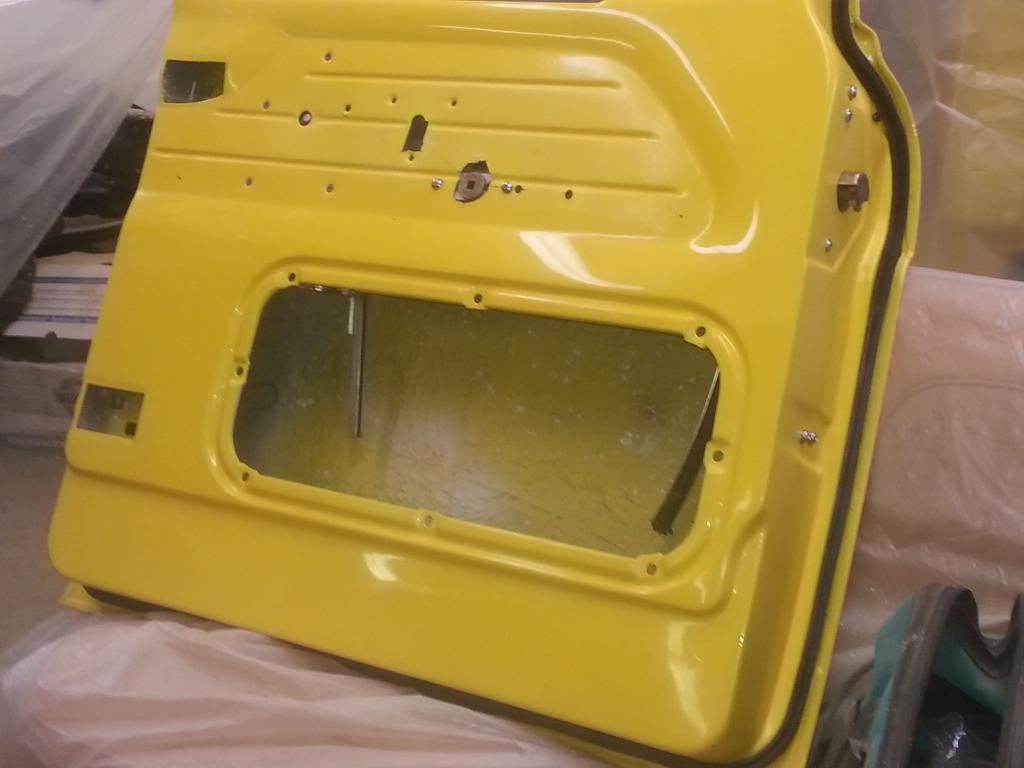
Hope this makes a tedious and sometimes difficult job just a little easier. If you have questions or don't understand something, ask and I'll try to make things a little more clear if I can.


