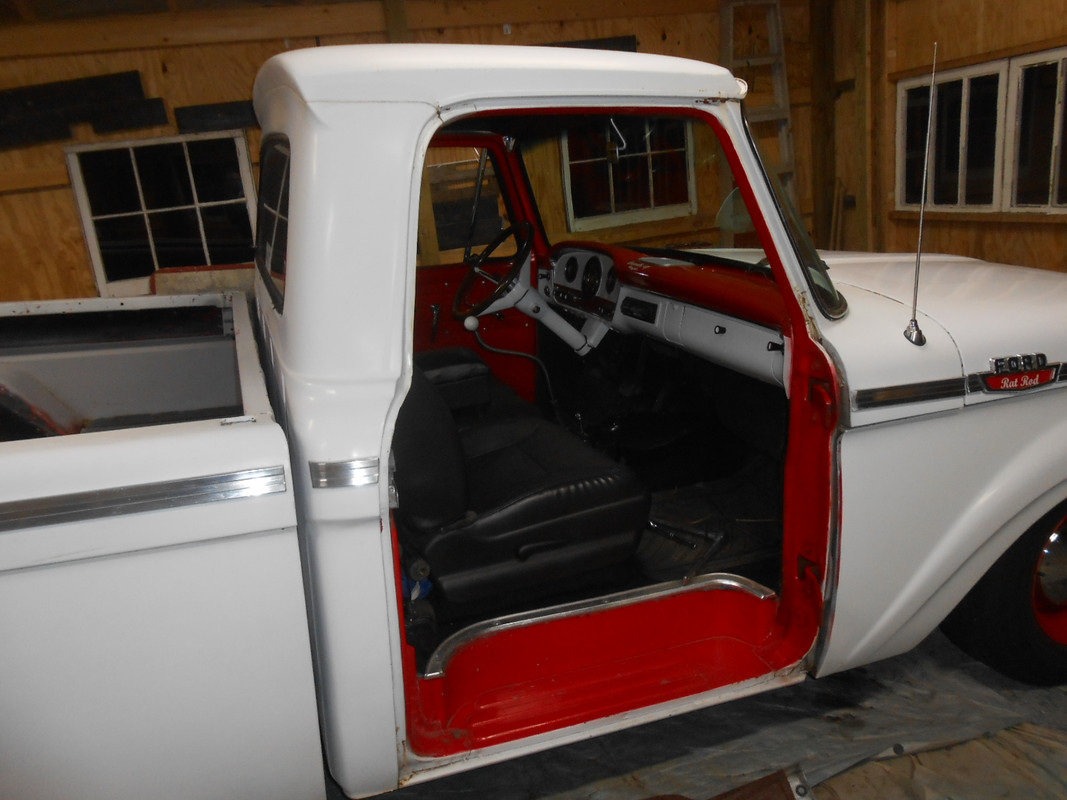
Quick tip on installing door gaskets (and there is an excellent thread about that in the "Hints and Tricks" section).
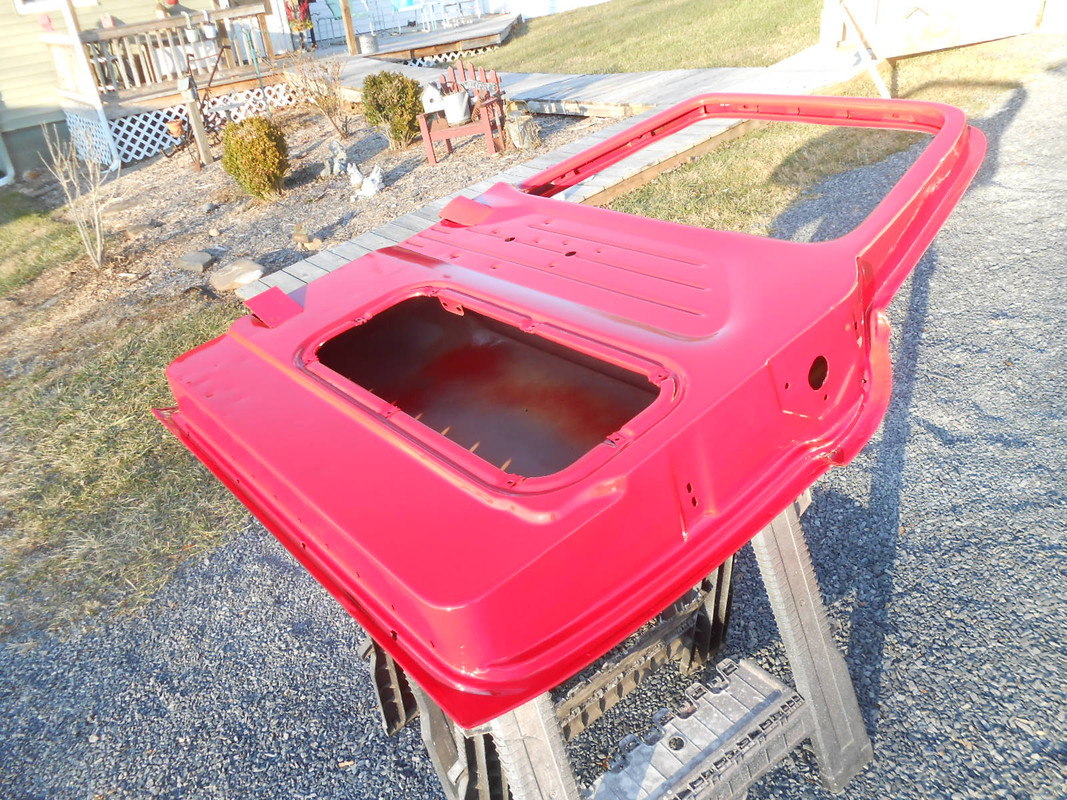
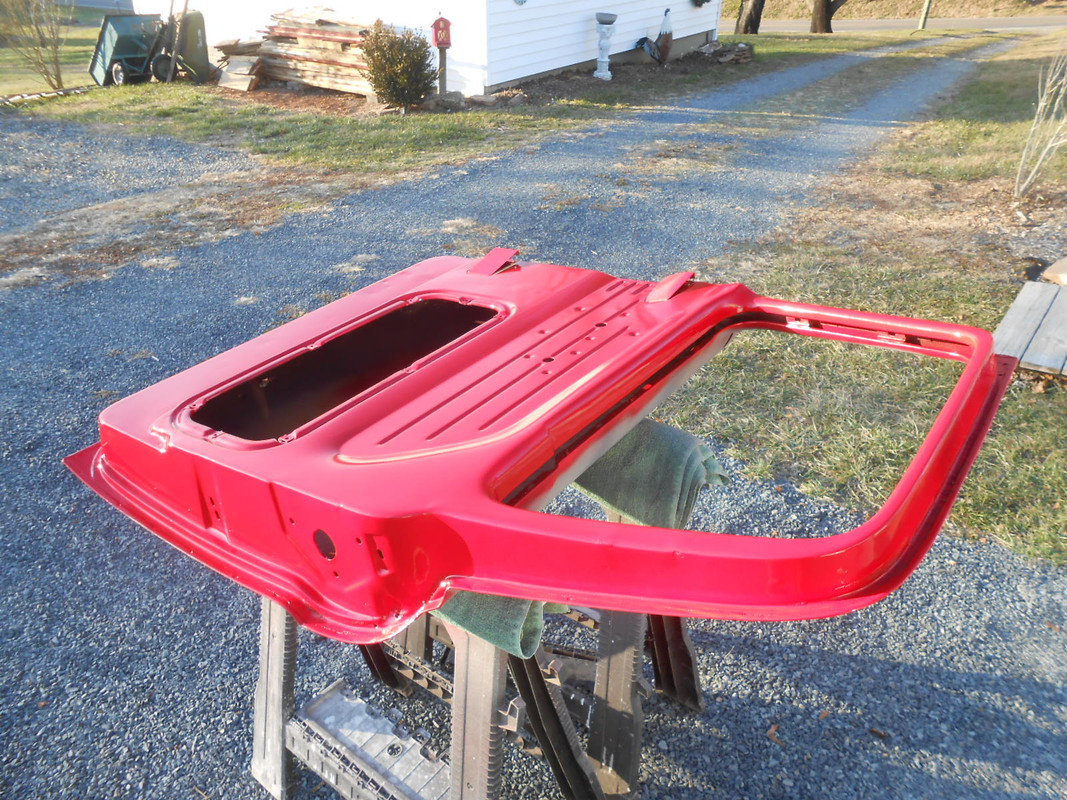
In my option, it is easier to just remove the 3 upper and 3 lower bolts and remove the door, place it on sawhorses (or in my case on the dining room table...if your wife permits, lol). You can very easily remove the old gasket and even easier, install the new gasket.
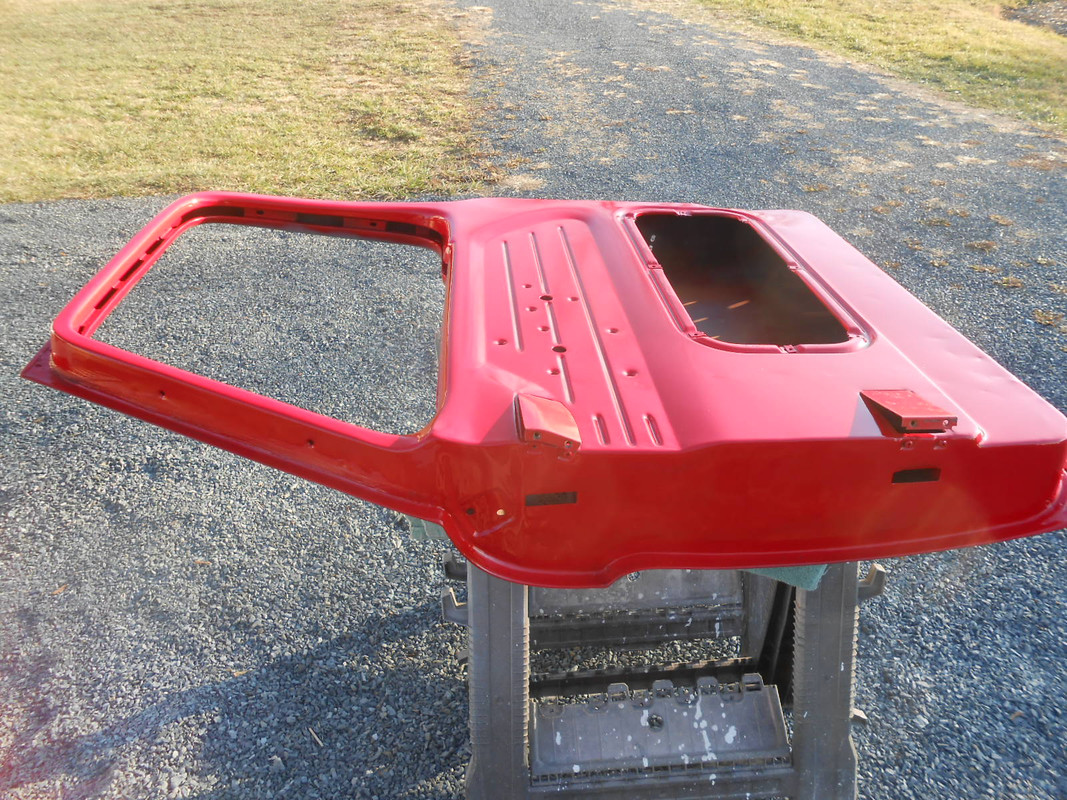
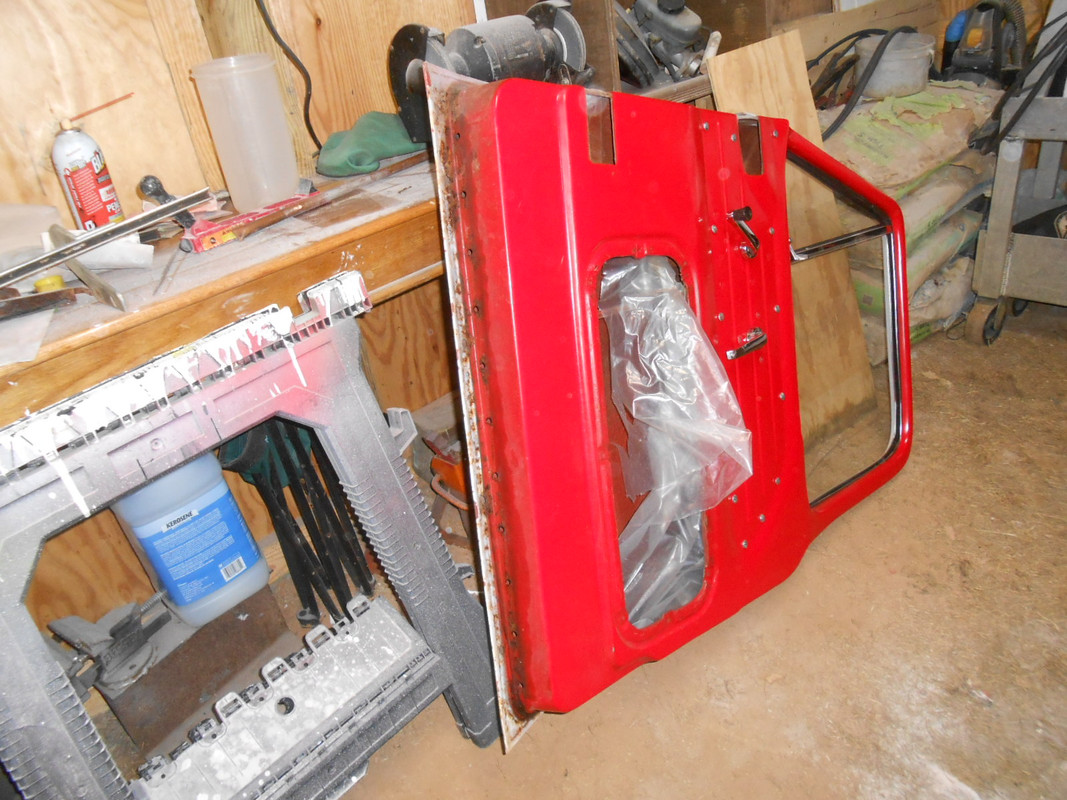
As always, start at the bottom where the plugs are located. I laid the entire gasket out to insure that the seam (the two ends of the gasket) would come together in the correct place.
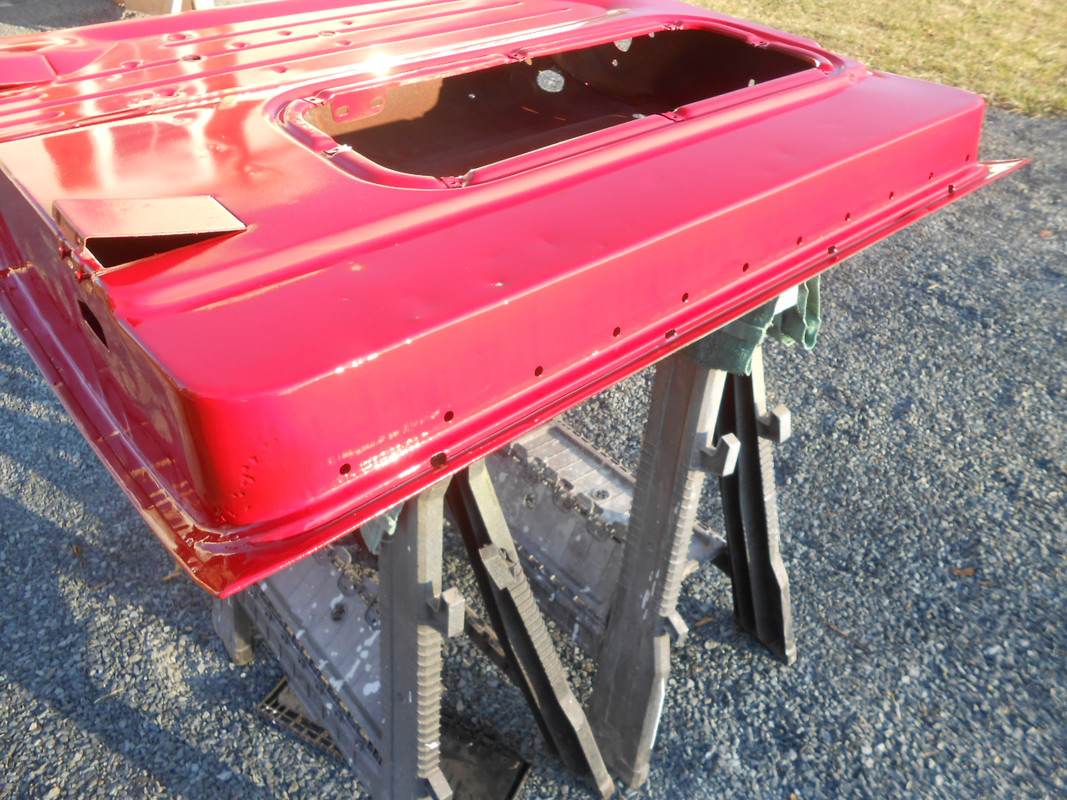
Using 3M Black Weatherstrip Adhesive (bought from CarQuest) I glued about 24-30 inch sections at a time. Put the glue on the door and on the gasket, let it dry for about a minute or so and then put the gasket in place. Take the time to hold the gasket in place until you are sure that the adhesive has grabbed, which is not very long.
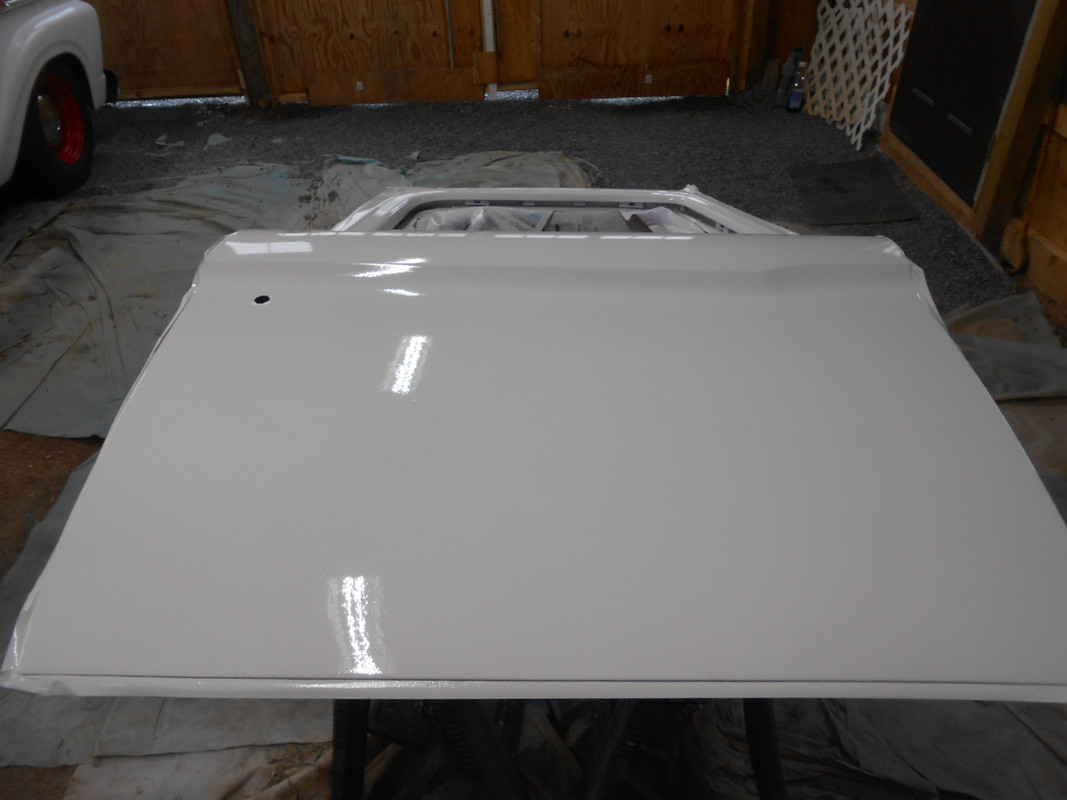
I have the door inside, setting against my dining room wall (actually any room and any wall will work) drying for the next 24 hours.
It took me about 30-40 minutes to glue the entire gasket in place. It helps, especially on these cold (almost winter) days to have a hot cup of coffee on hand....
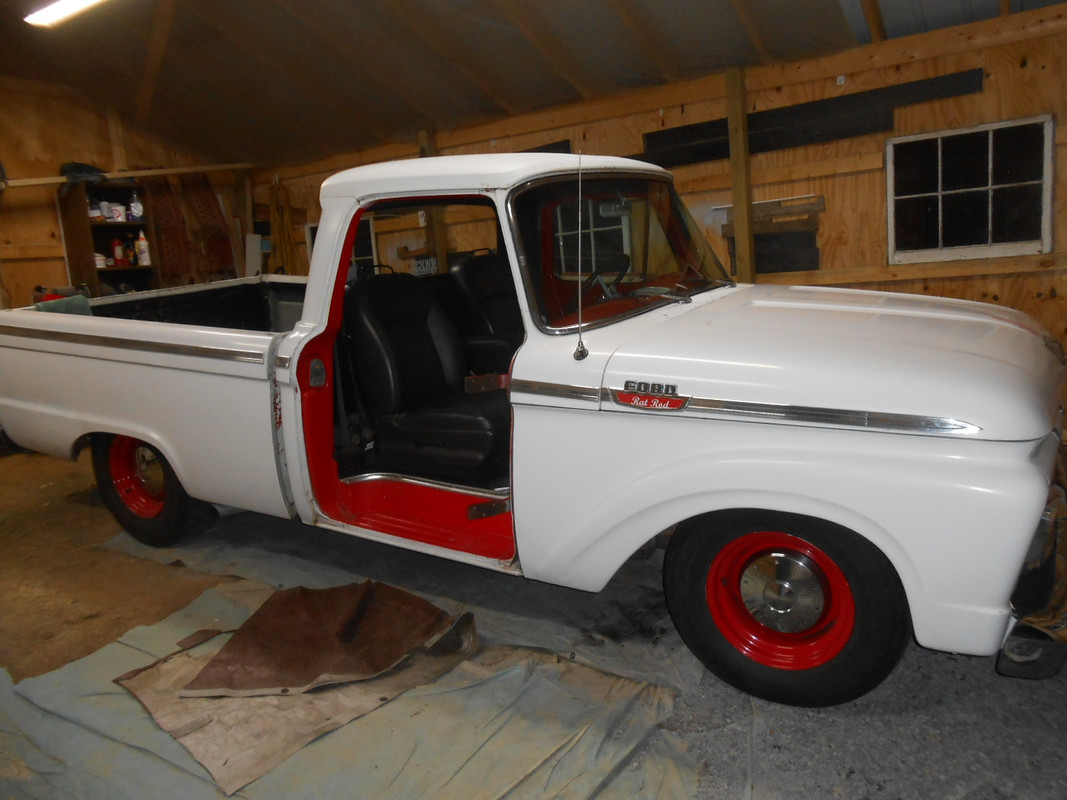
My father-in-law will help me install the door this morning....
Pics to follow.