Page 2 of 2
Re: the seriousness of slickitis, uni conversion new pics 9
Posted: June 28, 2015, 8:06 pm
by ICEMAN6166
its on
its staying on
truck cab corners took a little beating getting it on, but they can t ever be seen
pretty level, no bolts just some punches and screwdrivers aligning the holes
now for the big fun of welding bodywork and completing this

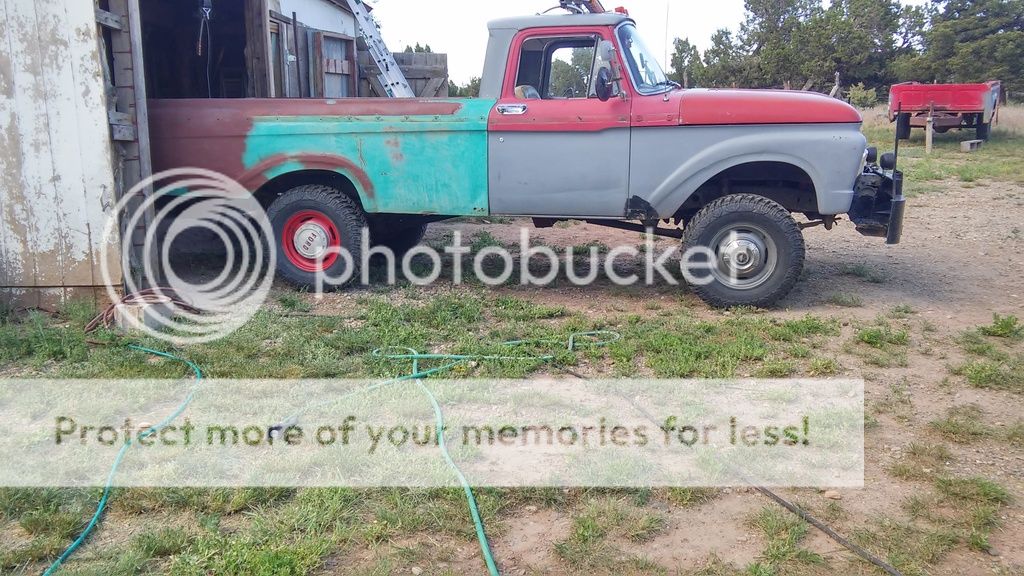
oh i got the trailer too

Re: the seriousness of slickitis, uni conversion new pics 6
Posted: June 28, 2015, 8:14 pm
by jkimbrel65
that looks great Brian

Miike
Re: the seriousness of slickitis, uni conversion new pics 6
Posted: July 3, 2015, 9:41 am
by Johnny Canuck
How bout a shot of the inside of the box at the cab Brian.
Looks great- but the wind line on the doors would look better straight with UNI door skins IMO. I know, I know don't push it LOL

Re: the seriousness of slickitis, uni conversion new pics 6
Posted: July 3, 2015, 3:44 pm
by ICEMAN6166
JC if you have some good uni doors bring them by and i will gladly put them on
also if i was to do this project again i would want a big back window, looks cooler and actually a bit less work
ill see if i cant get Terry to take more pics this weekend
Re: the seriousness of slickitis, uni conversion new pics 6
Posted: July 3, 2015, 9:19 pm
by 1964WVFORD
Your truck is looking great Brian. I have a question. How did you attach the rear cab corners(the whole cab corner of your regular cab) to your uni bed? The uni just has a small square of metal as an attachment to the rocker panel where the regular cab had the entire corner. Did they directly fit against each other or did you have to remove some metal first? I am still trying to get mine done as well and might install my big window in it later. Glad to see that you are getting yours finished. Lewis
Re: the seriousness of slickitis, uni conversion new pics 6
Posted: July 3, 2015, 9:57 pm
by ICEMAN6166
Lewis
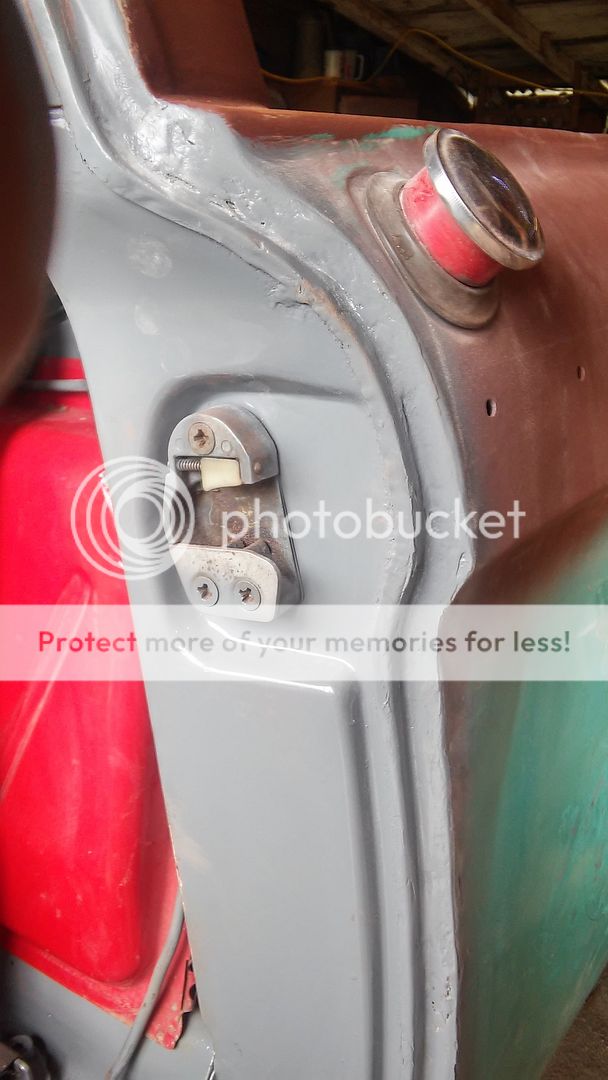
the uni corner is square so the regular curved corner is inside, if you looked in the gas tank hole you can see the rounded corner
underneath the cab corner tails hang down, but im thinking of removing them and using a 4" wide plate over the bottom where they join up just to keep water and anything else getting between the 2 layers of metal ( the back of cab and front of bed)
Re: the seriousness of slickitis, uni conversion new pics 6
Posted: July 18, 2015, 7:01 pm
by ICEMAN6166
today the inside of the bed got a nice coat of rustoleum rusty metal primer
now i can really see all the dents from the po throwing steel in it for 25 years

not too worried the other bed had them too though not nearly as many
not going to spend all year doing bodywork on it, for now as long as its not rusting im good
Re: the seriousness of slickitis, uni conversion new pics 6
Posted: July 19, 2015, 1:55 pm
by streetrods
If you were clipping a unibody bed and big window to a standard cab would you clip it at the seam below the roof?
Re: the seriousness of slickitis, uni conversion new pics 6
Posted: July 19, 2015, 5:08 pm
by ICEMAN6166
streetrods wrote:If you were clipping a unibody bed and big window to a standard cab would you clip it at the seam below the roof?
yres and if i ws going to do mine again i would prefer to cut at the seam above the window where it meets the roof and across the floor below the gas tank step.
Re: the seriousness of slickitis, uni conversion new pics 7
Posted: July 19, 2015, 5:19 pm
by ICEMAN6166
no gaps JC

rustoleum rusty metal primer


this part took a while

still need some cleanup around the edges but i had the paint out from painting behind the tank
Re: the seriousness of slickitis, uni conversion new pics 7
Posted: July 21, 2015, 11:16 pm
by FORDMANLCRACKEL
Looks good Brian!
Lonnie
Re: the seriousness of slickitis, uni conversion new pics 7
Posted: August 4, 2015, 2:27 pm
by Johnny Canuck
Looking good Brian. Driving her up to Pats next year?
Re: the seriousness of slickitis, uni conversion new pics 7
Posted: September 6, 2015, 7:21 pm
by ICEMAN6166
yes planning on attending with truck this time
but truck is down again
bought a chrome grille
figured i would take off the fenders and do some rust repairs since the grille was out
turned out more tinworms than i expected
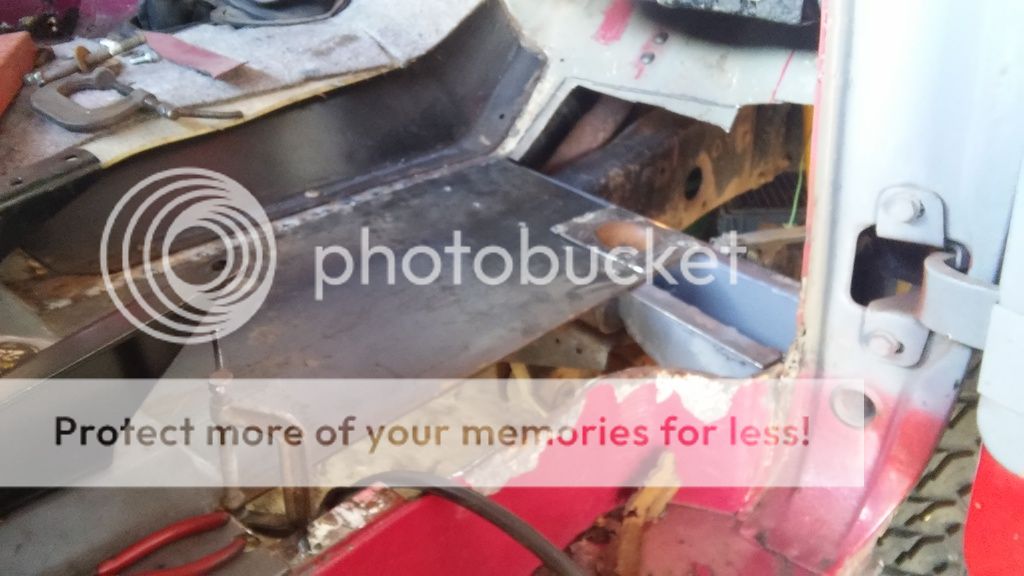
ended up dismantling the whole front clip
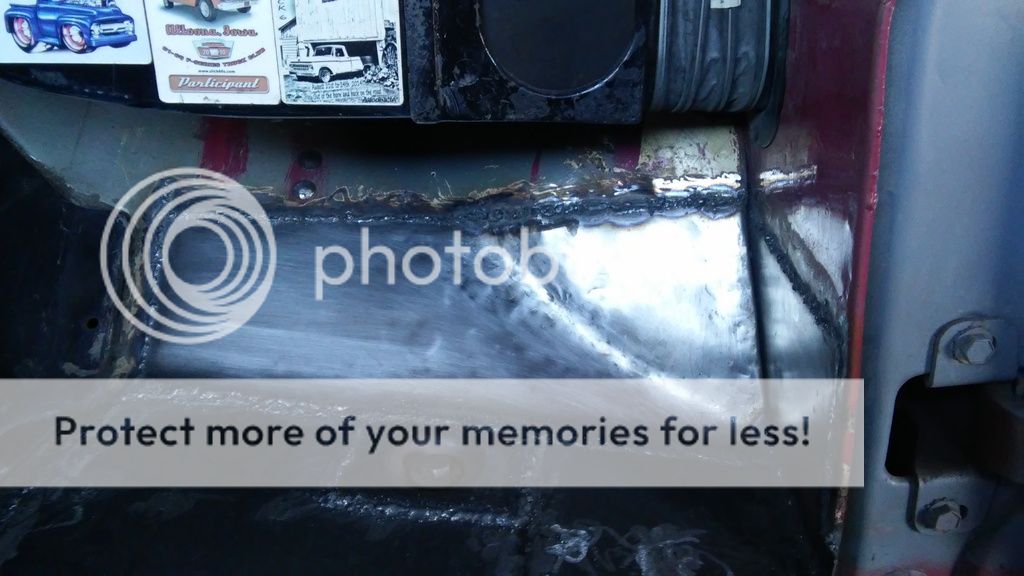
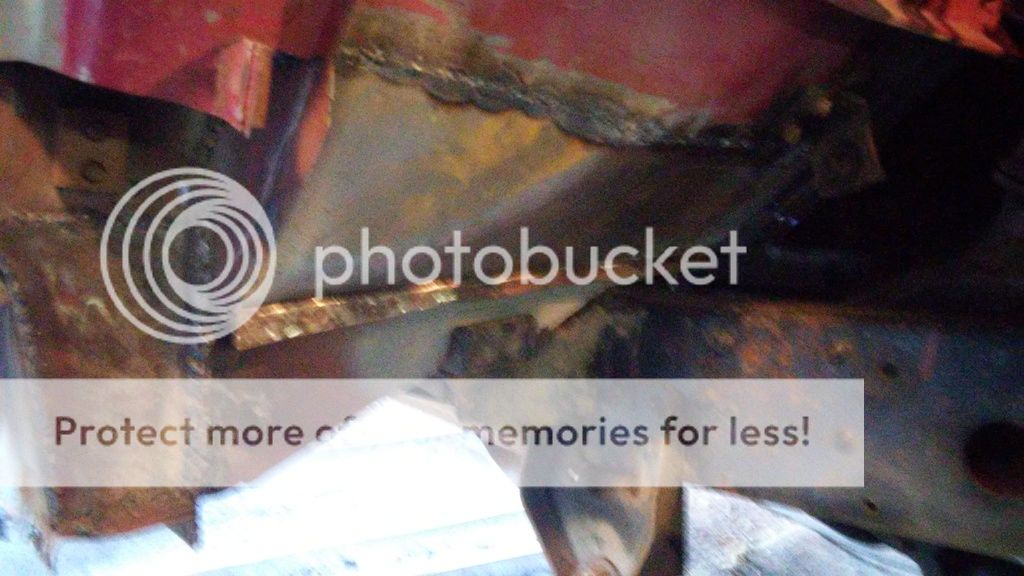
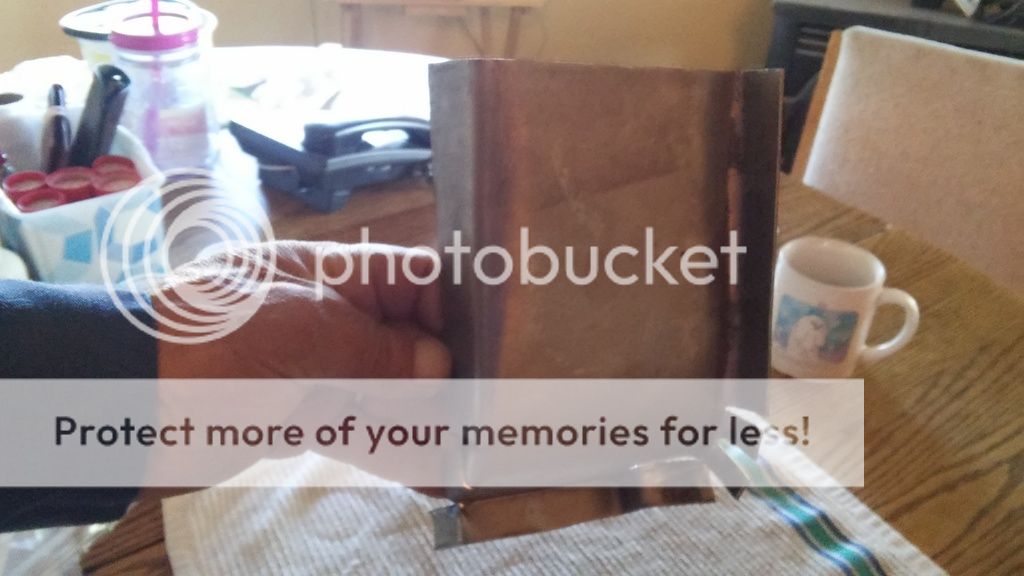
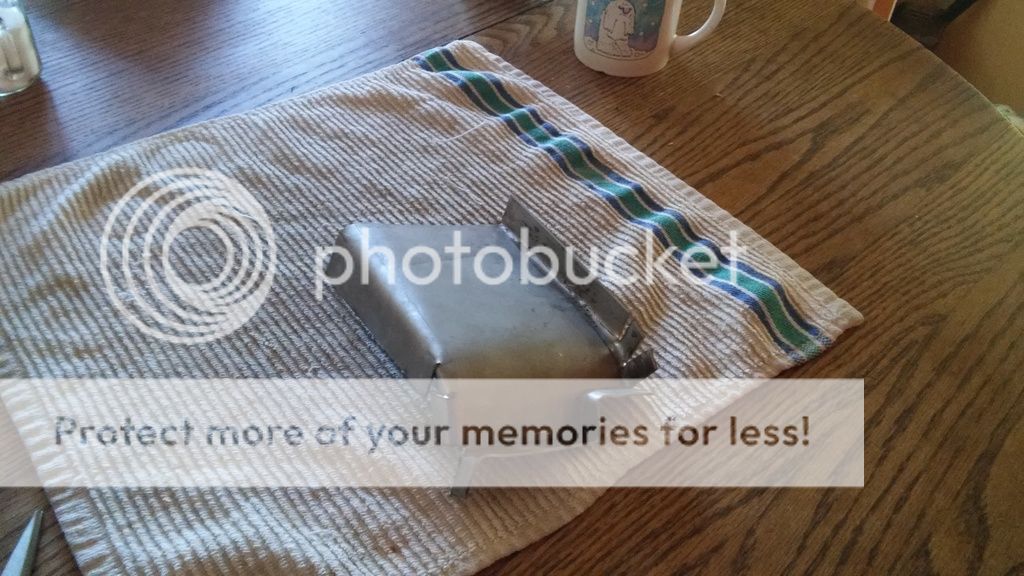
so building new cab mounts and floor with 1\8" plate and fixing the other holes with standard thicness
couple views of the cab mount

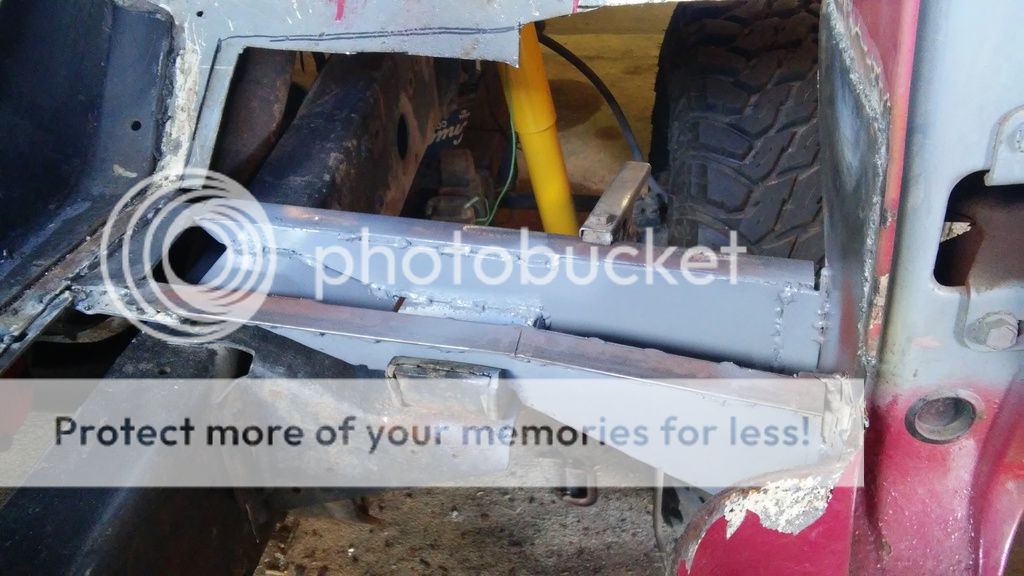
one with the 1st floor piece in place
probably going to be several weeks on this
Re: the seriousness of slickitis, uni conversion new pics 9
Posted: September 11, 2015, 2:10 pm
by ICEMAN6166
Re: the seriousness of slickitis, uni conversion new pics 9
Posted: September 13, 2015, 5:24 am
by Rusty 63
1/8" plate! That'll do! Good to see this coming together!
Re: the seriousness of slickitis, uni conversion new pics 9
Posted: October 29, 2015, 7:56 am
by shipwrecked
how goes the battle?
Re: the seriousness of slickitis, uni conversion new pics 9
Posted: October 31, 2015, 1:28 pm
by ICEMAN6166
shipwrecked wrote:how goes the battle?
its coming along, floor is 99% done, got most of the other pieces like the core support an inner fenders repaired and now today started on the drivers side outer fender
had fun with a broken off bolt yesterday, the one on the firewall that hods up the little bracket for the fender
tried to vise grip it from inside the vent after spraying with pb, did not budge
then tried drilling and an easy-out
still would not budge
finally kept increasing drill bits until i got just below the tap drill then i used an ice pick to get out the rest of the threads then ran a tap thru, took nearly 2 hours but its good to go now.
hoping i can get to painting and assembly real soon
Re: the seriousness of slickitis, uni conversion new pics 9
Posted: November 16, 2015, 1:25 am
by Alan Mclennan
Who`d a thought a chrome grille would cause so much pain Brian ?, mate you have this almost beat, look forward to seeing her at Salina next year!