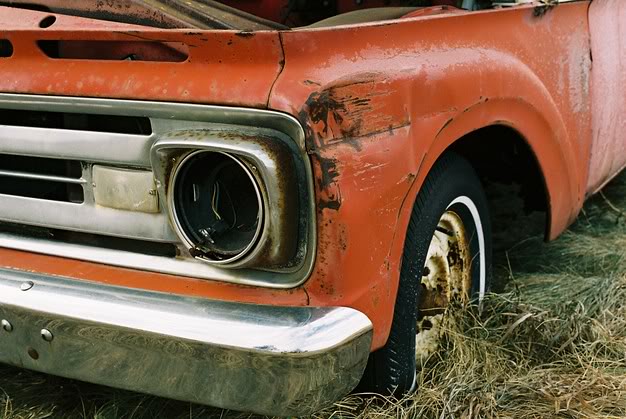
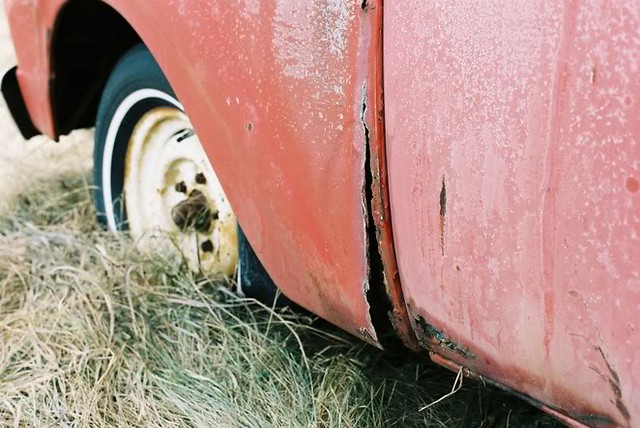
Truck dis-assembly
Posted: December 11, 2010, 2:04 pm
I think I've covered everything.
At least I hope so.
It's not rocket science, its only brain surgery.
U@ss
A general guide to Slick truck body removal.
What it takes:
1. Patience. Take your time and have patience.
2. Before you start your project, I suggest building a body and a bed dolly with casters so you can move them around while you’re working. There are examples on the web site for ideas.
3. If you can, pre-soak all the nuts and bolts you can reach for as long as you can with a rust buster penetratant of some kind. Remember, if some of them break or strip , you'll have to figure out how cut or saw some of them off, but keep the pieces if you do.
4. Remember to get some kind of paper tag with a string on it, blue masking tape, some sharpies, and zip lock bags for saving and tagging all the parts you take off the truck.
5. Except for body parts, I suggest you clean and tag every part you take off your truck as it comes off. I also suggest you take “before” pictures of details so you can remember what goes where when you go back together. More pictures is better.
6. All nuts and bolts from an assembly should be kept in a bag or small box and labeled as to what they are and where they came from, even if you plan to replace them. For example, keep all your door hardware together. Keep all your window hardware together. Etc.
Removing the bed from the truck:
• Take special care with little springs, brackets, screws and such because they are not reproduced. If you lose something like the e-brake detent spring, you’ll have to find a parts truck.
• Remove all the bumpers and fender brackets.
• Remove the bumpers and fender brackets.
• Remove the tail gate.
• Disconnect all the light wiring harnesses from their components in the grill and in the rear of the bed. Remove the 2 harnesses in the engine compartment.
• Remove the bed by taking out the bed bolts. It takes about four people if you’re lifting a styleside, a flair side (step) can pretty much be taken off with two people.
• Put on your bed dolly.
Removing the front clip as one piece:
• I suggest taking the entire front end off as one piece if you can. Again, pre-soak all the nuts and bolts for as long as you can before you go on. This way, when you dis-assemble the parts from the clip it can be turned upside down to allow better access to hidden bolts.
• Remove the hood and put the bolts back in the hood. Leave the hinges for now.
• Remove the radiator (don't forget the transmission cooler lines if you have an automatic), heater hose hold down clips, battery, battery cables, and battery tray.
• Unbolt the emergency brake cable bracket located on the drivers side inner fender.
• Also, use caution while dis-assembling because most of the hidden bolts use clip nuts and these will break and allow the bolt to spin. Not good because you’ll have to figure a way to cut them off without damaging the sheet metal. Take your time and think about what you want to do if this happens.
• There are two hidden fender bolts. One is directly below the bottom of the door front seam. It bolts the bottom of the fender to the cab. The other is inside the cab on the kick panels up close to the dash. Same deal. There is an access hole in the kick panel to reach it.
• There is a “L” shaped clip bolted to the back hole on the inner fender and to the firewall. I suggest leaving the clip on the firewall and unbolt the fender from it.
• There is a rubber strap holding the bottom of the inner fender to the firewall on both sides that need to be removed.
• Make sure the wiring harness to the headlight/ turn signals, and the wires to the horn and starter solenoid are disconnected.
• Remove the two large bolts holding the core support to the frame.
• Lift the entire assembly up to clear the wheels and shock towers and walk it forward to the front of the truck. You’ll need at least two people.
• Disassemble the rest of the pieces from the front clip.
Taking off the body of the truck.
• You’ll have to remove the steering column next. Depending on what year truck you have, the process is different. 61-64 trucks have a one piece steering column and will have to be unbolted from the frame. 65-66 trucks can be disconnected at the “rag joint”. The rest is pretty much the same for all years. For the earlier trucks the process is as follows:
• Take the doors off the truck. Before unbolting the doors, first drill two 1/8” holes in the hinge, top and bottom where it bolts to the door jam so you can relocate the door in its original position when you put it back together. Put the bolts back in the door jam. At this point you can take the hinges out of the door if you want to but mark them right and left and top and bottom.
• Undo the speedometer cable at the instrument cluster and at the transmission and pull it out of the truck thru the firewall.
• Make sure the ground strap from the motor to the firewall is disconnected.
• Remove the speedometer/ instrument cluster for access.
• Remove the steering wheel and note the spring contact where the horn grounds to the column. Also unscrew the turn signal arm.
• Remove the turn signal wiring harness at the bottom of the column.
• Remove the seat (and seatbelts?).
• Strip out all the old floor covering and insulation.
• Drain and remove the fuel tank and fuel lines. There are brackets at the top and bottom of the tank holding it in place. Don’t forget to pull the fuel line out thru the bottom of the floor.
• Unbolt the column bracket that holds the column to the dash at the bottom of the dash and remove it completely
• Remove the floor seal around the steering column on the floor.
• Remove the shift rod linkage from the column and transmission. Take pictures of this process.
• Remove the brake lines from the master cylinder and remove the master cylinder from the firewall.
• Remove the wire harness plugs from the front of the firewall and take them completely out of the truck.
• Unbolt the pitman arm from the steering box. It is the part that connects the box to the front axle.
• Remove the three bolts that hold the steering box to the frame.
• Pull the steering column and steering box up thru the floor and into the cab to remove it. Get help if you can so you don’t break the rear window.
• Disconnect the emergency brake cable from the handle and pull it out thru the front of the firewall. To do this, the e-brake assembly has to be unbolted from the bottom of the dash and two small bolts removed from the firewall. Do not lose any of these pieces. Drop the e-brake assembly down, use vice grips to pull the little pin (it is NOT a screw) out of the back of the e-brake shaft where the cable mounts to it. Don’t twist it, pull it out straight. You’ll see why after you get it out. Don’t lose it. With the pin out, there is a ball on the end of the cable that fits in a pocket in the shaft. Rotate the handle and remove the ball from the shaft. Take special note here, and a picture, of the handle end of the e-brake assembly where the detent and spring are. Don’t lose these parts.
• Pull the e-brake cable out of the firewall into the engine compartment and make sure it is also free of the bracket on the inner fender.
• Disconnect the carburetor linkages.
• Make sure the heater hoses have been removed from the motor at the firewall.
• Remove the heater assembly now if you want to reduce weight.
• Remove the four cab mount bolts. Two in the floor pans in the front and the two behind the seat where the fuel tank mounts.
• Look for ground straps or anything else you may have missed that might tie the body to the frame.
Finally:
Remove the cab from the body and put it on your cab dolly.