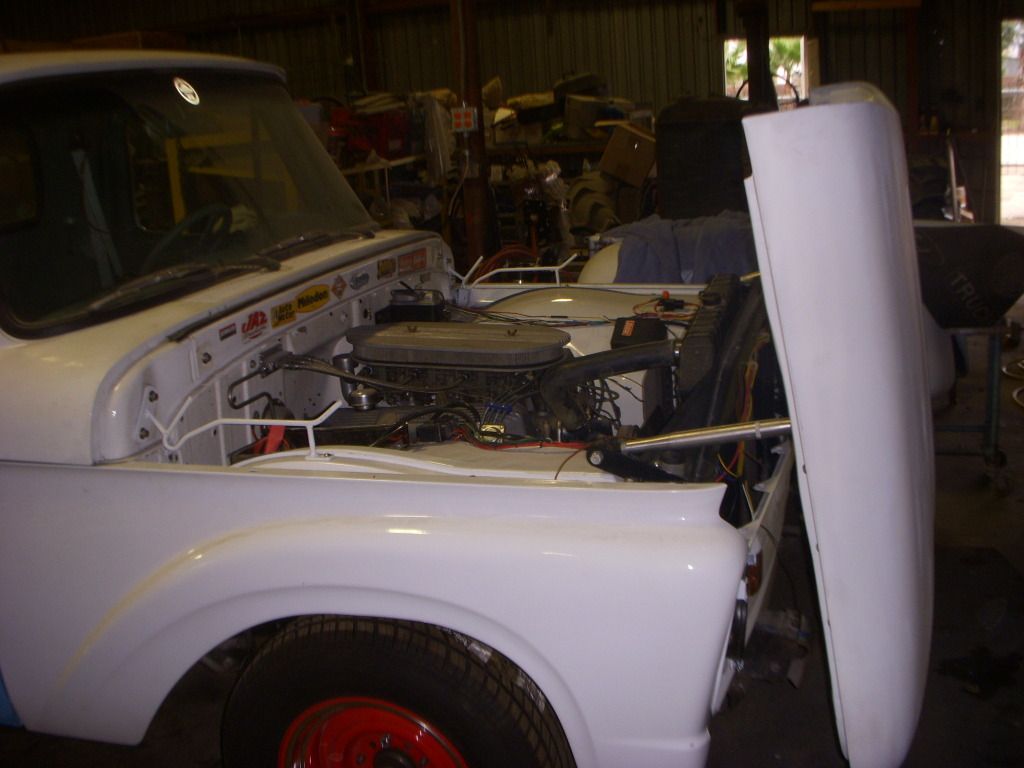
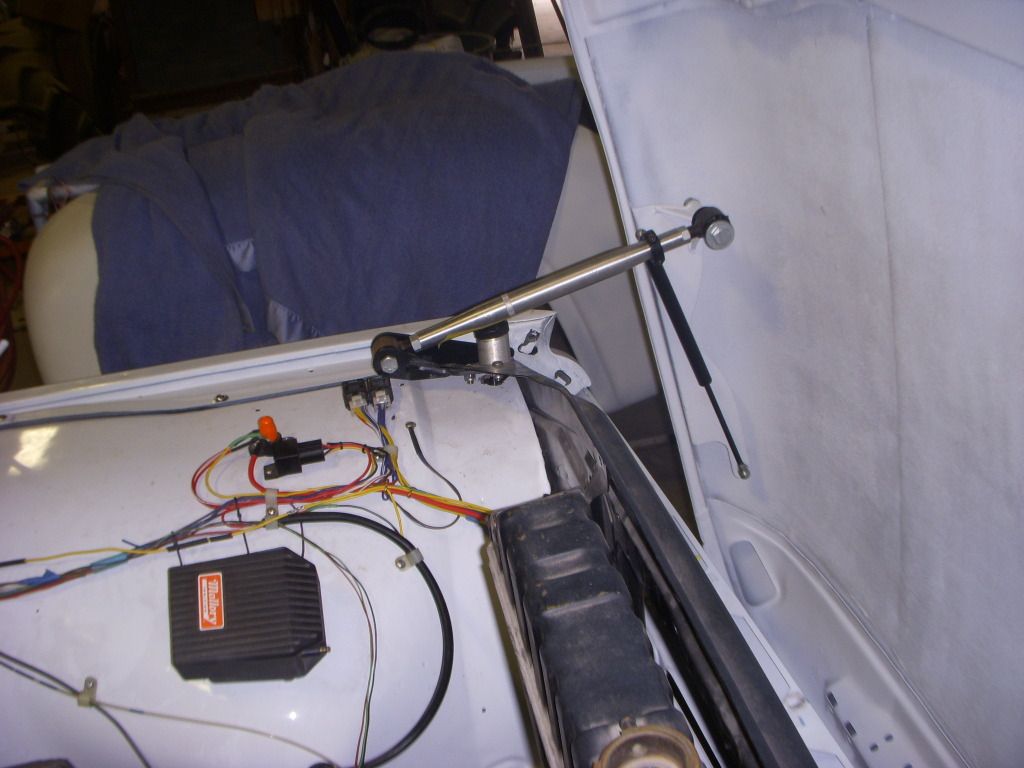
If anyone gets this kit you will not be disappointed I promise, and if I can help you with anything you don't understand please let me know. Its pretty straightforward but it can be a little tricky if you've never done anything like this before. Also, be advised you need to have an extra set of hands when you mount things up. Just saying.
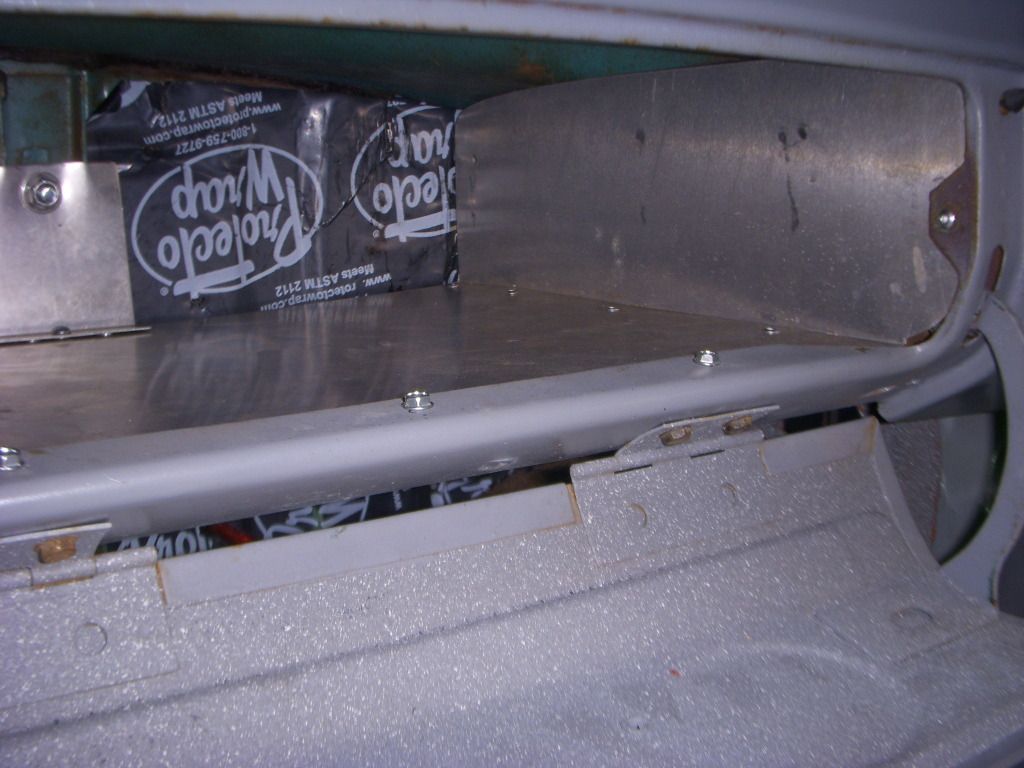
And I'm making an aluminum glove box for my truck. I'll be mounting the Ron Francis fuse block on the bottom of it with industrial velcro so I can take it down if I need to change a fuse.
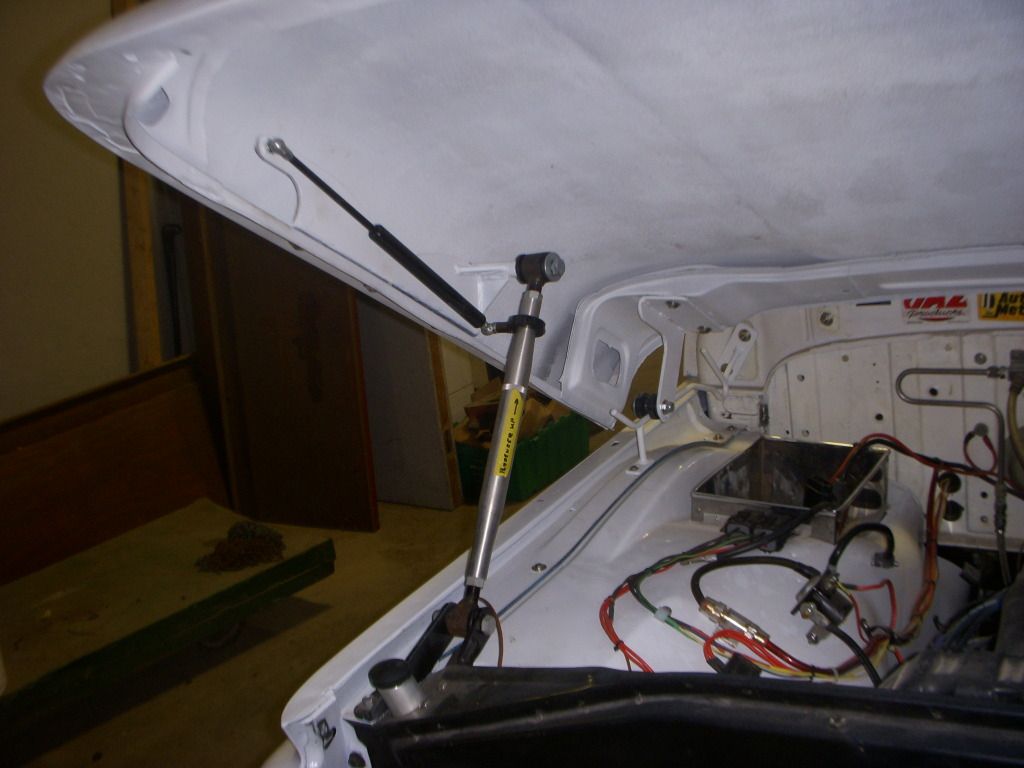
I'll post another picture in the next day or two of the box installed. Here are photos of the top and bottom. I used an 8-32 nutsert on the bracket that bolts to the firewall that holds up the back edge of the box.
Top
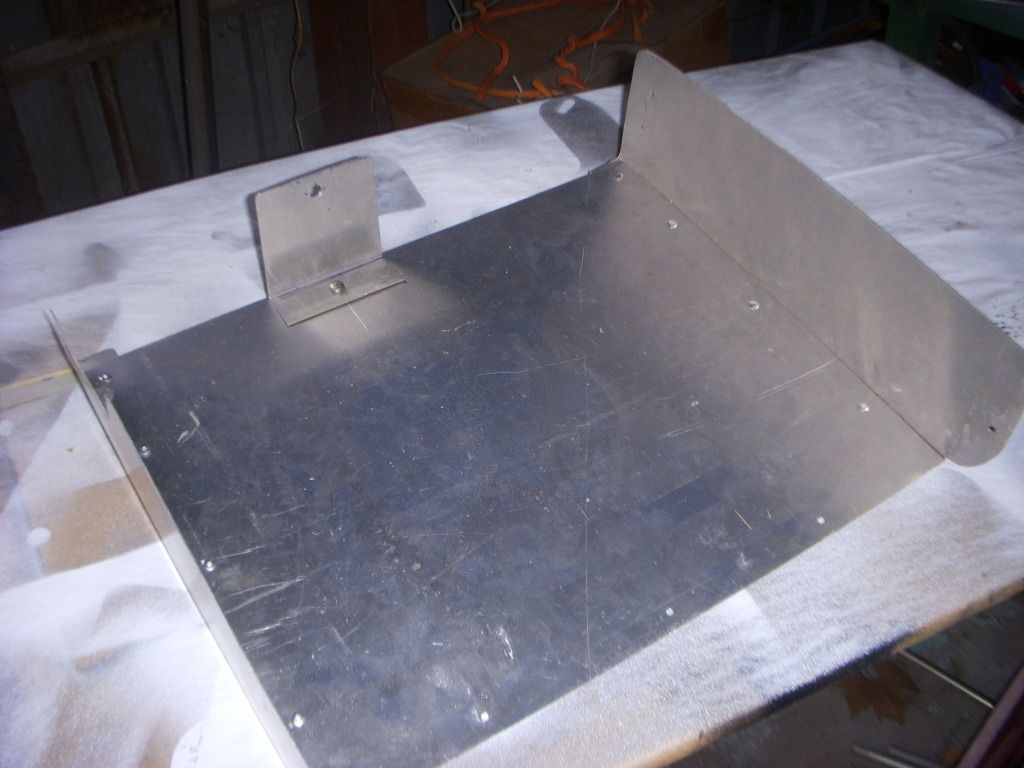
Bottom

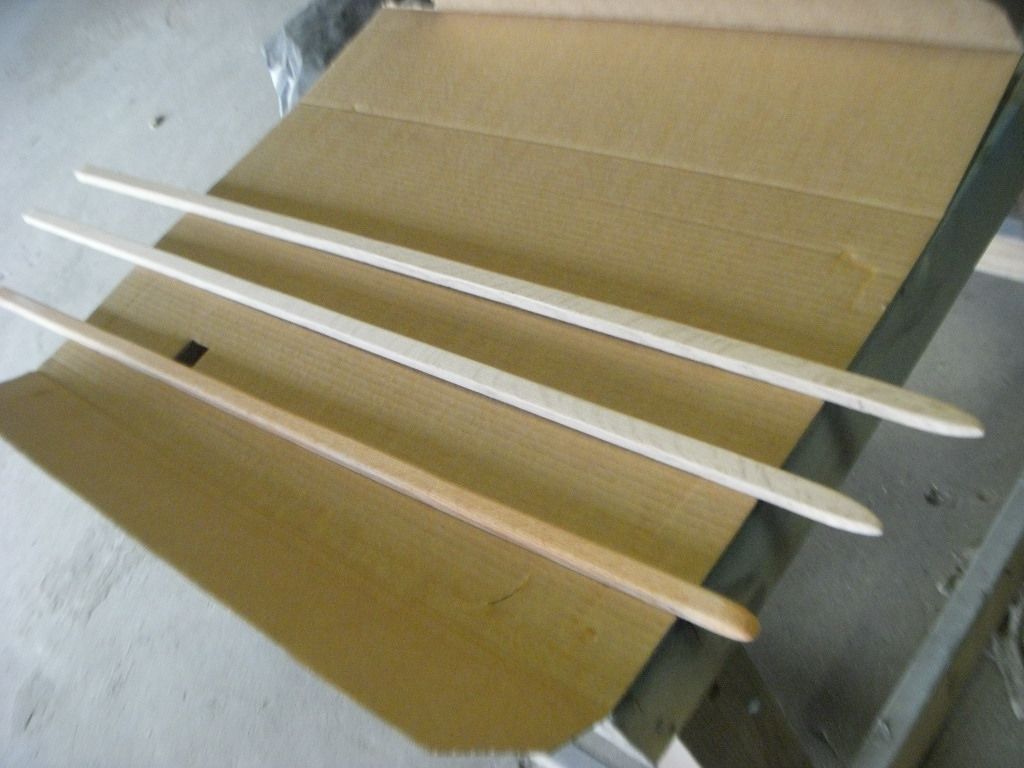
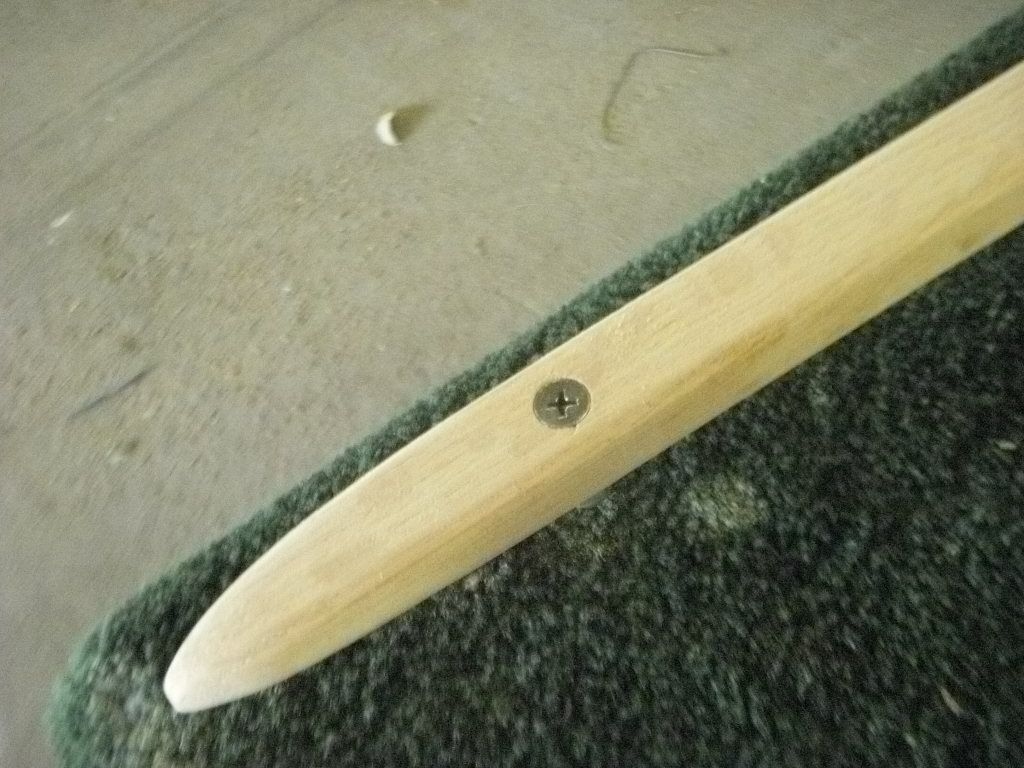
Max and Tom.... you two nit pickers.... I didn't have short rivets so I used what I had. I'm getting the short grip ones tomorrow and will drill these out and replace them so save your comments.
Wankers.