I have switched to a modern hydraulic throwout bearing setup. The main reason is that my stock and aftermarket mix matched clutch parts didn't seem to play well together. A less significant reason is that the oem style hydraulic parts started leaking.
What was happening is that the clutch fork wears into the throwout bearing collar. The clutch I'm using is about 1/2" thinner than stock and I think that may be causing geometry issues and causing the wear. I think the fix for this is to have a longer or adjustable fork pivot stud made. Since the truck Y-Blocks use a 9/16 thread for the pivot stud, there is nothing from any other engine that I'm aware of that can work to do that. This means that stud would have to be custom, and therefore expensive. By itself, that is probably the way to go. However, because I had other issues, doing that to stick with the stock stuff wouldn't be very cost effective.
I got a master cylinder kit and hydraulic bearing from Tilton Engineering. There are others but for some reason, a lot of these bearings are indicated to not work with counterweight assisted pressure plates. Since that is what I have, Centerforce Dual Friction, it must work with that and Tilton said their bearing should work as long as it will fit in the center of the weights. The OD of the bearing portion of the hydraulic assembly is the same as the throwout bearing I have been using so it should be good, and so far it seems to be, as I have about 200 miles on it with no issues.
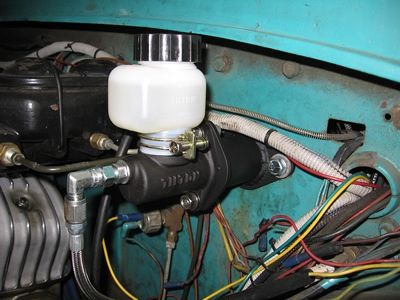
The master cylinder is a kit, with two reservoirs and the option of remote mounting the reservoir so it pretty well covers all bases.
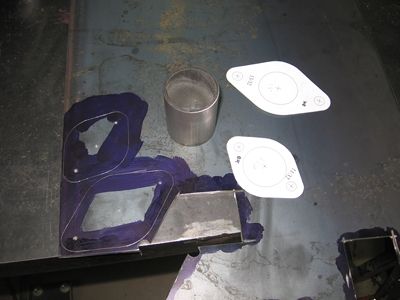
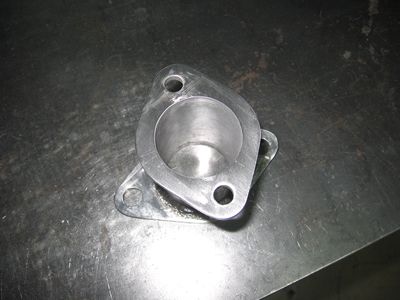
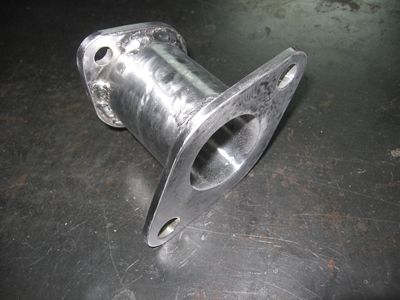
The bolt pattern of the master cylinder is vertical, rather than horizontal, like stock. The positioning and height of the reservoir require that the cylinder be spaced out about 2 5/8" from the firewall. So I got to work on an adapter to accomplish both.

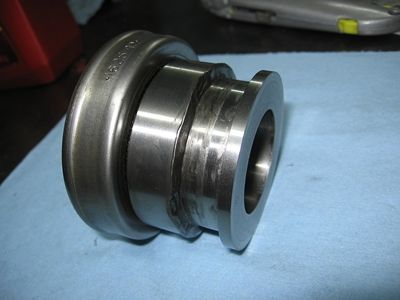
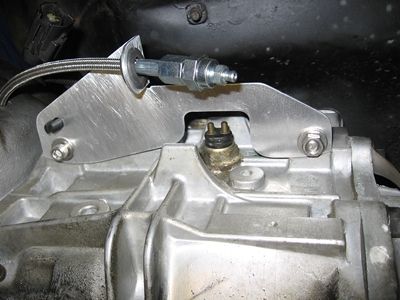
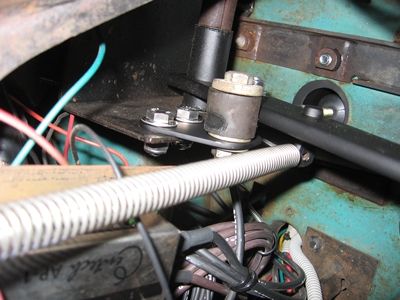
I forgot to get a picture of the bearing with it on the input bearing retainer and before mounting the transmission to the engine but this one shows most of what you need to see. The kit comes with a bolt to replace one of the bearing retainer bolts. That bolt is threaded for a smaller diameter shoulder bolt that locates the assembly to keep it from rotating. The bearing can be installed with the hydraulic lines going to the driver's side or passenger's side, whatever you need for your application. Whichever line is at the top is used for bleeding.
In this picture you can also see the counterweights I mentioned earlier, the rectangular things positioned around the bearing.
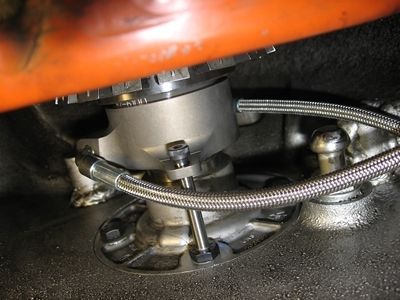
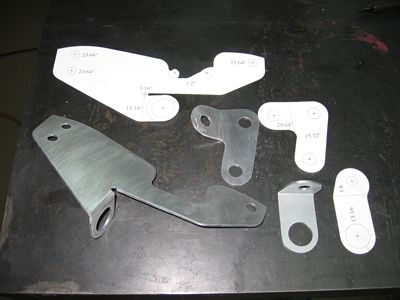
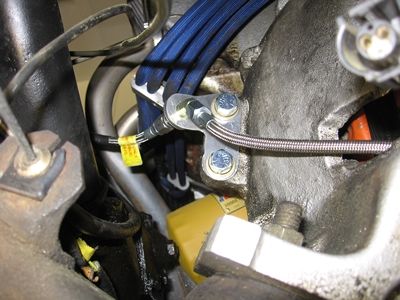
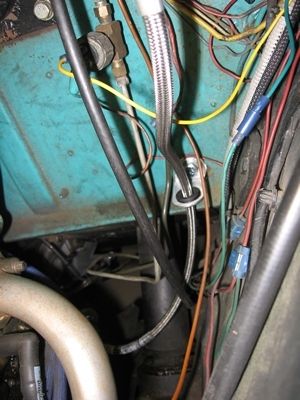
Now to plumbing. I was able to use the same hose that I was using and only needed a couple fittings to join everything. The master cylinder has a 3AN female outlet. The Bearing has 4AN female on each hose. The hose I have been using is 4AN, female on both ends. So I needed a 3AN to 4AN fitting for the master cylinder, a 4AN right angle fitting from there to the hose and to join the hose, to the bearing, I used a 45 degree 4AN bulkhead fitting, which allows me to mount the line to the bell housing, in the place of the slave cylinder, via a bracket. This time I made the brackets out of Aluminum instead of steel.
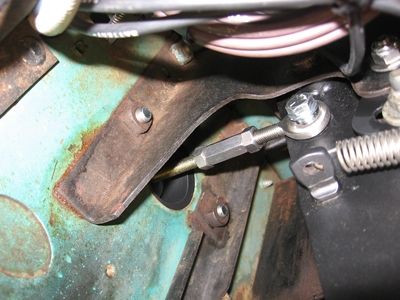
The master cylinder comes with a 5/16-24 threaded pushrod. To connect that to the pedal, I used a rod end, a coupling nut, and some jam nuts. The rod end comes with a 5/16" bore. The stock bolt is 3/8" so there is a 1/16" difference to handle. For that, I cut a spacer out of some 3/8" .028 wall DOM tubing. DOM tubing has no weld seams and is useful for making spacers such as this one. The spacer is as thick as the pedal, 5/16".
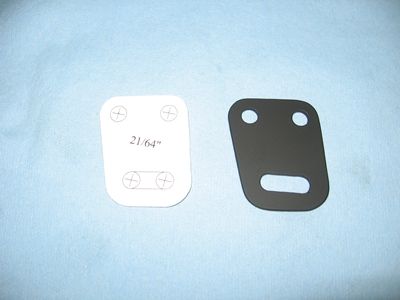
The way I adjusted the pedal resulted in it being quite a bit lower than before. Tilton say that a return spring is not necessary unless there is too much friction in the pedal linkage to allow the pedal to return, but I think it is a good idea to incorporate that if you can. The lower pedal height requires that the bumper be re-positioned. So I mad a bracket that mounts in the stock slot and allows for the additional adjustment needed.
An alternative way is to make a stop for the pedal at the bottom of it's travel. Then you can adjust it for the same height you had and the stock bumper will work fine.
Currently on the drawing board is a grommet to fit the clutch fork hole, to keep the lines from contacting the bell housing.
When compared to the oem setup:
Pros
-More easily found replacement parts
-Very light pedal, and extremely smooth
-Slightly more room for exhaust, turbos, whatever non stock things you may want to fit under the hood.
Cons
-More expensive
-Custom parts required for proper installation
Key Parts list:
From Summit
TIL-75-875U Master Cylinder
TIL-60-6104 Hydraulic Bearing for T5
EAR-64191922ERL 4AN Hose
AER-FBM2749 3AN to 4 AN adapter
EAR-966304ERL 4AN 90° swivel fitting
FRA-583704 4AN 45° bulkhead fitting
FRA-592404 4AN bulkhead nut
QA1-GMR5T Rod End
Possibly:
AAF-ALL50855 Bleeder caps
From BMW:
34 32 1 233 159 Hose Grommets


