64 slow redo
Posted: August 15, 2014, 11:05 pm
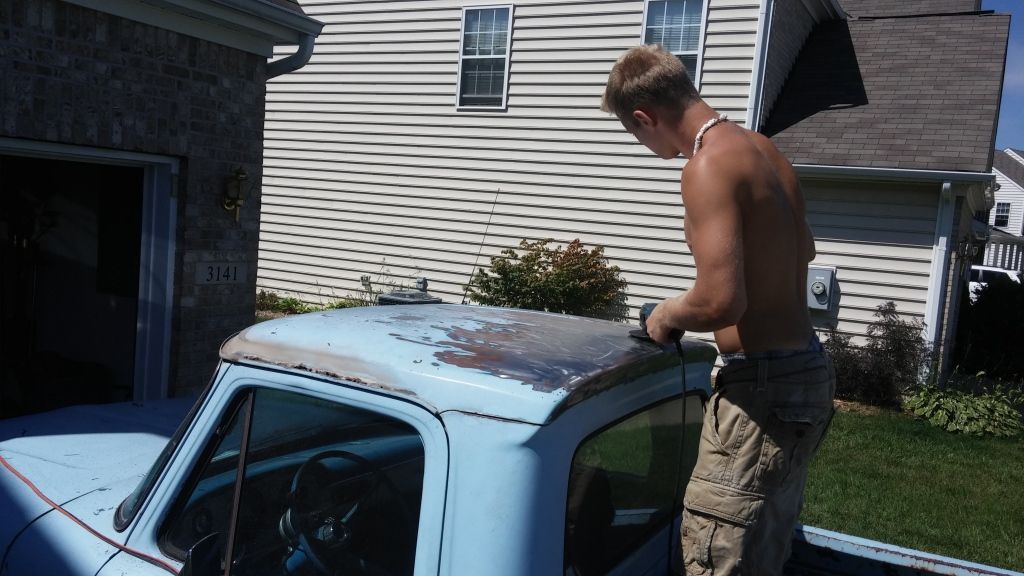
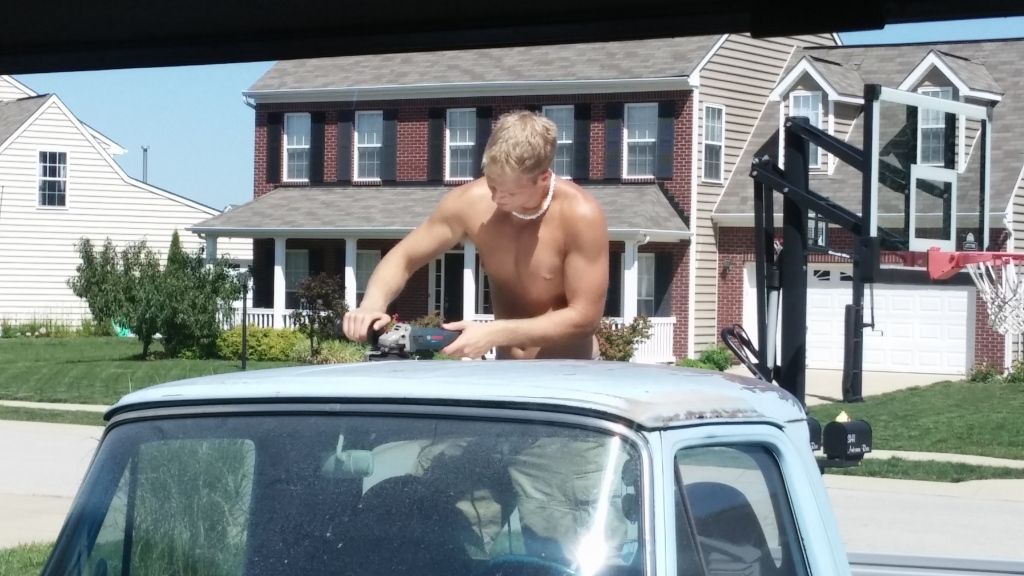
After swapping the 5.0 / 5 speed MR52 into my sons swb 64 in the spring progress has been slow and we are finally getting around to messing with a few things again. Not sure how much we will get done since he is scheduled to leave for the Navy in March and he is doing the work on his dime.
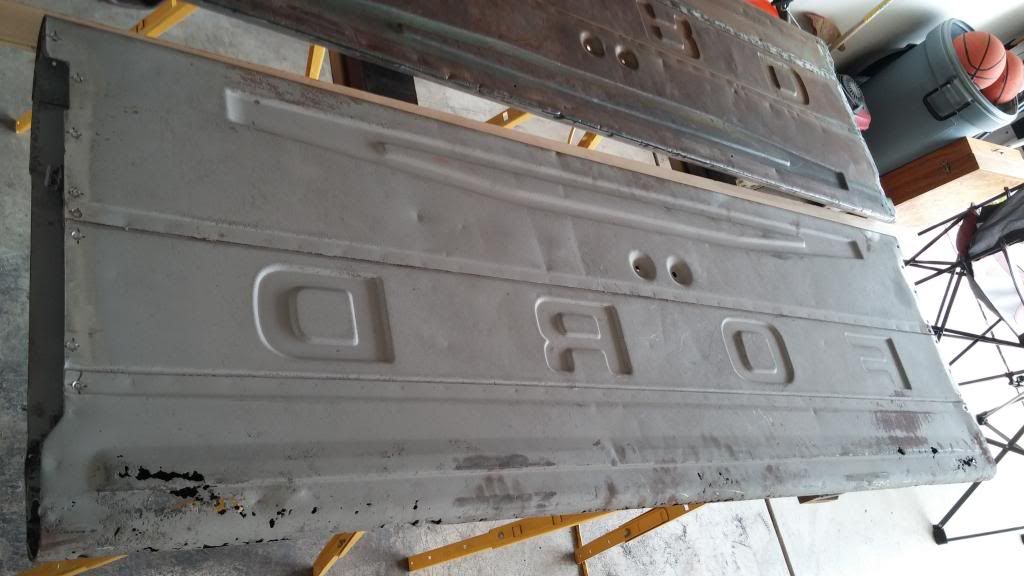
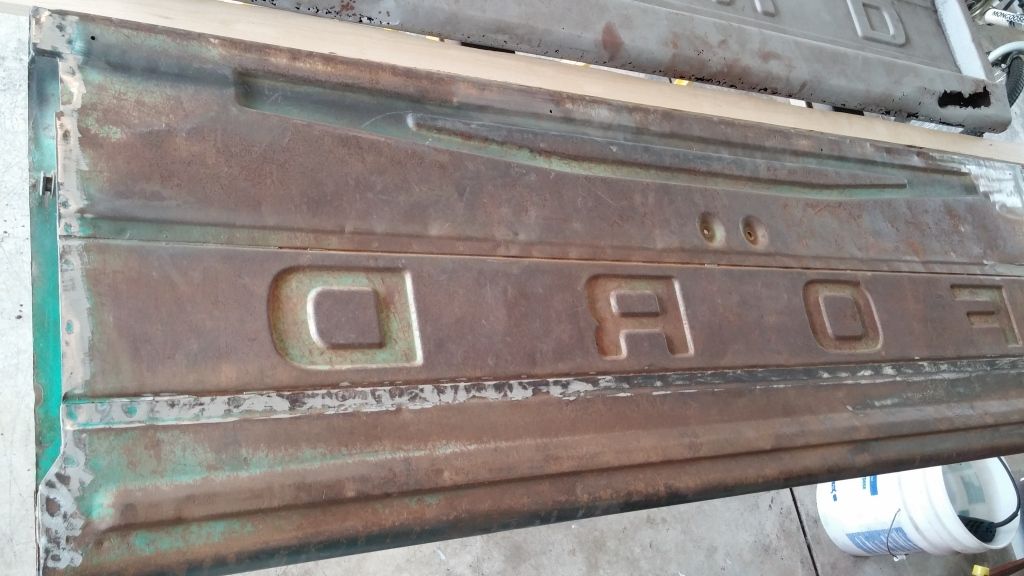
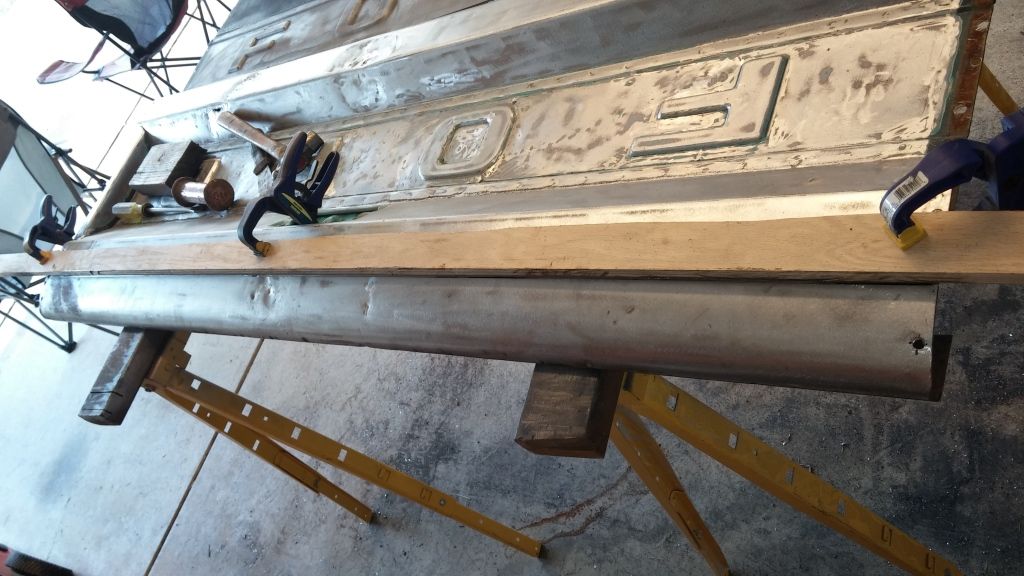
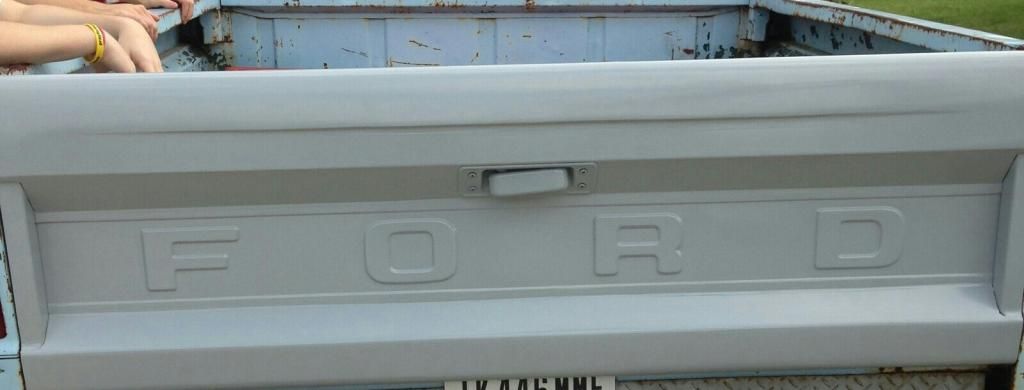
Since his truck did not have a tailgate when he bought it we had to pick up one that did not quite match up to what the seller anticipated after we had it blasted. The seller threw us junker to put on the truck until he was able to get a hold of "better" one. He was kind enough to credit the selling price of the previous one towards the better one plus some additional coin. The end result was one that looked farely rust free but with the center panel and top edge beat quite a bit, one with the bottom edge gone from rust but a good center panel & top edge, and one with a few straight areas for patch panels. Since I was wanting my son to learn some basic mig & patch work we elected to take the 3 gates and make 1 "franken-gate" . I have no doubt ther are better ways and a single good solid gate woukd have been much less work but it was a good learning process for him.
After removing the end caps we cut out the sections we wanted of each panel.
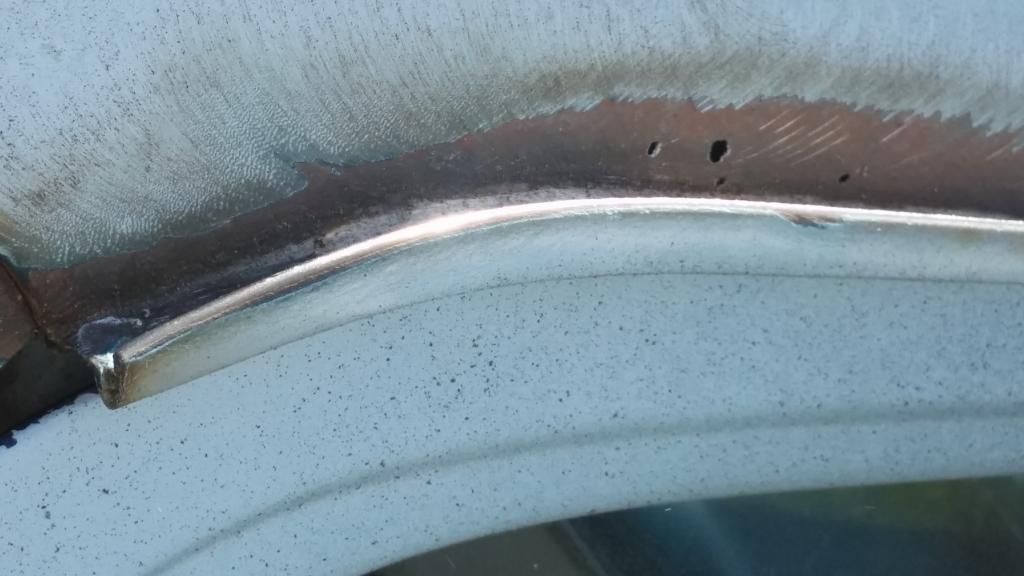
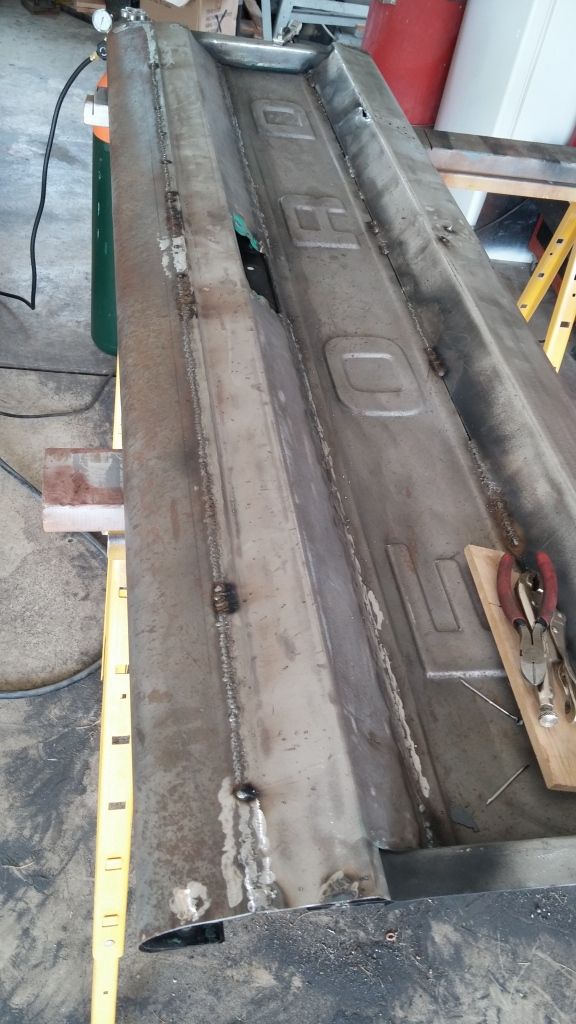
After putting some Rustoleum Rust Reformer on the inside areas we stitch welded all the seams. In retrospect it would have been mutch easier to make our joints out in flat areas instead of in the recessed corners.
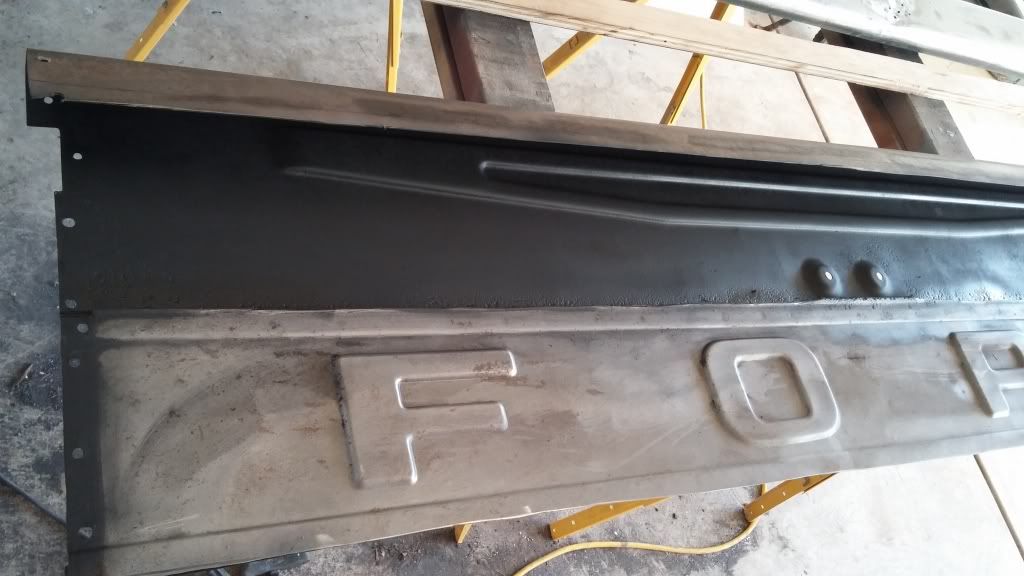
One last patch panel where the gate had previously been drilled, dent pulled, ground and bondoed to death.
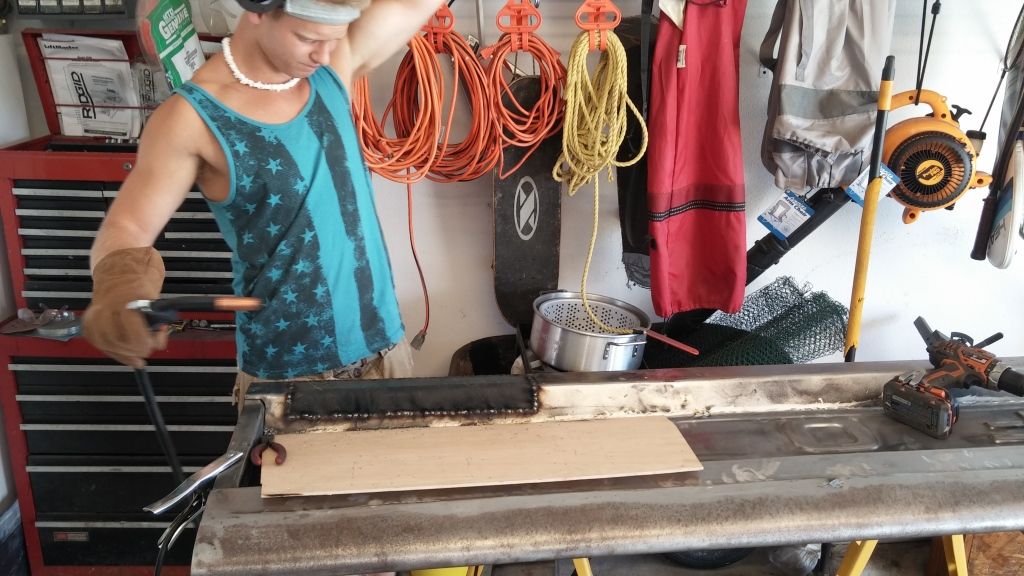
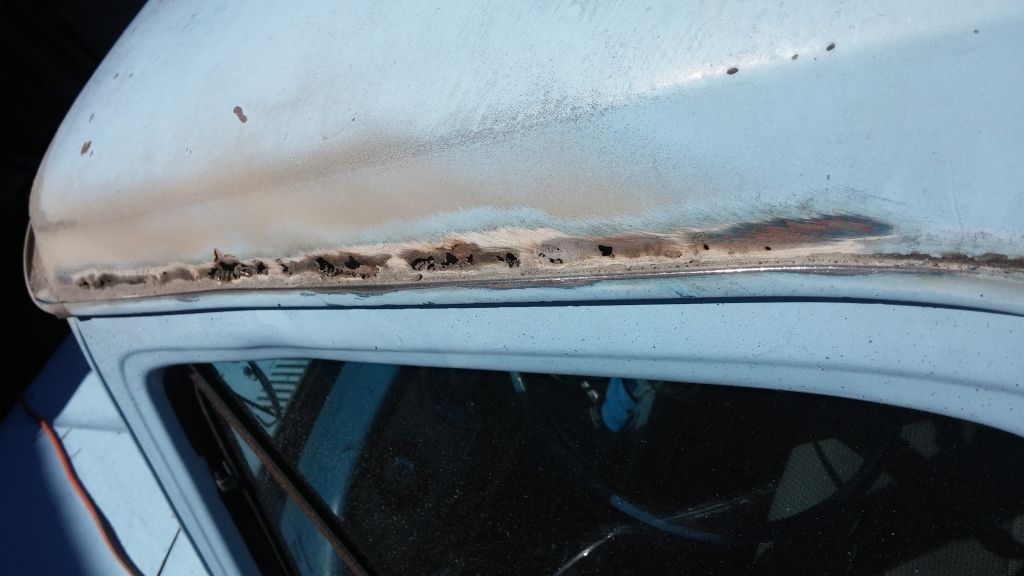
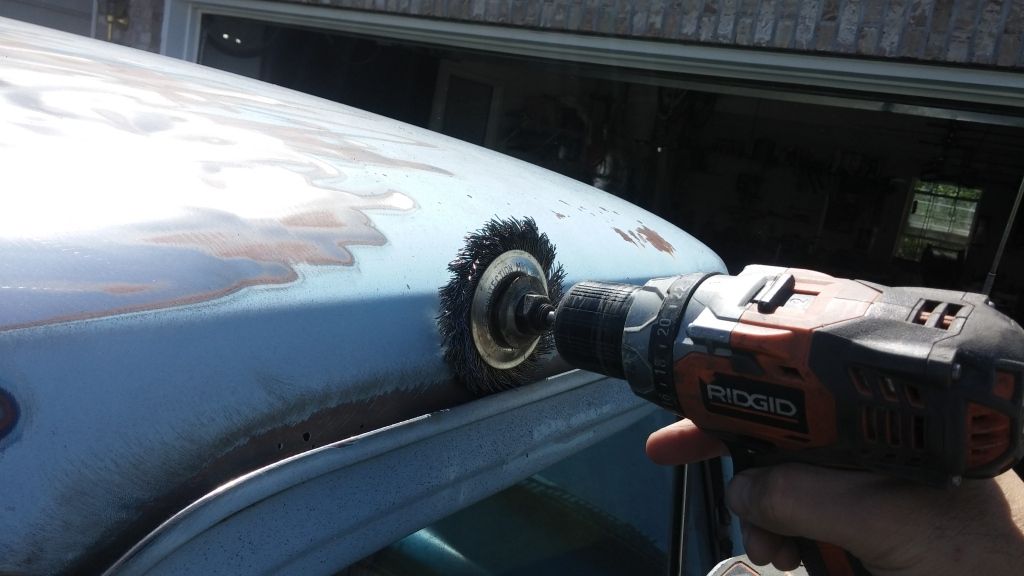
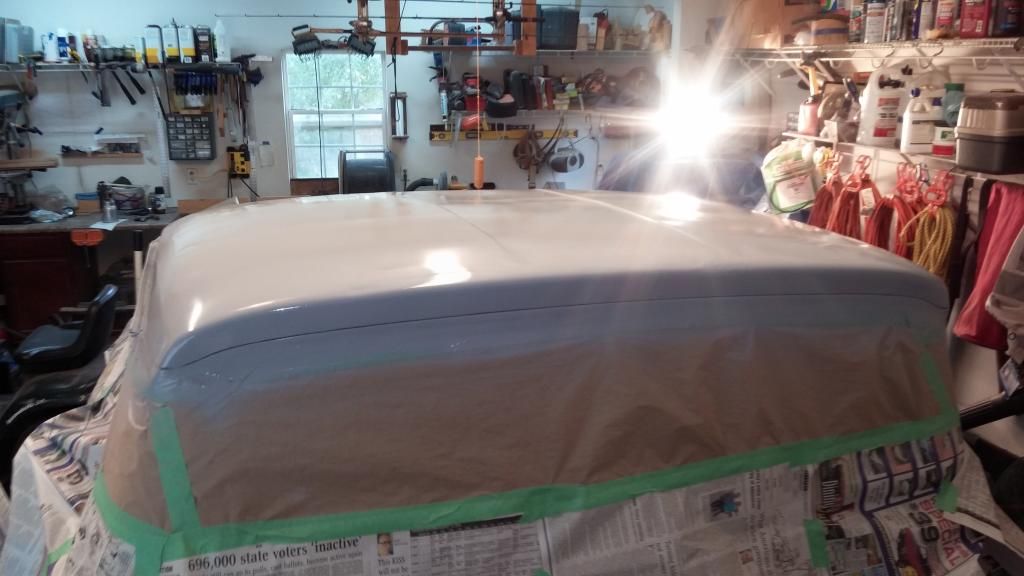
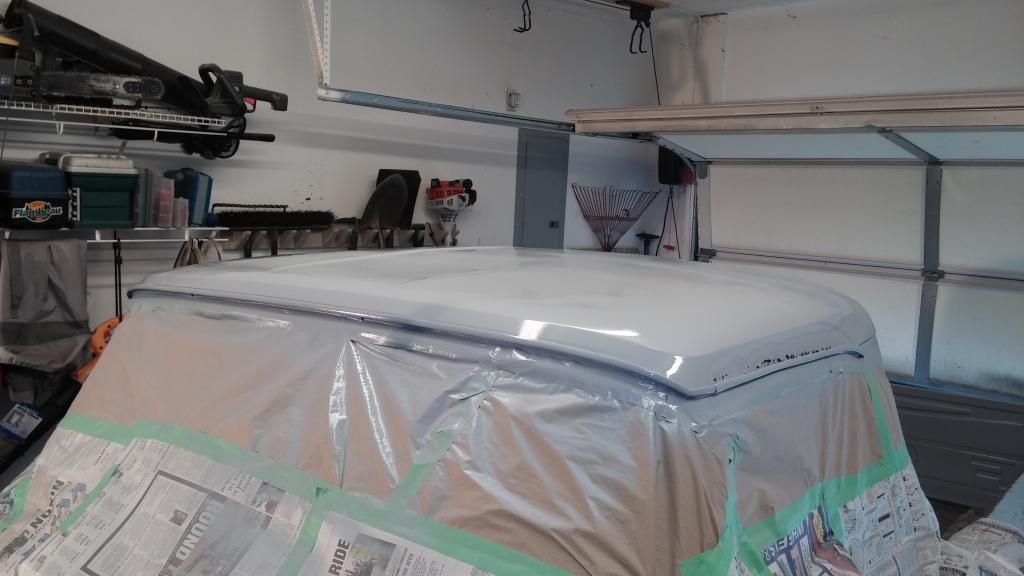
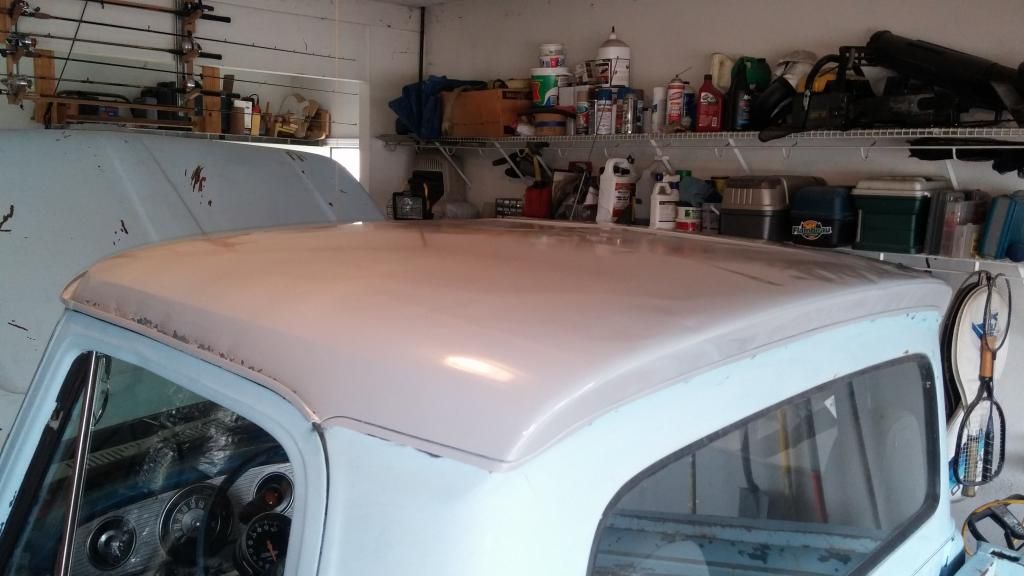
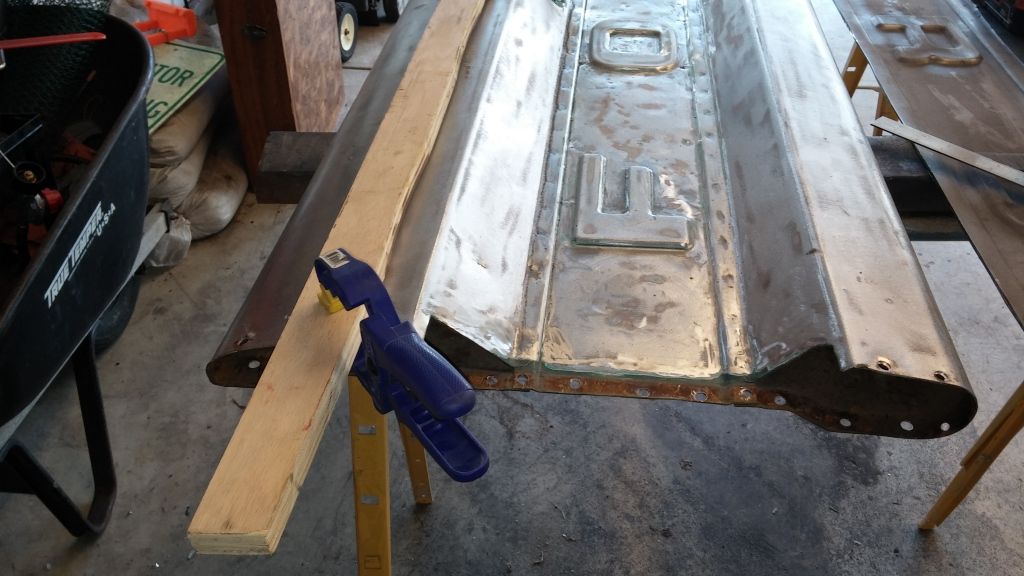
After gringing welds, a layer of epoxy primer, fill & glazing as needed we shot on another layer of epoxy to leave it until the entire truck is ready to finish out. We still need to adjust the handle but over all it turned out straight and it works. Our next goal is to start working from the top and do one panel at a time until it is gray above the body line and blue below before moving to the bottom sections.
Since his truck did not have a tailgate when he bought it we had to pick up one that did not quite match up to what the seller anticipated after we had it blasted. The seller threw us junker to put on the truck until he was able to get a hold of "better" one. He was kind enough to credit the selling price of the previous one towards the better one plus some additional coin. The end result was one that looked farely rust free but with the center panel and top edge beat quite a bit, one with the bottom edge gone from rust but a good center panel & top edge, and one with a few straight areas for patch panels. Since I was wanting my son to learn some basic mig & patch work we elected to take the 3 gates and make 1 "franken-gate" . I have no doubt ther are better ways and a single good solid gate woukd have been much less work but it was a good learning process for him.
After removing the end caps we cut out the sections we wanted of each panel.
After putting some Rustoleum Rust Reformer on the inside areas we stitch welded all the seams. In retrospect it would have been mutch easier to make our joints out in flat areas instead of in the recessed corners.
One last patch panel where the gate had previously been drilled, dent pulled, ground and bondoed to death.
After gringing welds, a layer of epoxy primer, fill & glazing as needed we shot on another layer of epoxy to leave it until the entire truck is ready to finish out. We still need to adjust the handle but over all it turned out straight and it works. Our next goal is to start working from the top and do one panel at a time until it is gray above the body line and blue below before moving to the bottom sections.