Seat foam and upholstery when you can't sew
Posted: January 2, 2017, 12:55 am
All, I didn't want to break out the sewing machine just yet for my truck seat. I would prefer to pay a pro to do the seat upholstery when the time comes. But it needs foam and fabric so I can sit in the cab and make vroom vroom noises. So in the future after my truck is driving, I will get a pro to do the seat work for me.
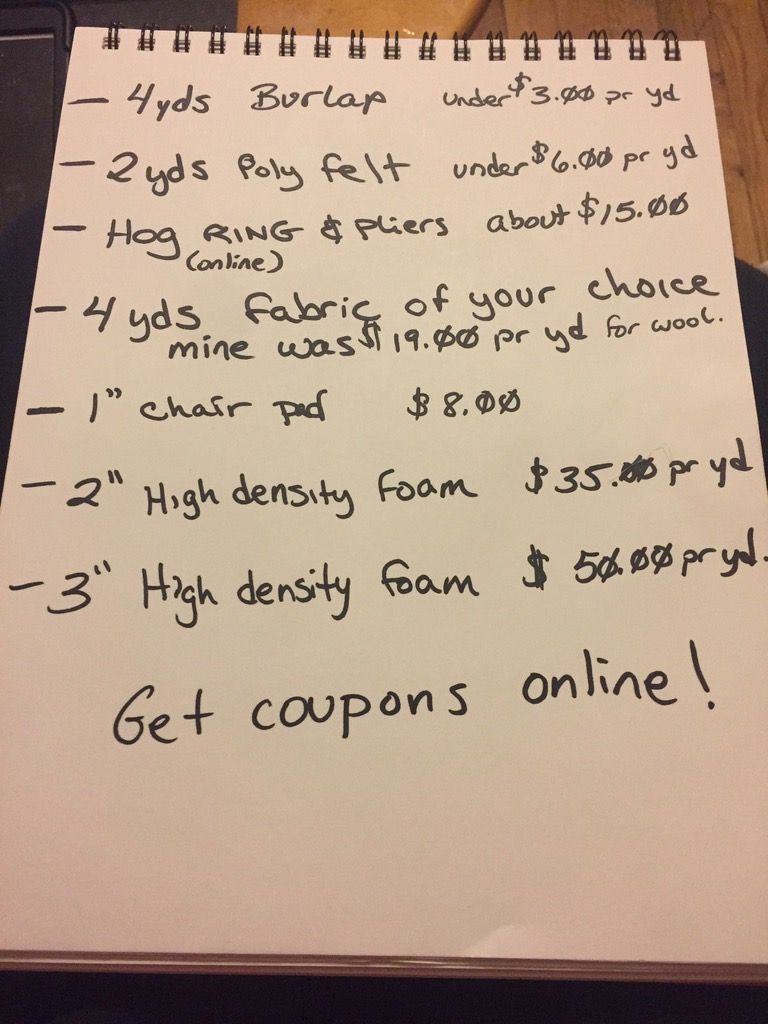
List of things I used in this project.
I started with a bare metal frame. I had sandblasted and epoxy primered them months ago, so I took some rattle can paint to it and let it flow.
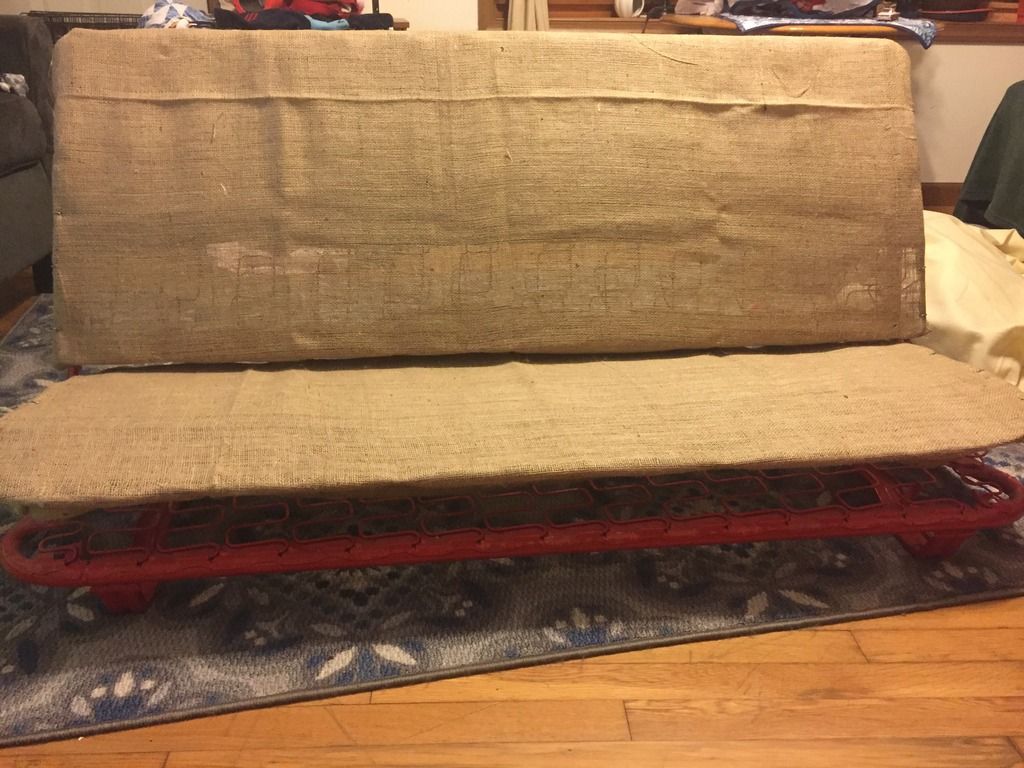
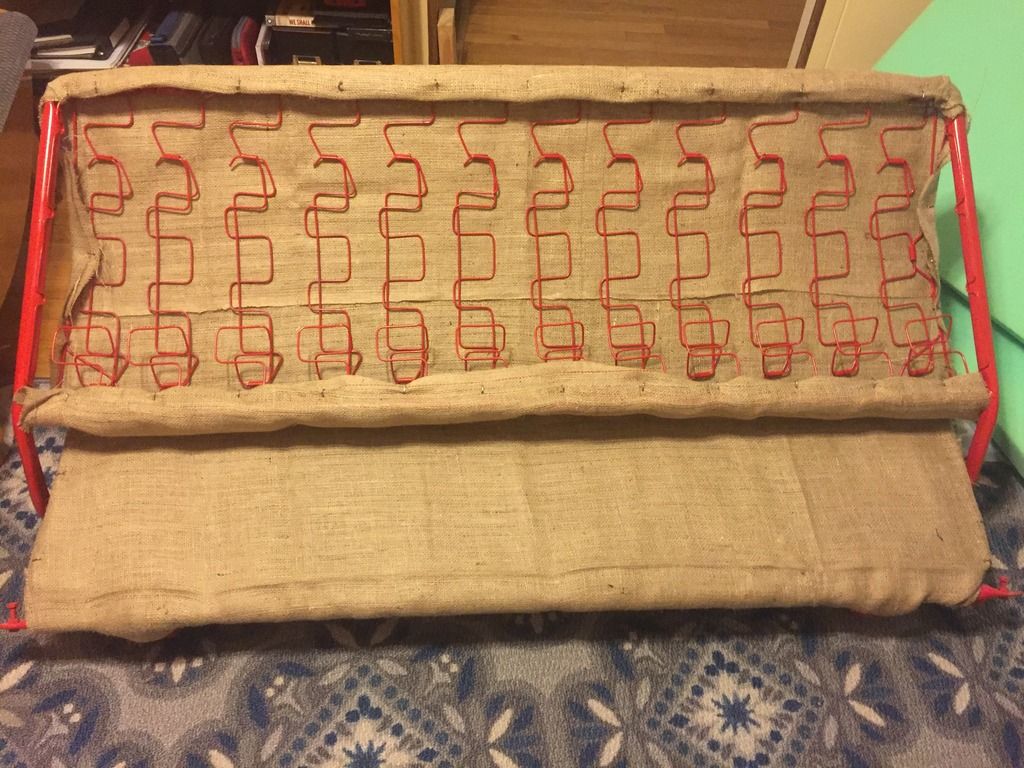
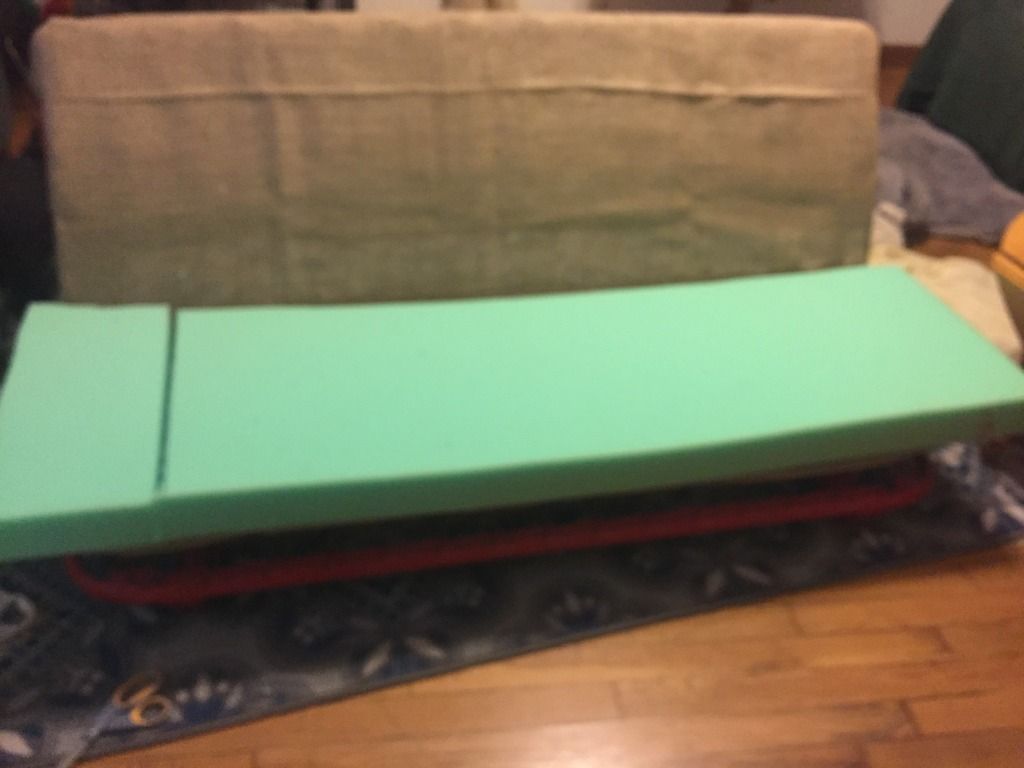
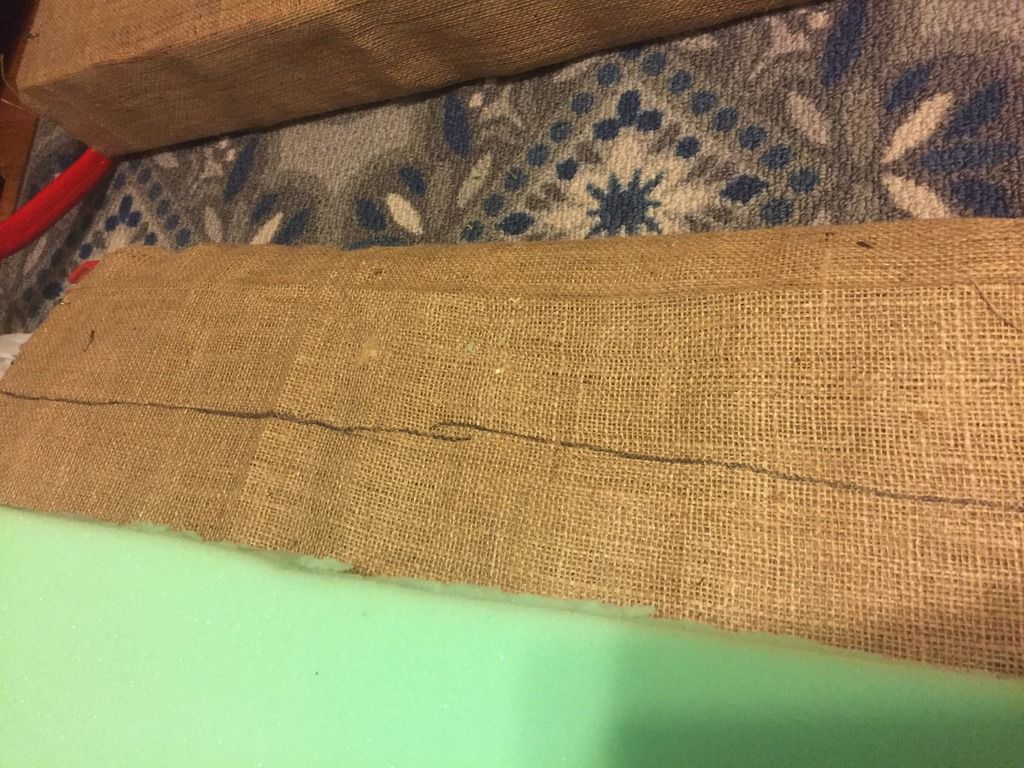
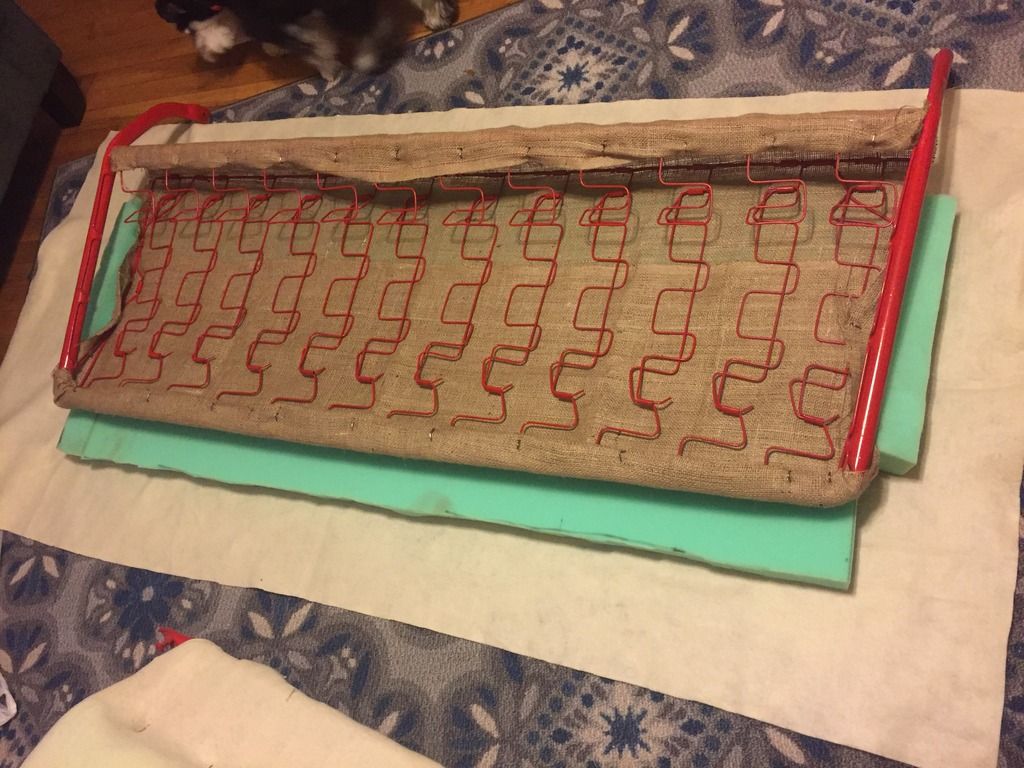
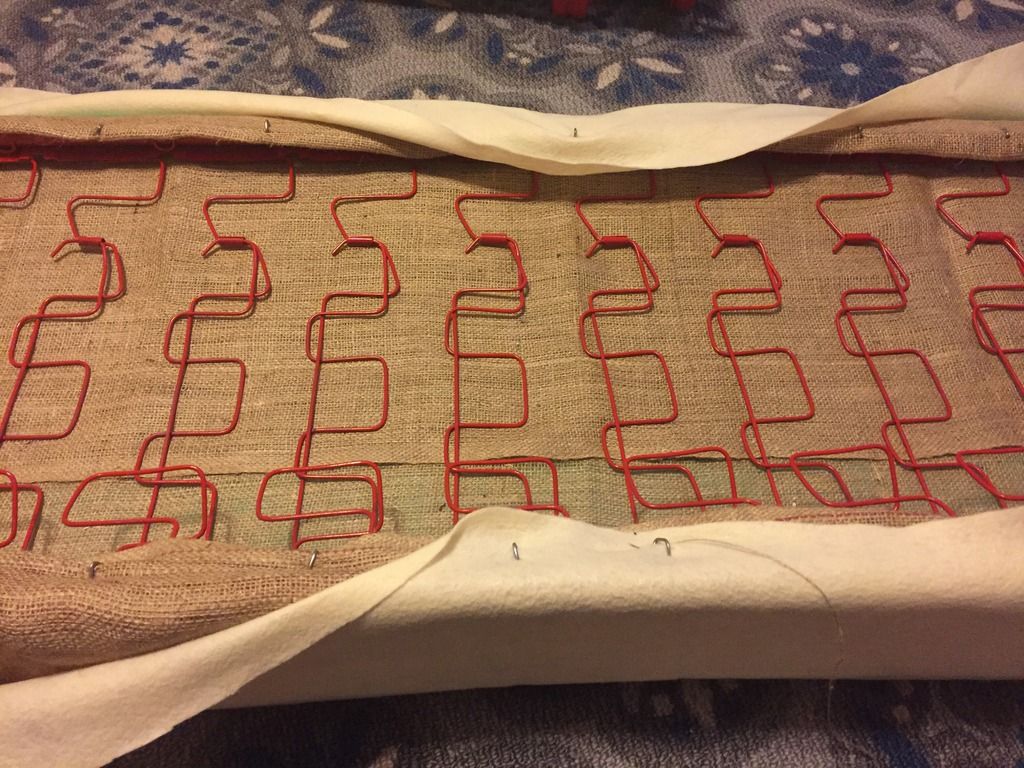
Hog ringed two yards of burlap over the spring section
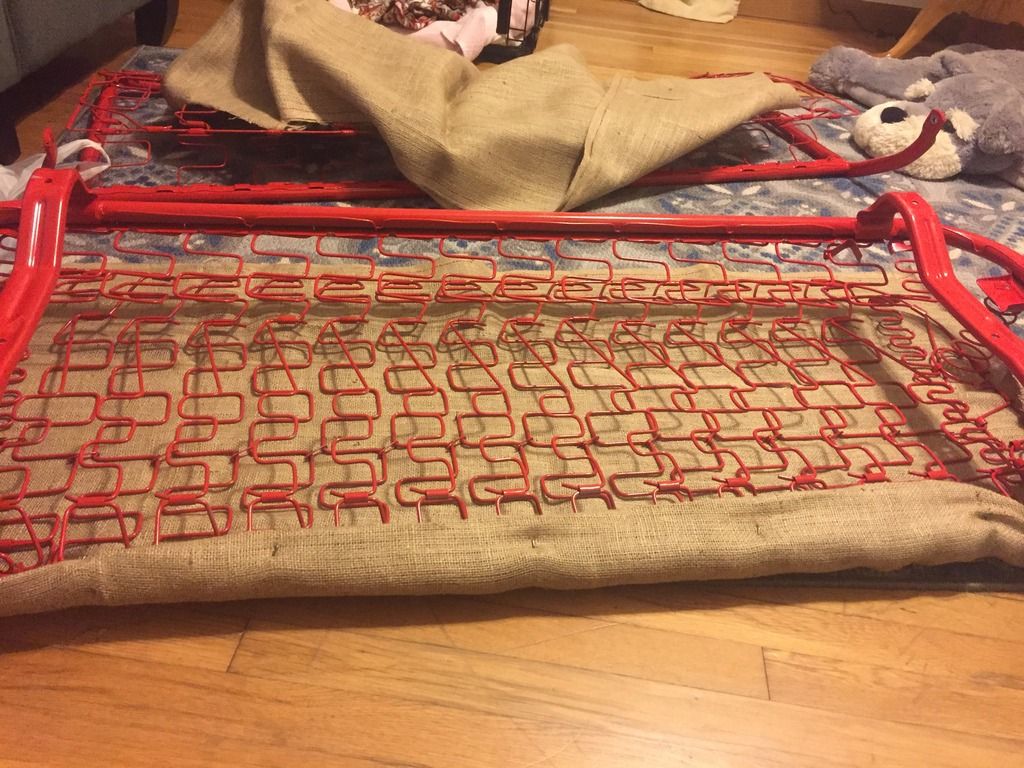
And the back section of the seat frame.
Put the 3" high density foam down on the bottom. I bought pretty much what they had left so I made it work even though it wasn't fully long enough. It works in my case though.
I marked where the seat back aligns on the bottom portion of the seat. Cause there is no reason to have foam under that or behind it.
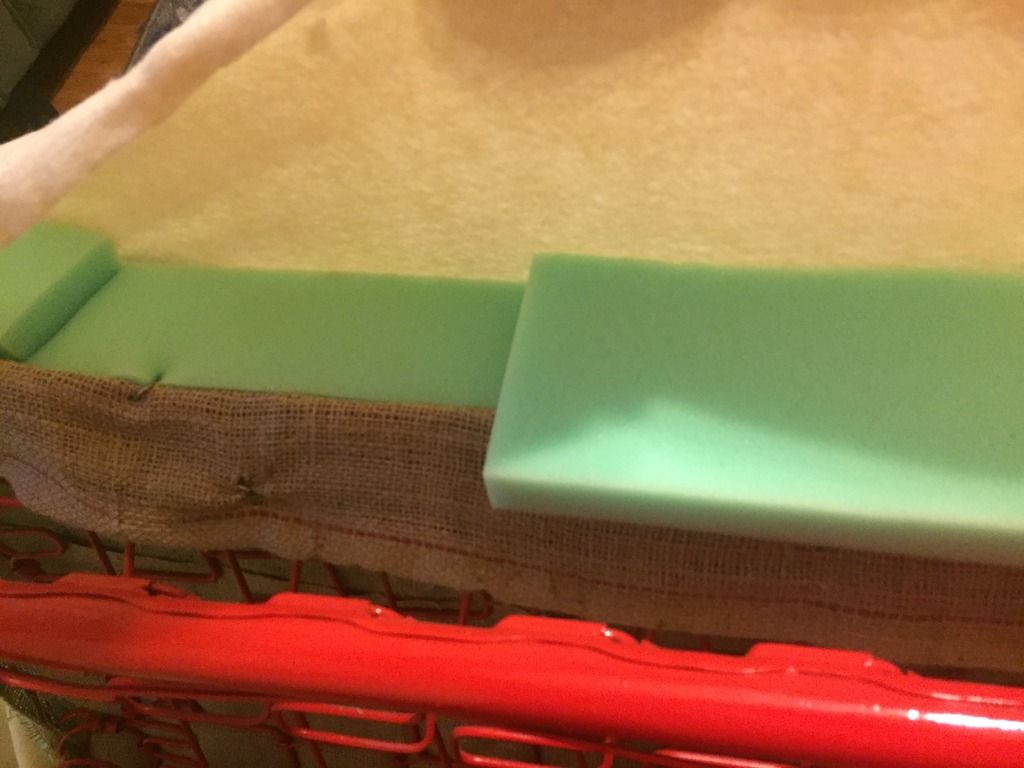
I put 1" high density foam pieces at the front edge of the seat where your calves would hit the seat frame.
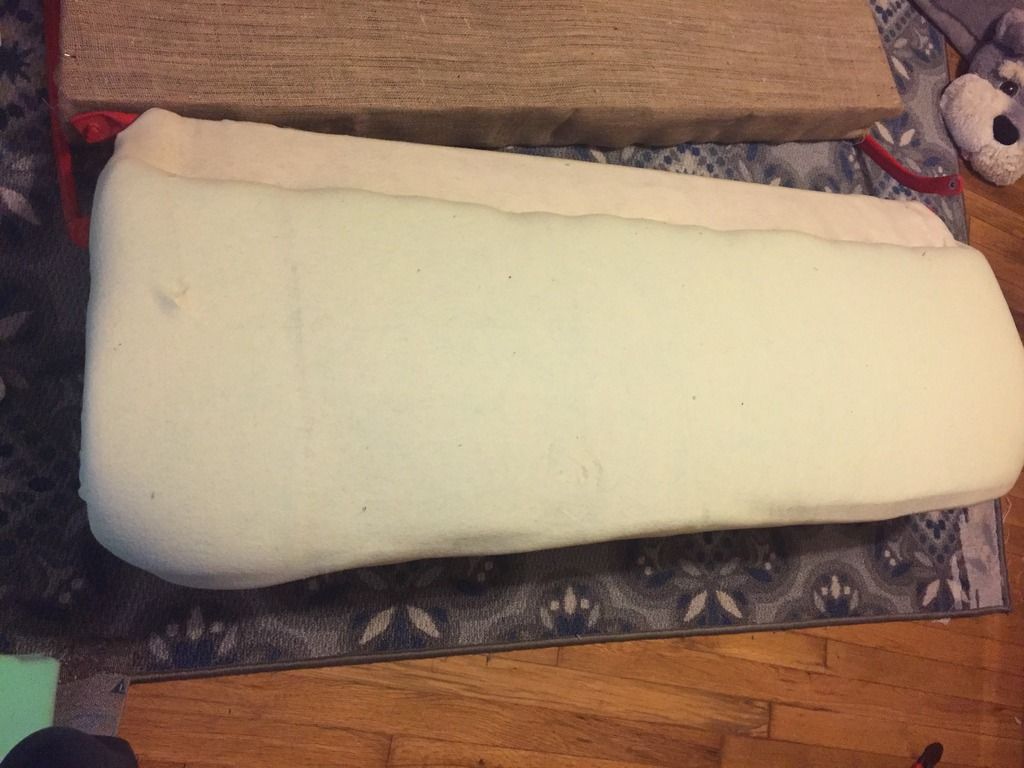
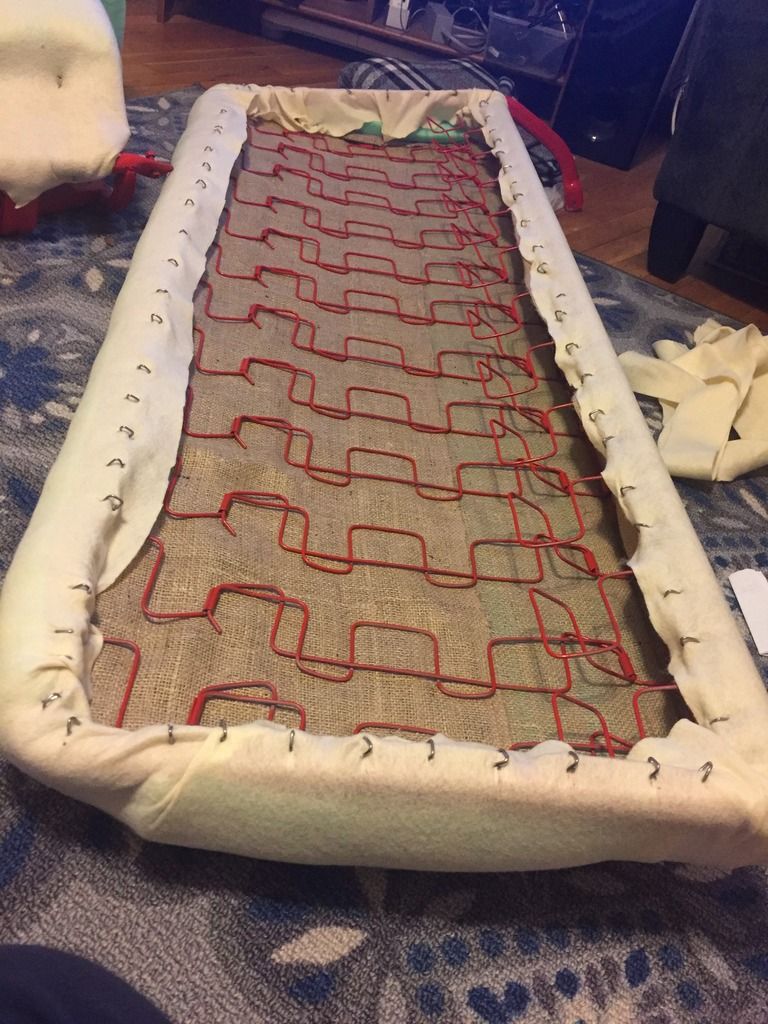
Covered the foam with a poly felt material and hog ringed that in place.
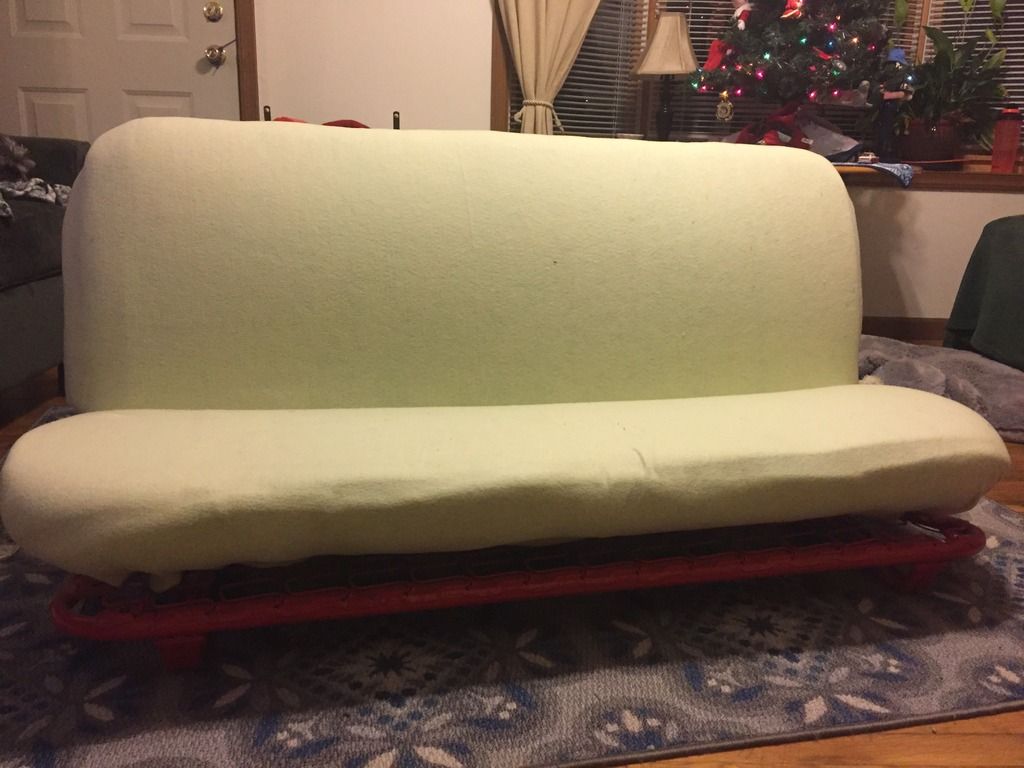
Same procedure for the seat back.
Started with the center and worked my way outward
Little trimming and it's done.
Put together to check movement of seat back.
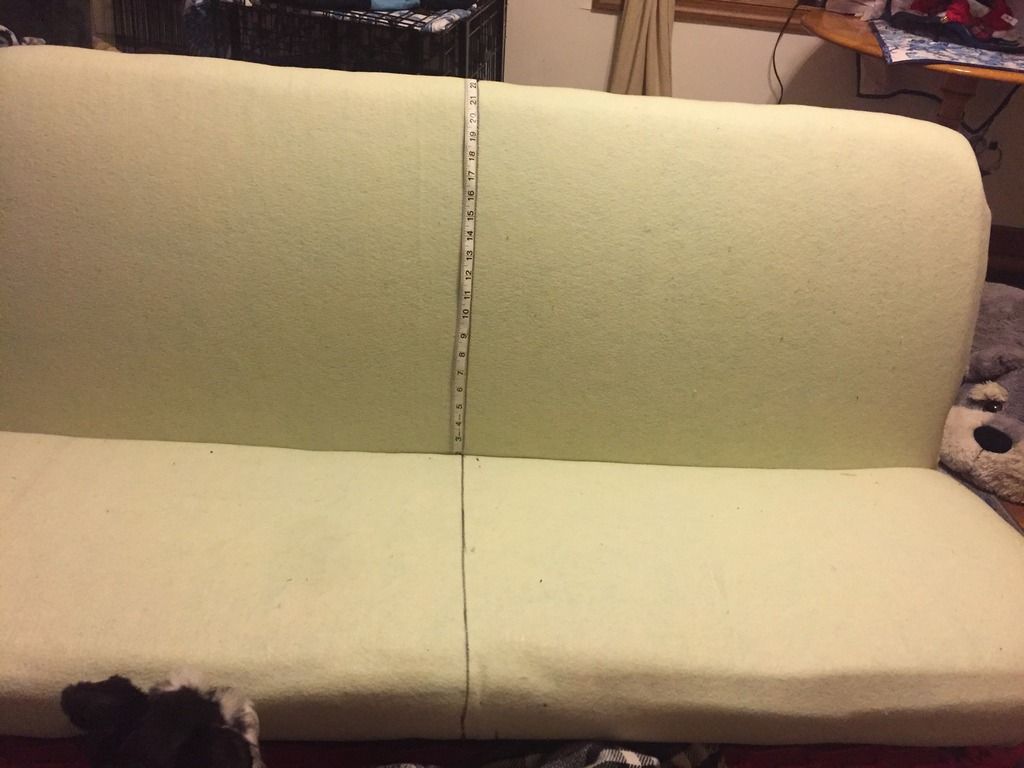
I marked my centers so I could align my fabric with this.
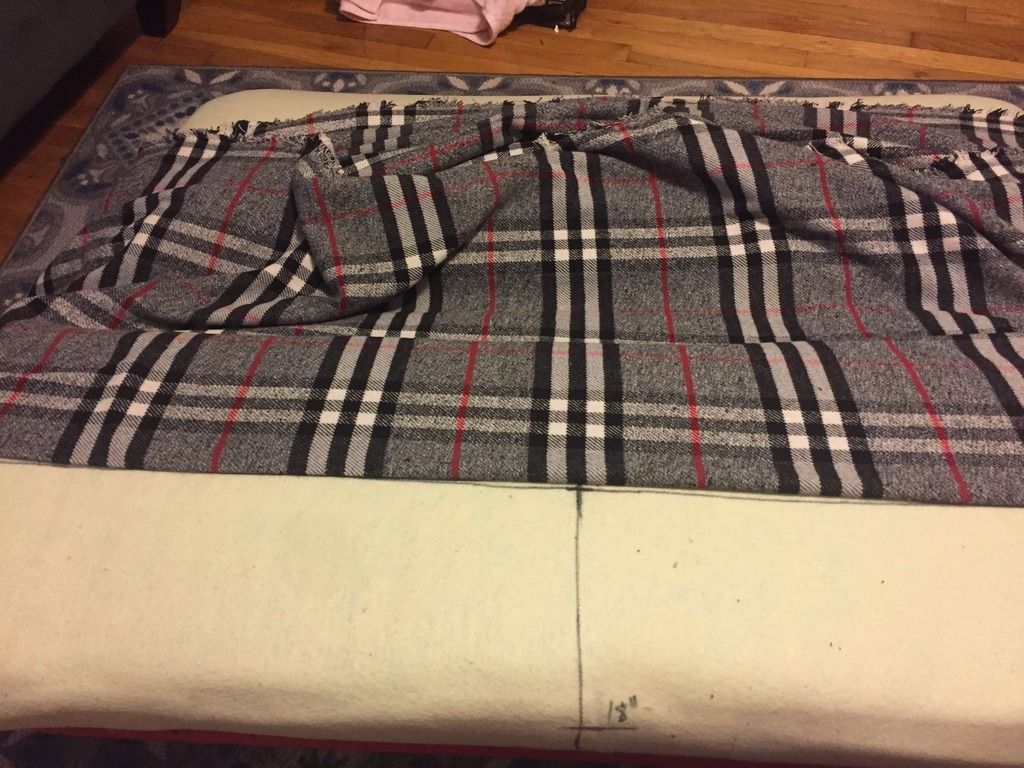
Here I lined up the fabric to the lines I made.
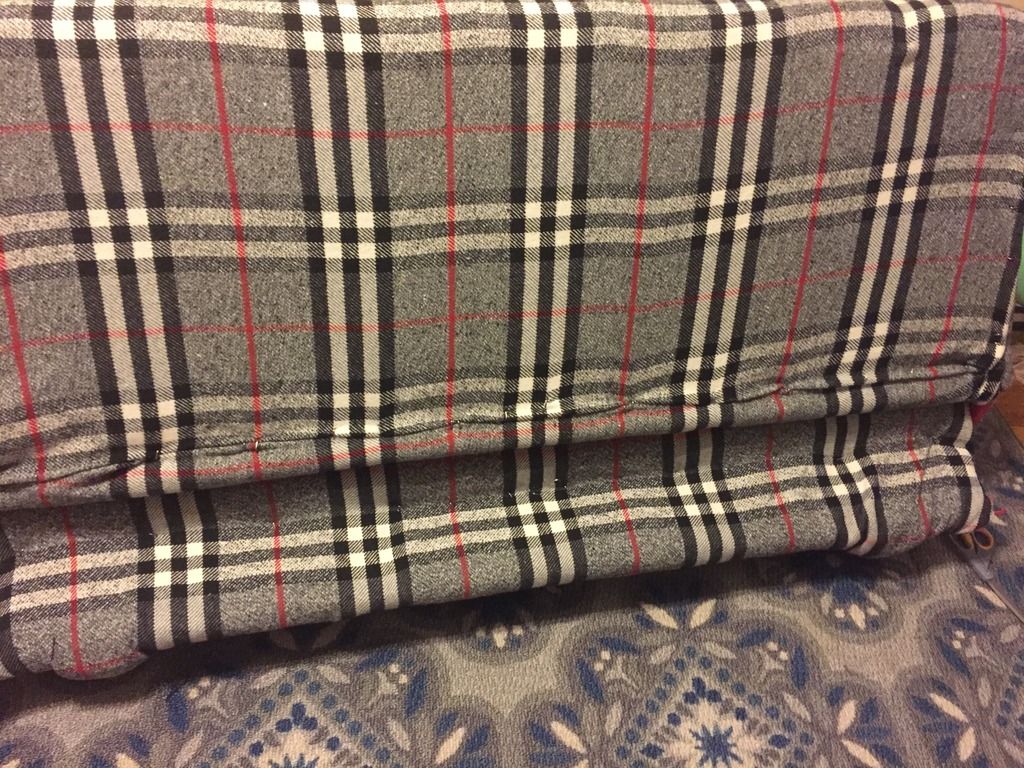
Spend a lot of time hog ring clipping the fabric to the seat frame. I used probably 300 hog rings on my whole thing.
I hog ringed a part of the fabric down where the seat back would align. It will help hold the fabric in place.
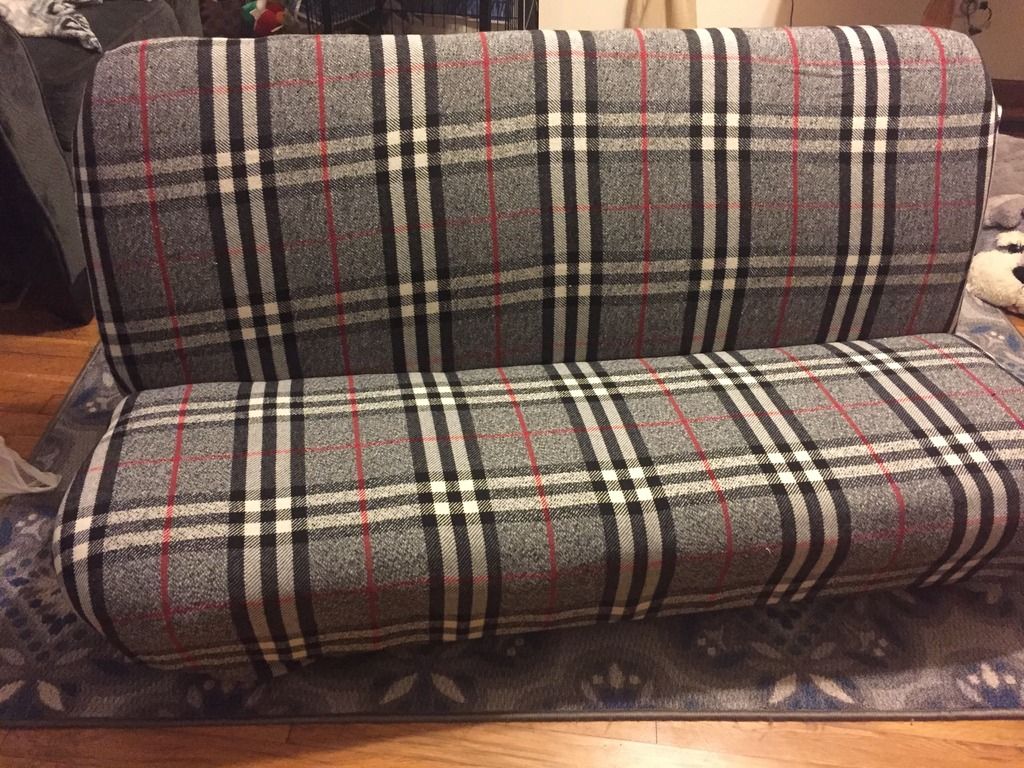
Here the seat back is pushed forward to show you
Now it in the correct position.
Close up of the attachment pin
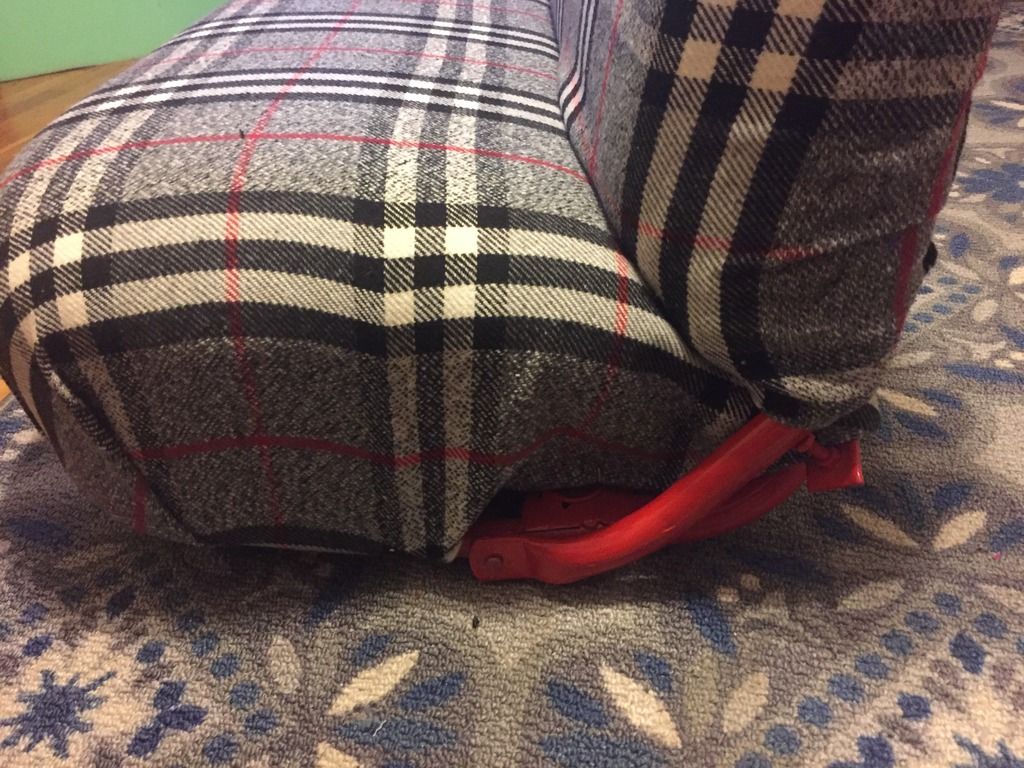
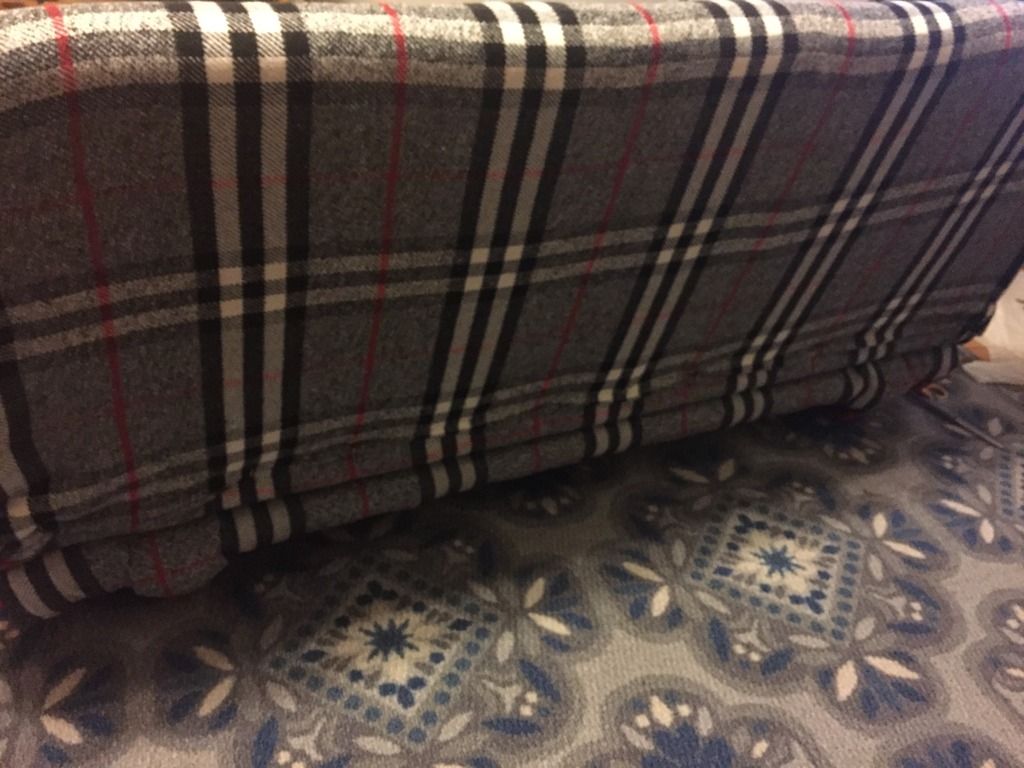
And close up of how I finished off the seat.
Time in ester about 4 hours. New sewing machine required. Just make sure you have your inspectors handy. Mine made sure they got their noses in on the project t.
List of things I used in this project.

I started with a bare metal frame. I had sandblasted and epoxy primered them months ago, so I took some rattle can paint to it and let it flow.
Hog ringed two yards of burlap over the spring section

And the back section of the seat frame.


Put the 3" high density foam down on the bottom. I bought pretty much what they had left so I made it work even though it wasn't fully long enough. It works in my case though.

I marked where the seat back aligns on the bottom portion of the seat. Cause there is no reason to have foam under that or behind it.

I put 1" high density foam pieces at the front edge of the seat where your calves would hit the seat frame.

Covered the foam with a poly felt material and hog ringed that in place.

Same procedure for the seat back.

Started with the center and worked my way outward

Little trimming and it's done.

Put together to check movement of seat back.

I marked my centers so I could align my fabric with this.

Here I lined up the fabric to the lines I made.

Spend a lot of time hog ring clipping the fabric to the seat frame. I used probably 300 hog rings on my whole thing.
I hog ringed a part of the fabric down where the seat back would align. It will help hold the fabric in place.
Here the seat back is pushed forward to show you

Now it in the correct position.

Close up of the attachment pin

And close up of how I finished off the seat.

Time in ester about 4 hours. New sewing machine required. Just make sure you have your inspectors handy. Mine made sure they got their noses in on the project t.
