Page 44 of 53

Re: my shipwrecked '63

Posted: March 20, 2019, 9:26 pm
by shipwrecked
Pictures from today.

Oil certainly was getting to the upper rocker arms! I didn’t get rocker cover on soon enough and had a huge mess to deal with.

Image

And with no drive shaft installed apparently I’ve gone 5 miles now. The transmission was spinning despite being in neutral.
Image

More to come.

Re: my shipwrecked '63

Posted: March 21, 2019, 8:42 am
by ohmthis
Awesome job April!!! All of that hard work is paying off! I’m not sure of the tube material or flaring tool, but is there a chance that it is cracking at the flare? I’ve seen that happen before even though it looks good until it’s torqued down. The crack spreads open and leaks.

Re: my shipwrecked '63

Posted: March 21, 2019, 8:23 pm
by SteveCanup
That speedometer looks so good! I'm trying to 're-do' mine right now. I bought a 'decal' off of one of the guys on the Facebook group and it turned out to be no more than a picture of a speedometer. I tried glueing it to the face of my speedo, but it didn't look that great. Peeled it off and now...well anyway. I'm sure that you have posted in your build thread...but where did you purchase yours? Btw...super job on your truck, it is beautiful!

Re: my shipwrecked '63

Posted: March 21, 2019, 9:00 pm
by shipwrecked
SteveCanup wrote:That speedometer looks so good! I'm trying to 're-do' mine right now. I bought a 'decal' off of one of the guys on the Facebook group and it turned out to be no more than a picture of a speedometer. I tried glueing it to the face of my speedo, but it didn't look that great. Peeled it off and now...well anyway. I'm sure that you have posted in your build thread...but where did you purchase yours? Btw...super job on your truck, it is beautiful!
Steve
I didn't replace the decal. I just took some glass cleaner, a microfiber rag and carefully wiped the decal on there.

I have seen that Denis Carpenter sold the new decal. much better quality than the Facebook dude.

Re: my shipwrecked '63

Posted: March 22, 2019, 7:43 am
by shipwrecked
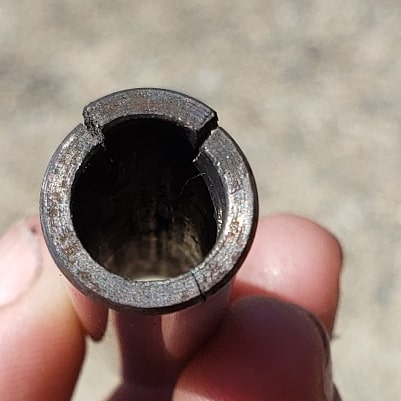
Did a lot of measurements over the past few months a few times debating on what to do about the drive shaft.

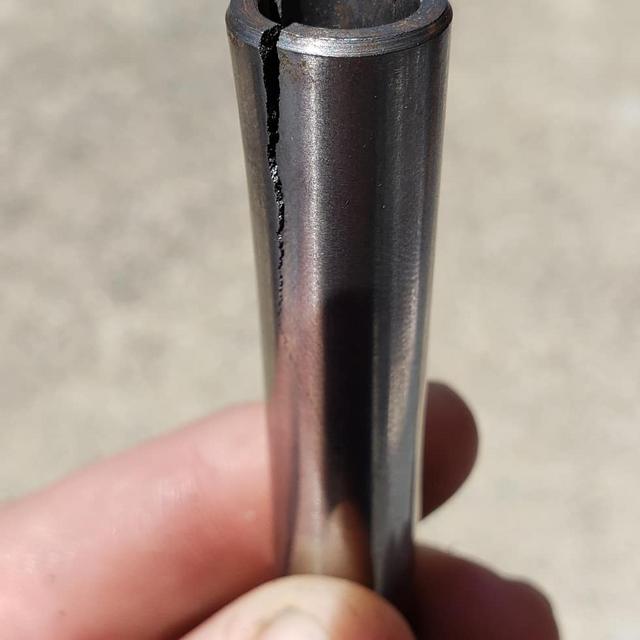
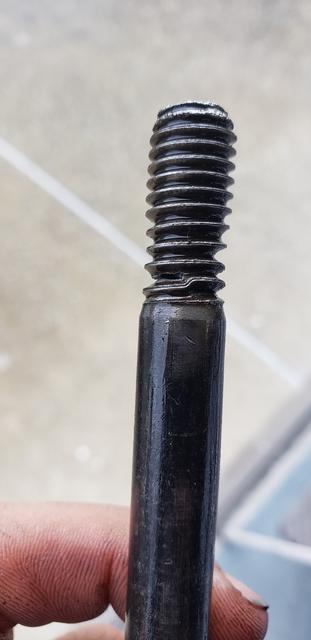
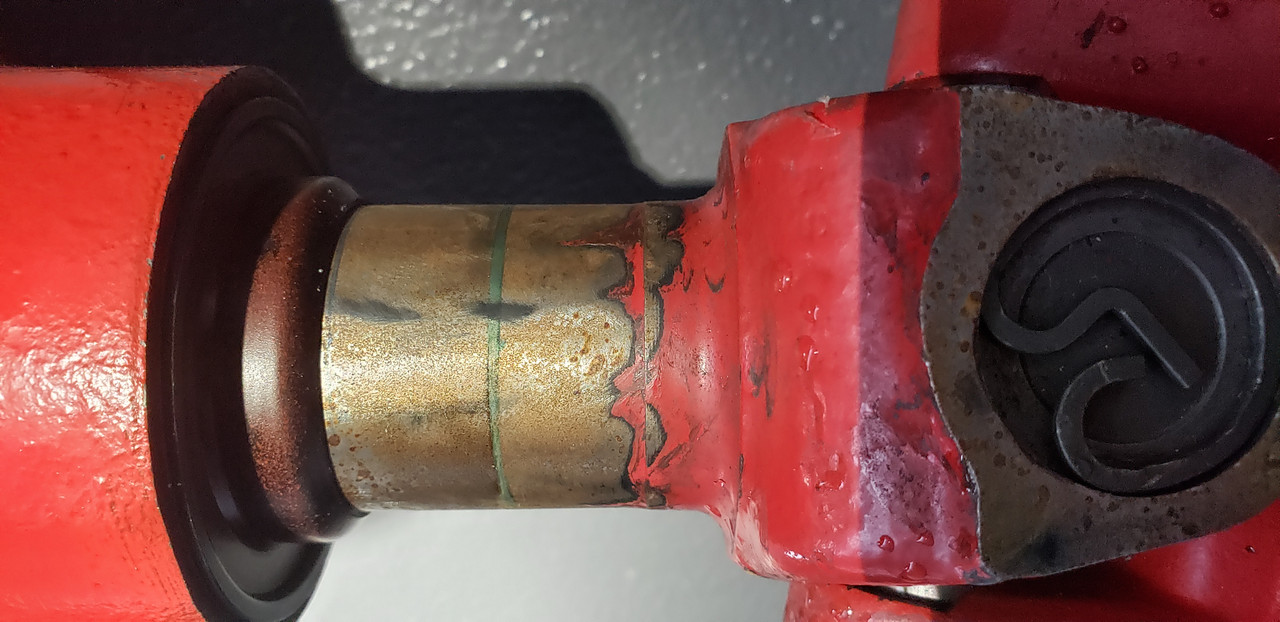
Long story short, when the drive shaft was installed, only 1 inch was actually in contact with the slplines and several inches of the slip yoke were outside.

I checked measurements from the leaf springs (yes on the ground at ride height) and I have them in correct.

Drove over to the driveshaft shop and had discussion with them, they gave me specific instructions on how to measure it and get back to them.
So I drove all the way home and checked it out.


Image

Image
Image

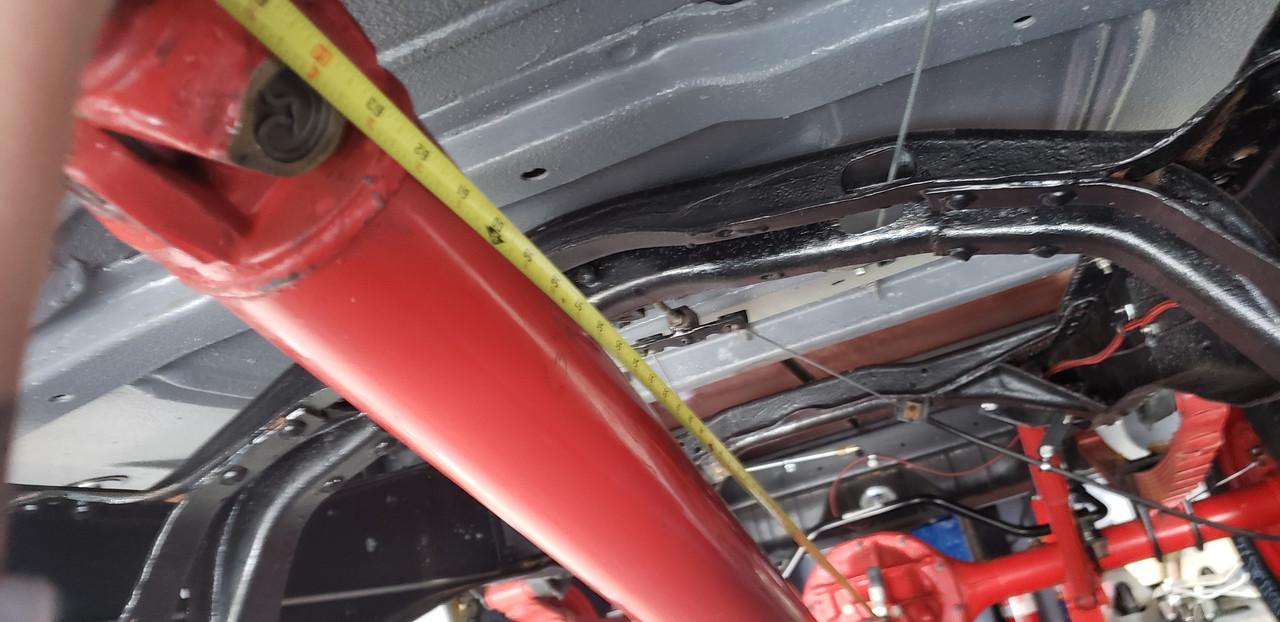
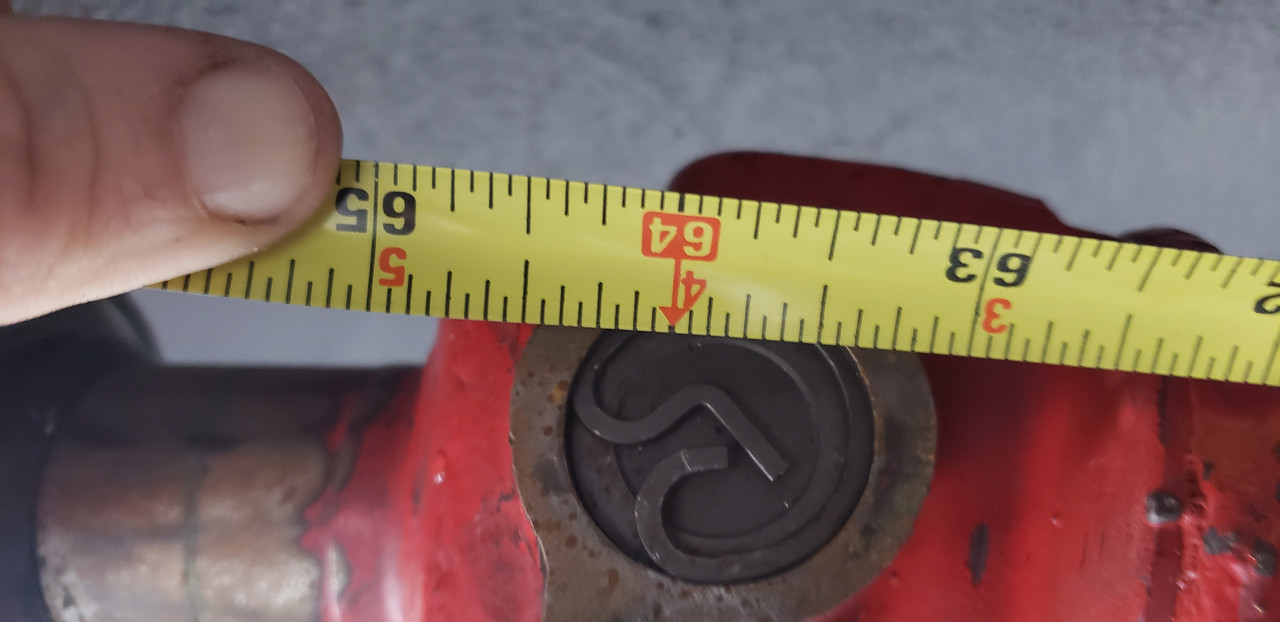
Final measurement came in that driveshaft is about 1.5” too short.

How is this possible? We’ll, considering a few options here.

The driveshaft may not be original to my truck. When I bought it, the guy had already put a junkyard motor in it (which if you remember was the blue engine that blew freeze plug and overheated and leaked and was bored 40 over already). Who is to say he didn’t take the driveshaft too? It would make sense for the driveshaft to be shorter when a input shaft cone is longer on some vehicles, but mine is a stubby.

Anyway, I expect a call either Friday or Monday. Cost $250. To retube it. I could have gone with a cheaper option of just lengthening it, but it would be noticeable.

I could have looked for a longer slip Yoke but who knows if I’d find the appropriate one.

In all, presented with the itch to drive my truck so soon, I opted for a retube drive shaft.

Will I paint it red? Maybe.... I liked it red- it was something different that most vehicles.


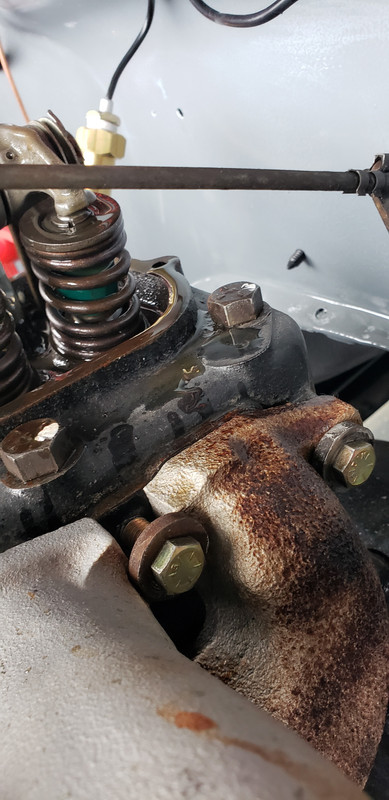
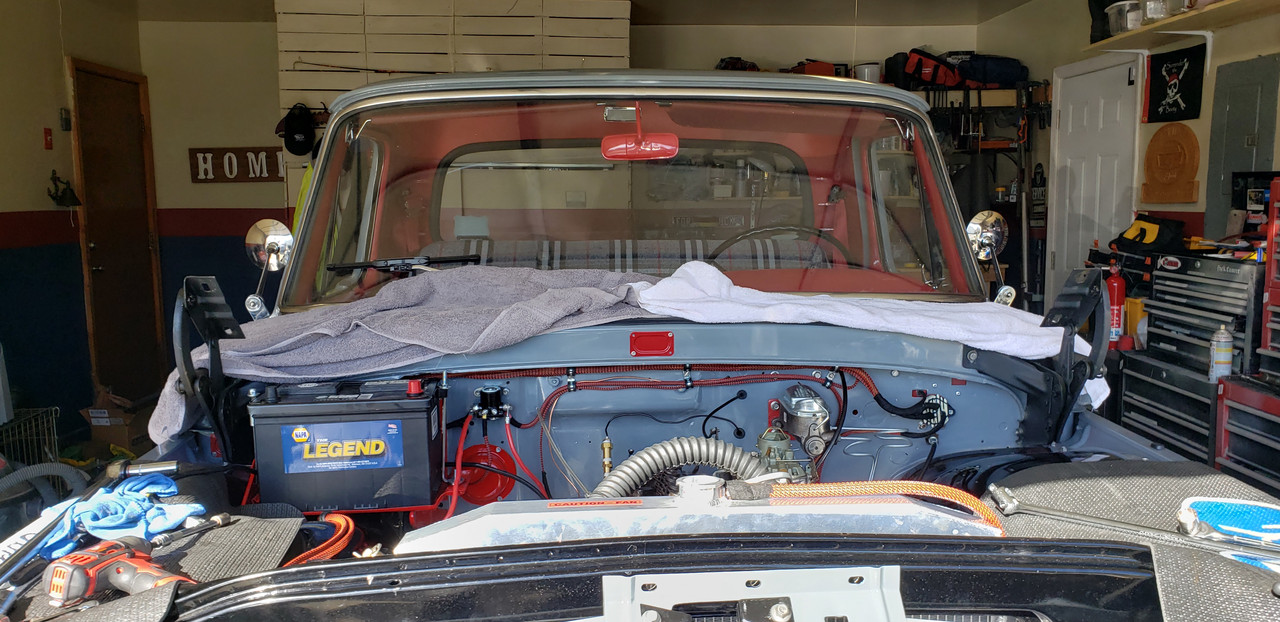
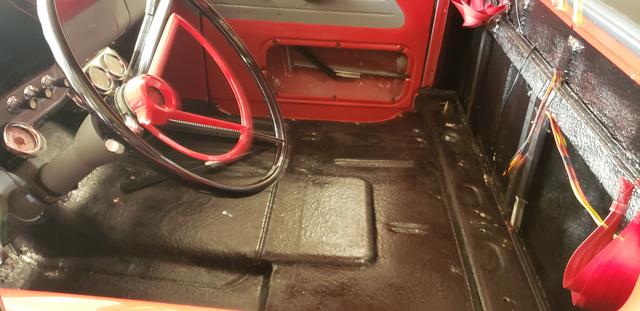
Other things done.... I put new thicker washers at my floor cab mount points. I torqued them down and I am glad I did.
When I assembled the cab to the frame two years ago, I had tightened them down. Last night I noticed my rear cab mount bolts were loose.

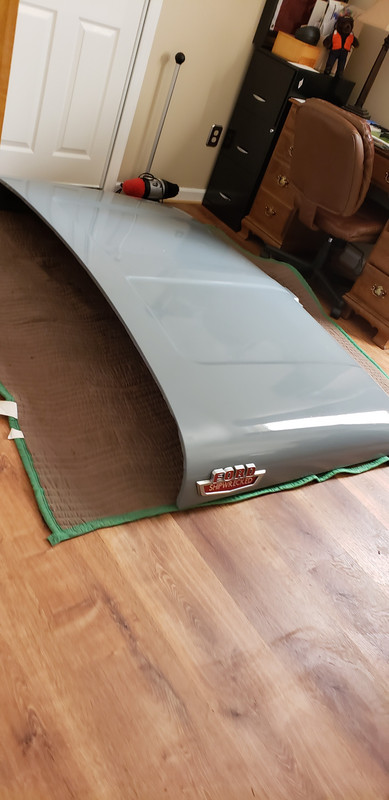
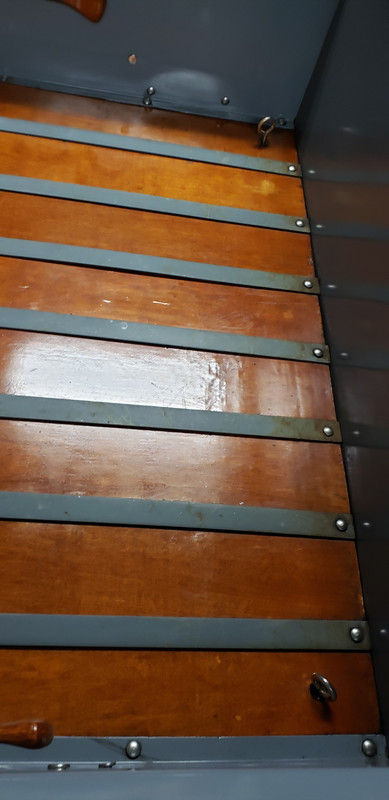
I’m still a bit disappointed in myself for this... when I moved to Va, my truck sat outside for almost 6 months. It was under those huge trees in the driveway and it was nasty. It dumped dirt, debris and pine needles into the bed and I was not dillegent keeping it clean. This was at time I lost all interest in working on my truck.

It made the bed so dirty and destroyed the powder coating on my steel strips. Gummed up the plywood floor and stained it.
Image

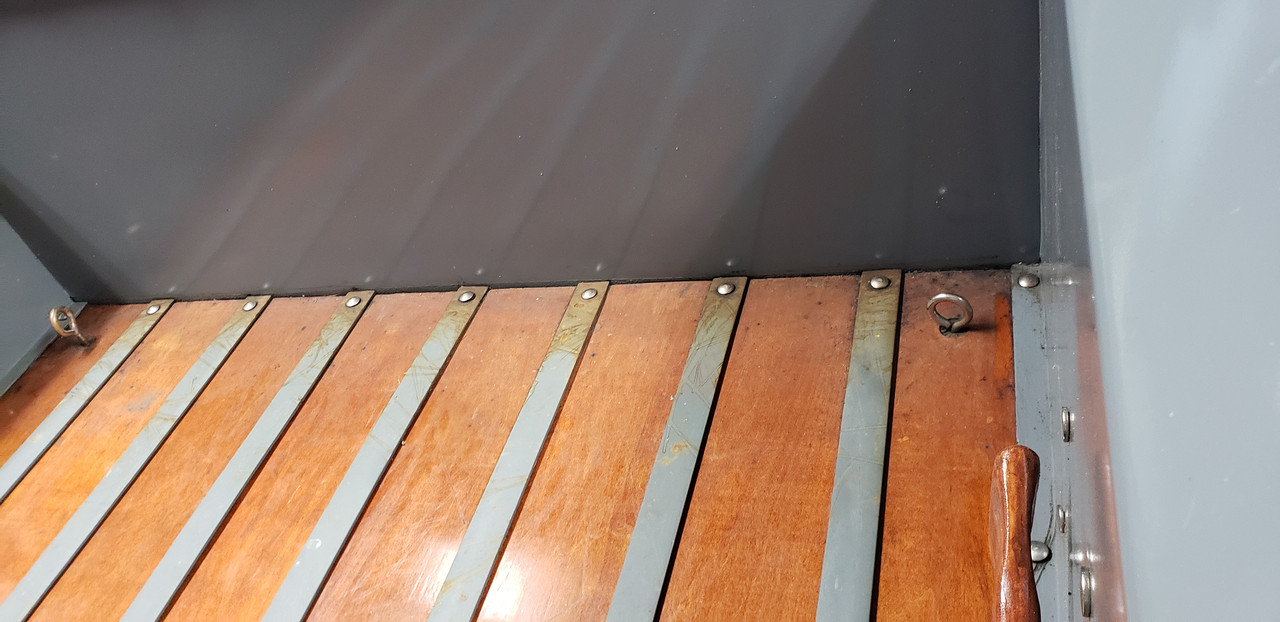
I spent about an hour last night scrubbing it. I’ve got a little rust here and there developed due to it. Pisses me off.
It cleaned up, not fully though.

Image

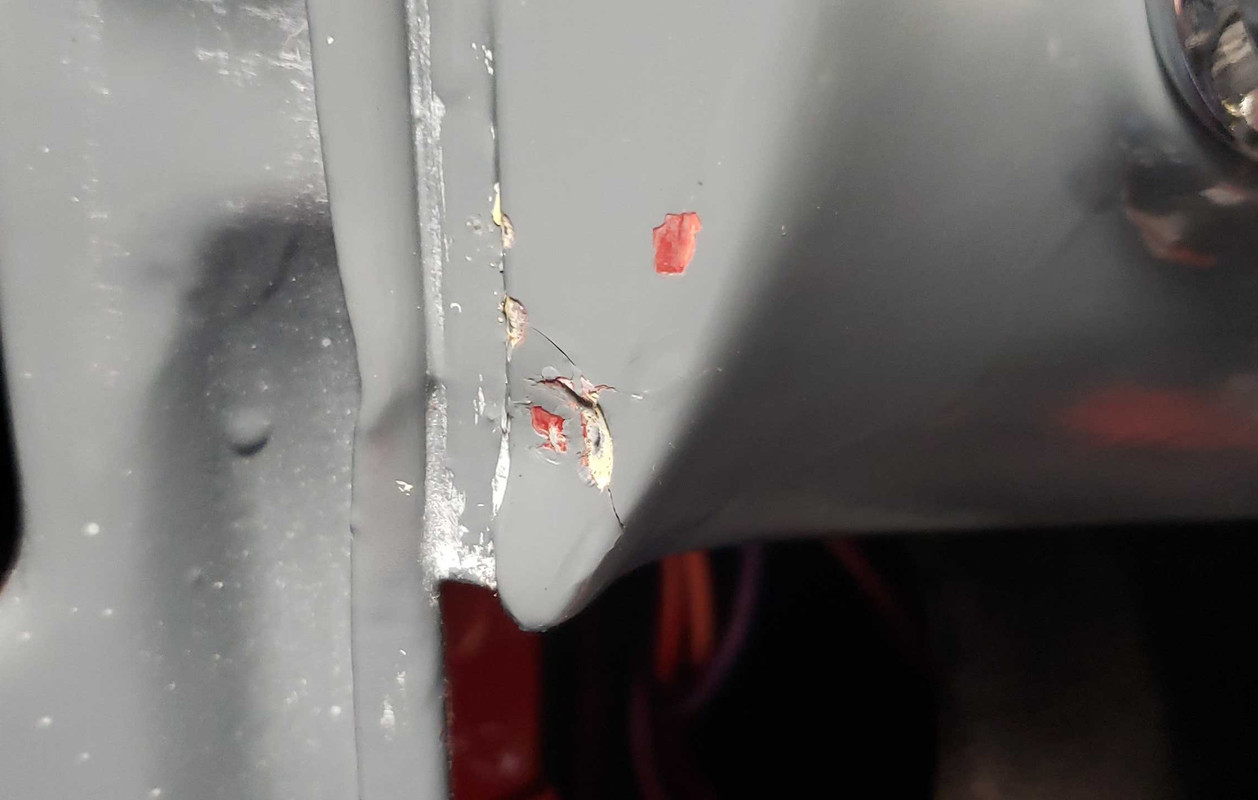
Got a few flaws in the roof, passenger cab corner and the seem seal around roof rain gutter has cracked a tiny bit. I do not plan on keeping it outside in the weather much. Just drive, return to garage.


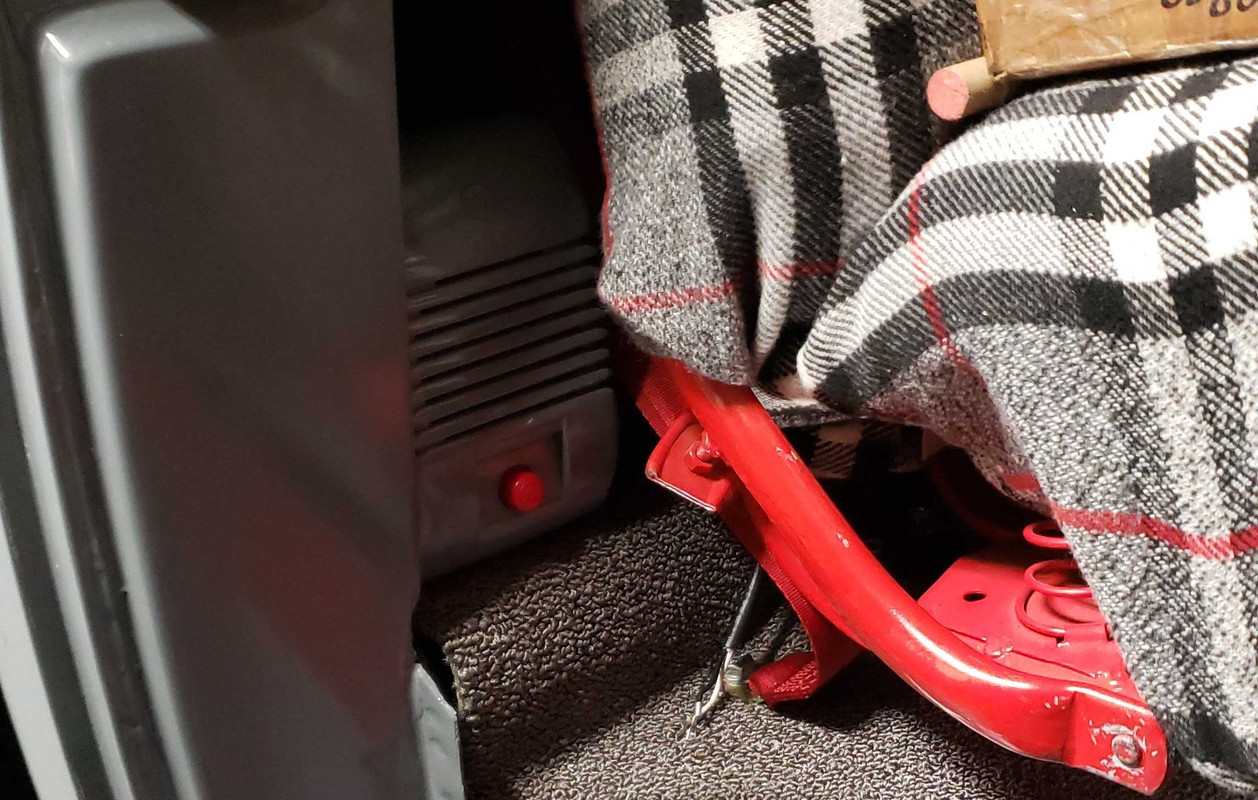
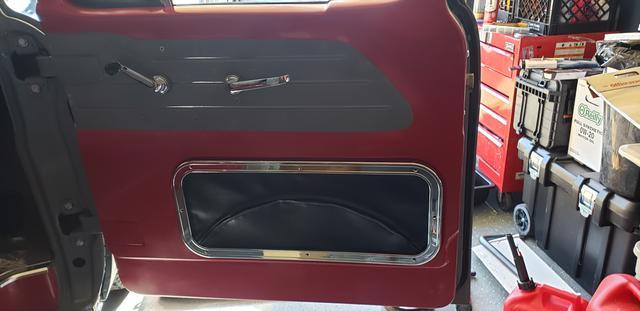
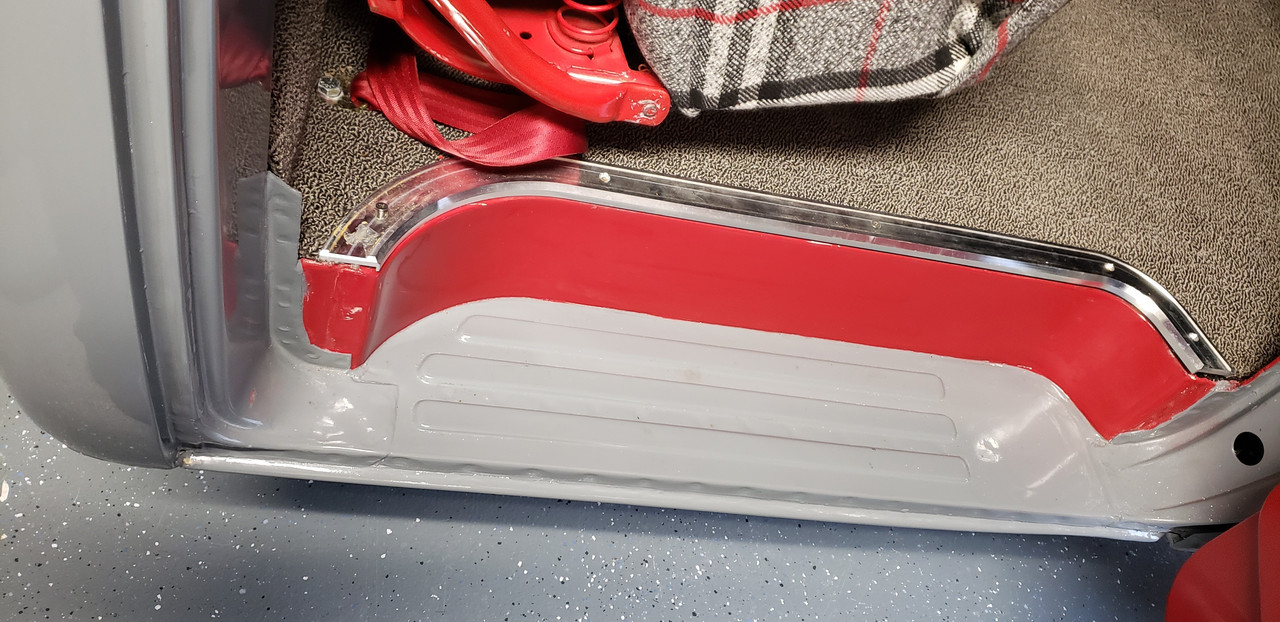
Tried to reset the floor trim on my step wells. Well, the step trim is so nice, but my step we’ll isnt perfect so it fits weird. I will have to wallow out the step trim bolt holes in the floor to make necessary adjustment. That is plan for today.
Image


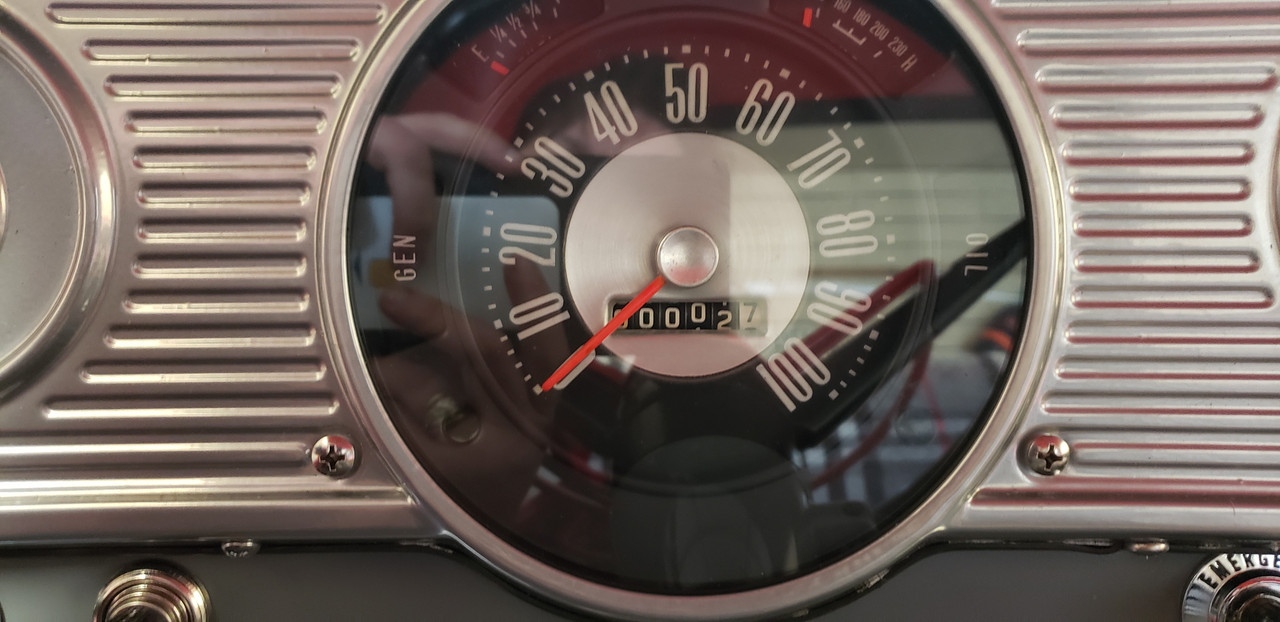
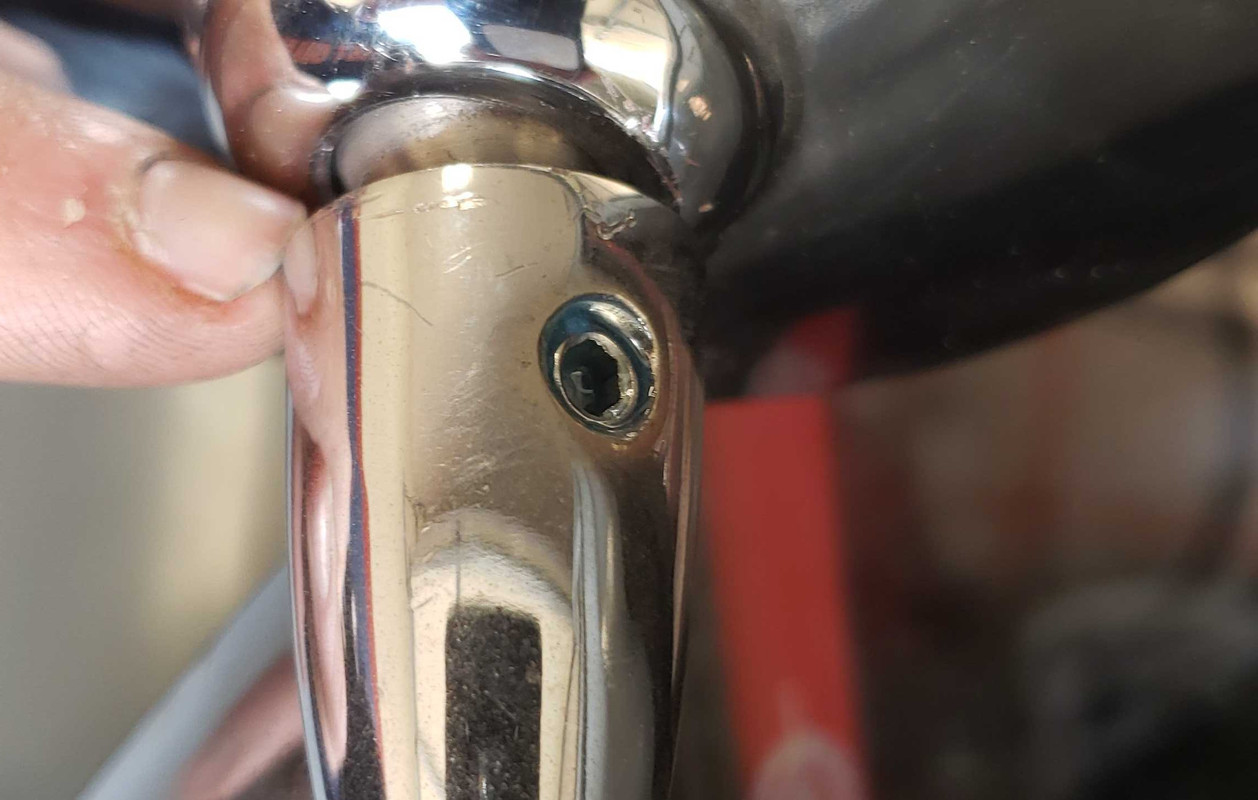
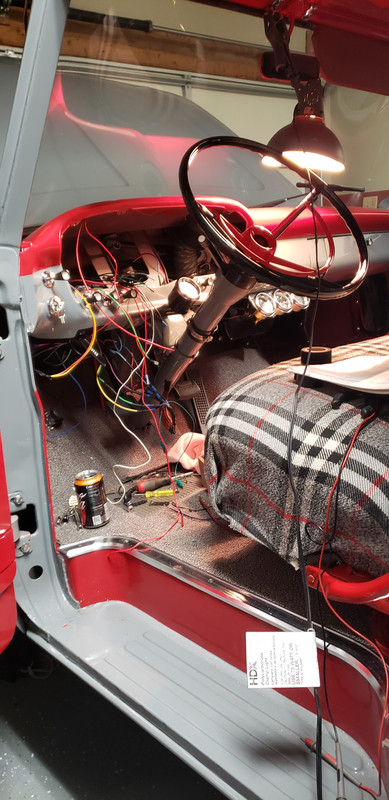
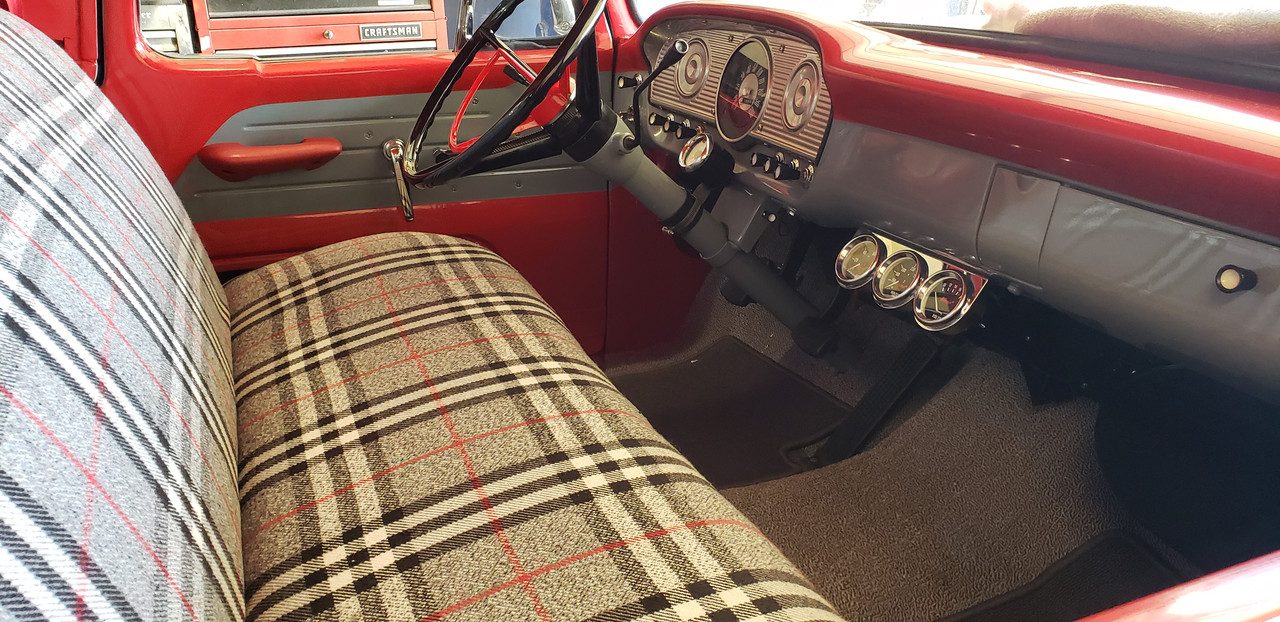
Plan for today is the step trim, pull steering column (insert the rubber grommet at base again and try all this again) install tach on column after that’s buttoned up, finish wiring my gauges, flush fuel tank, check for leaks, and do a little cleaning.

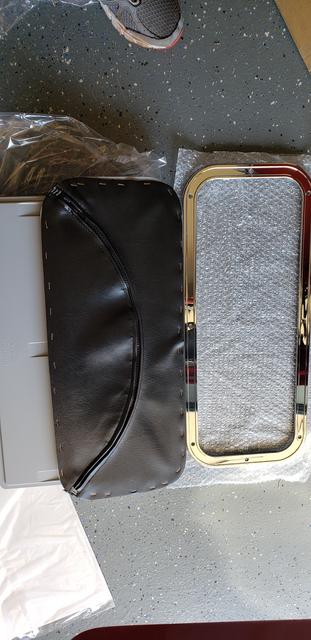
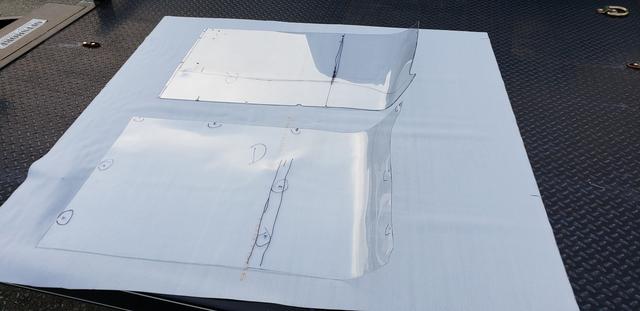
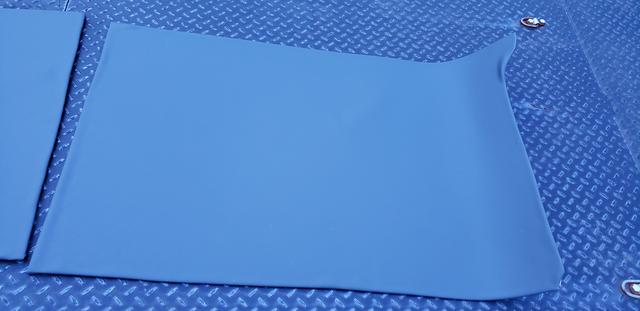
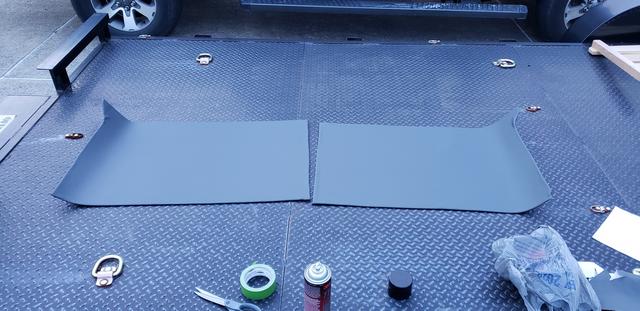
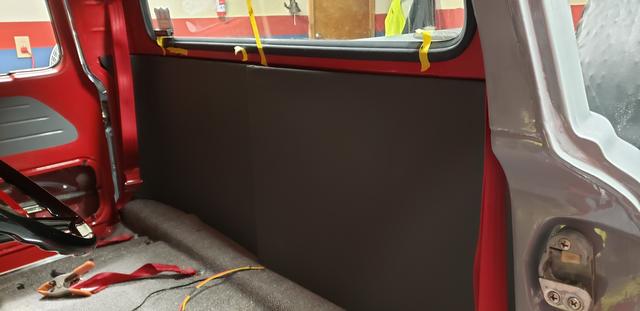
I bought floor mats from stock interiors, though I bought my carpet from them in a grey color, my floor mats are charcoal. I like that color better and plan to replace my carpet in the darker color at a later date this year. For now, I will run the floor mats.

Thanks for hanging on to this thread so long. I can’t believe it’s 42 pages. I have so much to learn still.

Re: my shipwrecked '63

Posted: March 23, 2019, 5:41 am
by shipwrecked
So I really need to remember my truck was once a farm truck for its whole life and it was a rusted disaster when I bought it.

I was putting on the door hinge bolt covers and new stainless steel hinge bolts. When I closed the door, I chipped the dash.

Image

The rear outer skin gap is non existent, and the inner panel gap is non existent.
Yet the inner panel rear gap is huge! I actually need one more spacer for the door jam latch.

Image

Chipped a tiny bit of paint on the dash due to the screw head on that panel cover. I did take the screw out, grind the head of it best I could and still have ability to screw it in place.
Frustrating for sure.


Brand new mirror heads and arms from Dennis Carpenter took over an hour to dremmel it’s clearance to get the head into the arm. They are not just plug and play. That was a lot of work for such a small item. (Both sides)

Image

There is a set screw in there that must be lined up or it would allow the mirror head to get loose over time. I took blue loctite (medium strength ) and put it on the set screw and tightened it.
The mirrors and arms are chrome. I hate it. I actually will mail those off to my powder coated in the winter and have them powder coated like my bumpers and grill (kromite and clear) color.

I should have stopped there, but decided to take the shifter out and figure out why it’s so sloppy on the base. I did not put the rubber puck seal on the base like was on there before because it was interfering with something last time so I took it out. I’m putting it back in this time, had all lined up nice and the power went out. Power was out from 7pm till 2 am. We had this random rain squal come thru with very high wind gusts.
I lost a tire cover off my trailer (I literally just bought them 2 days ago!!!!) It is somewhere over the neighborhood like everyone said recycle bins.


It’s saturday morning,I am waiting for the sun to come up so I can get back in my garage and assemble this shifter again.

Re: my shipwrecked '63

Posted: March 23, 2019, 6:16 am
by shipwrecked
If I can not get this shift linkage worked out... this may not be out of question.
Image

Re: my shipwrecked '63

Posted: March 23, 2019, 11:48 pm
by shipwrecked
Musta been a car show

Image


I spent the entire morning assembling and disassembling the column shifter. It would hang up something fierce. Finally after probably 18 rounds, I got it.
Reverse has a clunkyness to it, bout going from 2 to 3 is smooth, but coming back to 1 is a sweet spot.


Ran my gauge wires.
Ran my tachometer gauge,
Ran two wires through the driver side overhead to behind seat for the future radio.
Image
Was midnight before I knew it!

Re: my shipwrecked '63

Posted: March 24, 2019, 6:56 pm
by shipwrecked
So there we were.... at 3pm after doing wire management only today, my friend Jim vpcame over and we were gonna adjust the hood and adjust the carb.
Start up went fine. 10 minutes I tom it. Knack klack klack worse than fat Santa.

So here we are.... hood off,

Image


And investigation of engine shows a bent pushrod in #1 intake. Intake valve is seized open like a fat sailor in a scuttle.

Image

I am thinking there was plenty oil aft, but not enough up front. The p tube was clear and dripping oil. However, not enough maybe.


What did I do with the hood? Made sure it was tucked in to bed in a spare bedroom for now till I get this engine figured out. (Why am I still single? I allow truck parts in the house and dogs on the furniture) :D
Image


I can’t afford this if it’s bad. I need to drain the water, pull the head and investigate further to see how bad it really is.

I can’t afford it right now, This May be a easynfix or may not get done till later this year.

Sucks!


I do have the materials on hand already for this radio idea though..
Image

Image

Image

Yes I would paint the box and bolt to the floor.


Man this sucks.

Re: my shipwrecked '63

Posted: March 26, 2019, 6:09 am
by shipwrecked
Just a little kiss

Image

Exhaust Valve is stuck like a fat kid on a water slide.

Image

Image

SO here’s what I think happened.

My rocker arm outlet tube was suspiciously raised from its keeper.
Image
Which potentially allowed the oil holes to be blocked.

Despite getting good oil pressure and oil flow at the #6 cylinder etc, I suspect oil got only to the inlet valve of #1 and didn’t have much else room to go.

I do believe this was my error, a incorrect placement of the outlet tube, which caused lack of oil flow and seizing of the valve.

This is just a theory, not for sure, but I’m leaning that way.


The oil in that rocker arm assembly was major dirty too, which makes me believe it’s not clean in there’s. The outside of it was spotless when I bought it, new bearings etc, but I wonder about oil flow passages inside.


The head, rocker arm assembly coming with me to work so I can drop it off at the machine shop.

This gonna hurt.

The piston,

I think if I knock the sharp edge off that valve kiss spot, I could run it. I is so tiny,

What you think? I would not wan5 to buy 6 new pistons because of that.

Re: my shipwrecked '63

Posted: March 28, 2019, 9:48 am
by 624WD
Been reading about this build over the past several days when I can. Oh man. Like, I bought this rusted hulk of a 62 4WD truck. Paid way more than it was worth, and I am now thinking that I need to retire and make that a full time job. If I even accomplish .1% of what you have accomplished in blood, sweat and tears, I would be happy. OMG! Like Holy I am not worthy!

The flaw on your piston is not fatal. Some emery to knock the rough or high spot if any should be sufficient. Was your block surface milled or the head or both? Was it baked and did the machinist clean out he oil passages?

Keep the faith. Two steps back and three forward. I’ve been working on a 41 GMC, a 62 4wd F100, a 1950 one ton lift flat bed and a 1950 Suburban over the past 12 years by stock piling parts, fabricating, welding, and building motors and suspensions one dollar at a time.

Re: my shipwrecked '63

Posted: March 28, 2019, 7:42 pm
by shipwrecked
Machine shop called. Had my cylinder head completed.

Image
Image

My bad for not securing the oil tube correctly or ensuring it was seated fully or long enough to secure the rocker arm shaft assembly in place.


Came home to a box I ordered with a little extra cash I had got my from odd job gig.
Bob Drake door pocket pair.
Image

I don’t like the black. I saw lots of comments about the vinyl dye too... but then I’d have a black zipper. Maybe if the upholstery shop is outrageous I will dye it. I’m going to ask them tomorrow regarding a redo in red

Image

Cement with the hardware and the plastic trim ring. Nice packaging too, I was impressed.

While I was messing around with the back behind seat area of the cab, I painted my driveshaft.

Image

It’s resting inside the garage for a full dry. I painted it while it was outside so don’t worry.

Going to need to do a clean up in the garage. I have engine all apart, I have driveshaft sitting out, my seat is removed, my sewing machine is out there, my toolsall over the place.

Re: my shipwrecked '63

Posted: March 29, 2019, 7:58 am
by oldsmiley
Can't wait until you're CRUISING with that BIG :)

Re: my shipwrecked '63

Posted: March 29, 2019, 9:11 pm
by SteveCanup
oldsmiley wrote:Can't wait until you're CRUISING with that BIG :)
I will "second" that...you're so close to having it on the road! My son-in-law was talking today about taking 7 months (so far) to work on his and it's still not fully road-worthy. I reminded him that I have had mine close to 5 years now and it's still not finished. They never really are...there is always "something else" to do....

Re: my shipwrecked '63

Posted: March 29, 2019, 9:35 pm
by shipwrecked
Steve, the something else to me today was the carpet. I decided to order the darker slate grey instead of what I have in there. I can’t help myself.


Hard to see in this photo, but I’m shaping a piece of plastic to the back wall curve.
I bought two small pieces cause the 4x8 was way too much.
And I had 1.5 yards of grey vinyl on hand.

Image

All shaped. There will be an overlap in the middle. Won’t matter. No one will see it unless the seat is pushed forward.

Image

Image

Image

I set them in the cab. Tomorrow morning I will go get my screws from the store.

Image

The screws will be exposed, like on my headliner. Idomt think it will look bad. Like I said, no one will see it unless the seat is pushed forward.

Sure looks nicer compared to the bare wall.

The door pockets are being recovered for $40 at a local shop.

I’m messing with my radio and tool box I’m putting it in. Tomorrow I will scuff it up, prime and paint, gonna be a great day outside.


Behind seat, I’m going to mount a fire extinguisher, bottle jack, jumper cables, and probably some sort of tool roll.
I bought a middle seat seat belt a long time ago but hadn’t put it in cause it’s hard to reach with the seat in. Well the seat is out now. New carpet will be here when I get back from DC on the 7th, so I guess I will be able to put it in then.

More to come.

Smiles all around already. I feel this thing coming to life.

Re: my shipwrecked '63

Posted: March 30, 2019, 6:52 am
by shipwrecked
This morning I finished mounting the radio mock up.

Image

Im gonna be able to use the tray.
Image

Not much use down here once wires are in. Can’t see it, but I installed a 12v outleton the front side. It will be fused as well.

Image

I will mount this to the transmission hump with two or three bolts. Still need to find that placement. I marked on carpet where box is positioned, so now just drill the holes.

Then off to sand, prime and paint for the old tool box.

Waiting on pups to finish eating, barking and pooping.... then I can go get my mounting screws for the back panels.

Re: my shipwrecked '63

Posted: March 30, 2019, 6:14 pm
by shipwrecked
The baskets and two new push rods came in. Seeing these new ones, and how beefy they are, wondering if I should just buy 10 more.

Spent some time chilling, goofing off and actually doing stuff.

Took the carpet out. Marked where my radio console box will go. Also marked and drilled holes on the rear ledge where it sits behind the seat.

Image


Early this morning I did a mock up and fitnet of the radio.

Image

Then shined the hinge hardware.
Image

Image

Box painted

Image

Image

Tomorrow I may start reassembling the engine.
I have a breakfast date with a friend and her kiddos down in Portsmouth so no early work for me. I’m already done for the day today. I feel like I have a million metal slivers in my arms and hands from cleaning the garage.

Re: my shipwrecked '63

Posted: March 30, 2019, 6:32 pm
by unibody madness
Glad to see you are back at it again,hope to meet you in 2020 if you are not deployed.

Re: my shipwrecked '63

Posted: March 31, 2019, 8:04 am
by shipwrecked
Dang it, the spray paint wrinkled in a few spots on the tool box. Will let it sit all week while I’m out of town and respray it next weekend. I never have great results with rattle can jobs. I either spray too thin, thick or not enough dry time.


Gaskets for the head are in, so my focus today I should to reassemble the engine enough to give me walking room in the garage. I went ahead and ordered the other 10 pushrods from rock auto. I will get the head back on, oil pan, change filter out, fill oil and work on a few other things.

Image

Re: my shipwrecked '63

Posted: March 31, 2019, 2:41 pm
by shipwrecked
Well.....


Image


Guess I’ll be needing 16 new 7/16-14x4” cylinder head bolts.

Recommendations????